{
“title”: “DIY Dog Grooming at Home: Brush, Bath, Nails & Ears (Beginner’s Guide)”,
“slug”: “dog-grooming-diy”,
“excerpt”: “DIY dog grooming at home — how to brush, bathe, trim nails and clean ears safely, the kit you actually need, and the mistakes that send dogs to the vet.”,
“meta_description”: “DIY dog grooming at home — how to brush, bathe, trim nails and clean ears safely, the kit you actually need, and the mistakes that send dogs to the vet.”,
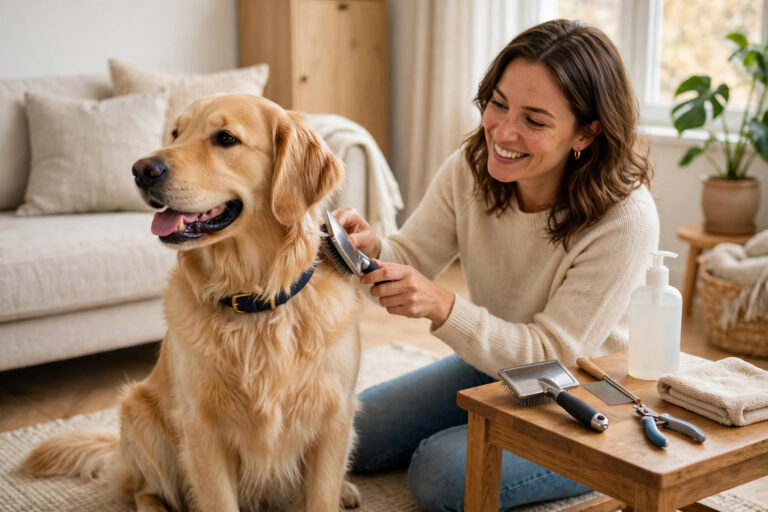
“featured_image_alt”: “Owner brushing a happy golden retriever during DIY dog grooming at home.”,
“content_html”: “
A professional groom costs real money, and for most dogs it is not needed every time. Brushing, bathing, nail trims and ear checks are all jobs you can do at home — once you know the order, the tools and the lines you must not cross. This guide is the full DIY dog grooming routine for beginners: the kit, the coat-type rules, a bath that does not end in a soaked bathroom, nails without the fear of the quick, and ears done safely. No experience needed, just patience and a dog that trusts you.
\n
Below is the whole routine in the order that works — brush first, then bath, then nails and ears — plus the mistakes that cause most grooming injuries, and the signs that mean \”stop and book a professional\”.
\n
\n
Before you start — the 5 rules\n1. Never use human shampoo on a dog. Human skin sits around pH 5.5; a dog’s skin is closer to pH 7. Human shampoo strips their coat and can cause itching and hot spots. Use a dog shampoo — our guide to the best shampoo for German Shepherds explains what to look for on the label.\n2. Never push anything into the ear canal. Clean only the outer ear you can see. Cotton buds, fingers and forceps inside the canal cause pain and infections.\n3. Cut nails a little at a time. The quick — the blood vessel inside the nail — bleeds a lot and hurts. Trim millimetres, not chunks, and stop at the first sign of a dark dot in the nail centre.\n4. Brush before you bath. Water turns loose tangles into tight mats. A five-minute brush before the bath saves a painful de-matting session after it.\n5. Stop if the dog is stressed. Panting, whale eyes, growling, snapping or freezing are all \”stop\” signals. Grooming a frightened dog causes bites and bad memories. End the session, give a treat, and try again another day.
\n
\n
The kit — what you actually need
\n
You do not need a salon trolley. Seven items cover the whole routine:
\n
- \n
- A slicker brush for most coats — fine wire pins that lift loose fur and light tangles.
- A steel comb — the finishing tool. If the comb glides through, the coat is tangle-free; if it snags, there is a mat.
- Dog shampoo — a gentle, dog-specific formula. Oatmeal-based shampoos suit most dogs; medicated ones only on a vet’s advice.
- Nail clippers or a grinder — scissor-style clippers for small dogs, guillotine or plier-style for large ones. A grinder is gentler for nervous dogs but noisier.
- Styptic powder — the yellow powder that stops nail bleeding in seconds. Keep it within reach every time you trim nails.
- Ear cleaner — a vet-approved ear solution and cotton pads (not buds).
- Towels, lots of them — one for the floor, one for the dog, one for you. A cheap microfibre towel dries a coat faster than a bath towel.
\n
\n
\n
\n
\n
\n
\n
\n
That is the whole kit. Skip the fancy sprays, colognes and de-shedding blades until you know your dog’s coat — most of them are marketing, and the wrong blade on a double coat can damage it permanently.
\n
1. Brushing — the habit that prevents everything else
\n
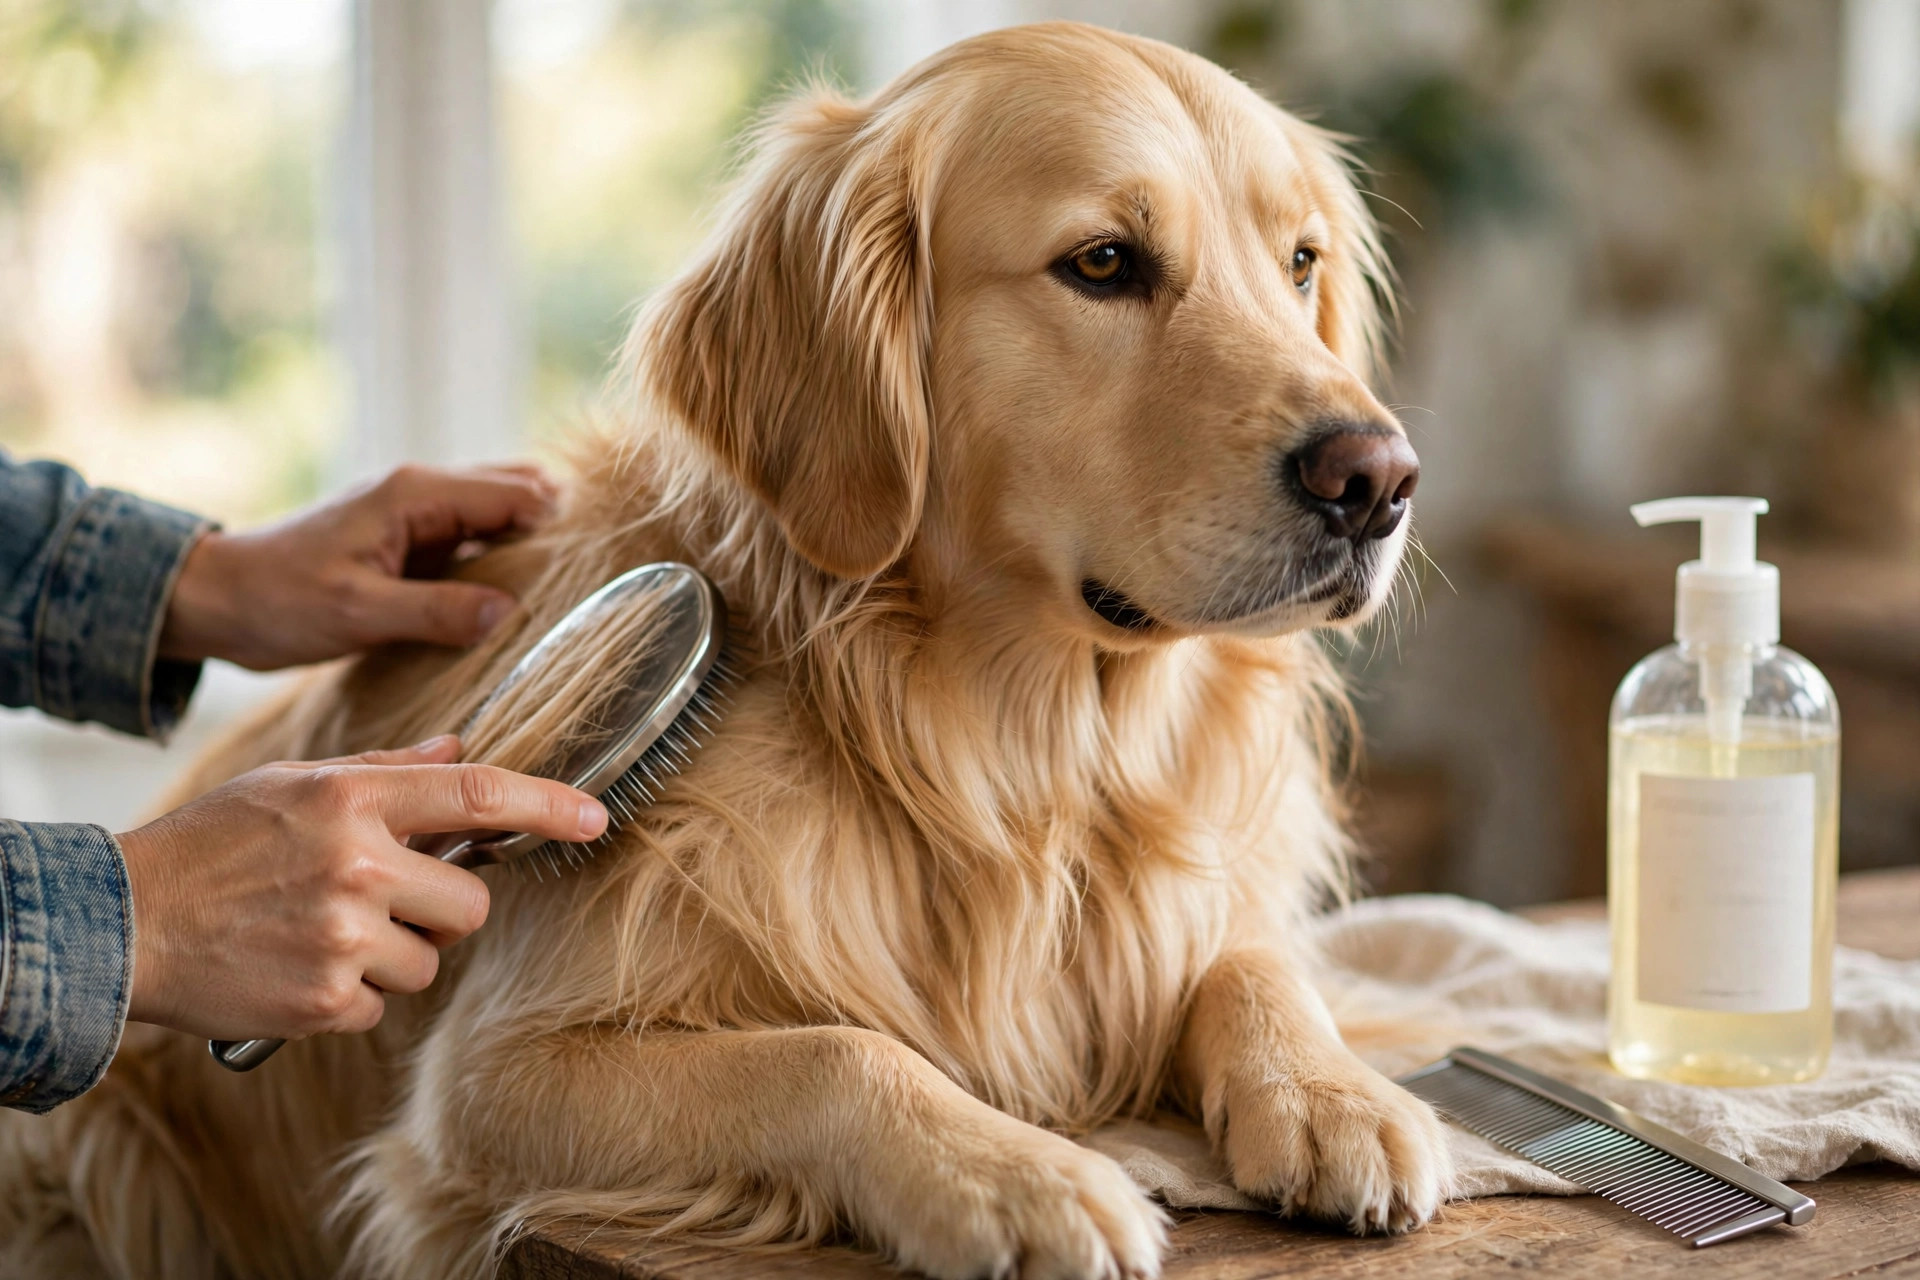
Brushing is the single most useful grooming habit, and it is also the most skipped. Five minutes, two or three times a week, prevents mats, cuts shedding in the house, and lets you find lumps, ticks and sore spots early.
\n
Match the brush to the coat:
\n
- \n
- Short coats (Labradors, beagles, boxers) — a rubber curry brush or a soft bristle brush, once a week. Short coats mat rarely but shed constantly.
- Medium and long coats (golden retrievers, spaniels, collies) — a slicker brush followed by a steel comb, two to three times a week. Work in sections, from skin outward, and check behind the ears, under the collar and in the armpits — the three places mats hide first.
- Double coats (German Shepherds, huskies, Samoyeds) — an undercoat rake during shedding season, never a furminator-style blade used aggressively. Brush in the direction of hair growth and never shave a double coat — the undercoat regulates temperature, and shaving can ruin it.
- Curly and wire coats (poodles, terriers, doodles) — a slicker brush plus a steel comb, every day or two. Curly coats mat fast and mats pull painfully on the skin.
\n
\n
\n
\n
\n
The technique: brush in short, gentle strokes, working from the ends of the hair toward the skin — never drag a brush through a tangle from the roots. When you hit a mat, hold the base of the mat between your fingers so you are not pulling the skin, and work it apart with the comb or your fingers. If a mat will not come apart, cut it out carefully with blunt-tipped scissors, sliding a comb between the mat and the skin first so you cannot nick the dog. Never pull a mat out — that is how skin tears happen.
\n
End every brush with the steel comb test: if the comb passes through the whole coat without snagging, you are done.
\n
2. Bathing — the order that keeps it calm
\n
Most dogs need a bath every four to eight weeks — more often only if they roll in something foul or have a skin condition your vet is treating. Over-bathing strips the coat’s natural oils and causes itchy, flaky skin.
\n
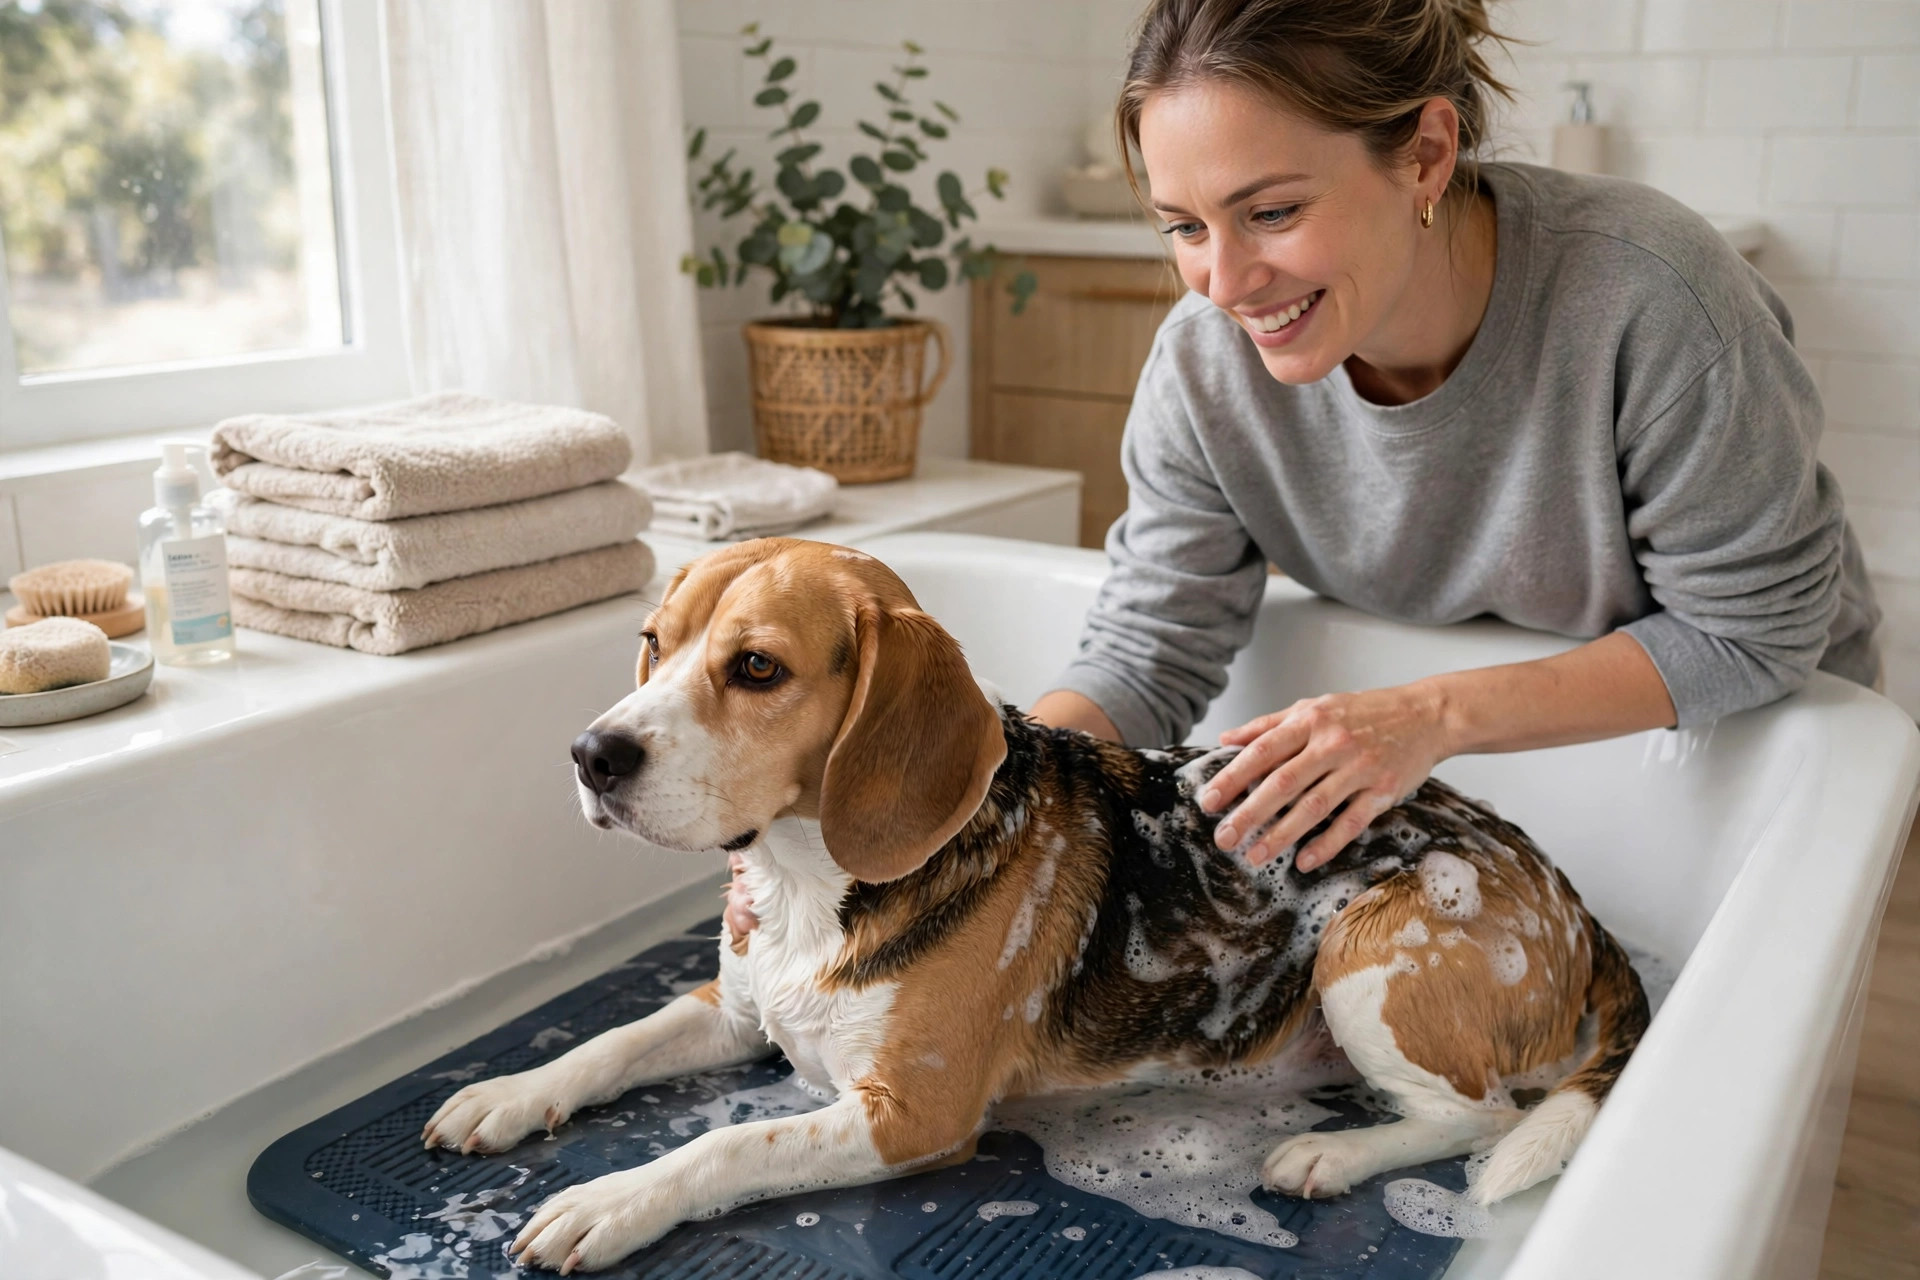
Before the water: brush first (rule 4), gather everything within arm’s reach, and put a non-slip mat in the tub or shower. A dog that slips once will hate baths forever. If you have a garden or a utility room, a dedicated wash spot helps — our DIY dog wash station guide shows how to build one from a laundry-room corner.
\n
The bath, step by step:
\n
- \n
- Wet the coat thoroughly with lukewarm water — never hot, never cold. Start at the body and work toward the head last, so the dog is not startled by water on the face.
- Lather the shampoo into the coat with your fingertips, not your nails. Work from neck to tail, then the legs and belly. Keep shampoo away from eyes and ears — a damp cloth on the face is enough.
- Rinse until the water runs clear. Leftover shampoo is the most common cause of post-bath itching. Rinse twice as long as you think you need to, and check the belly and armpits — shampoo hides there.
- Dry properly. Towel-dry first, squeezing (not rubbing) the coat. Then let the dog shake — outside if possible — and finish with a brush once the coat is mostly dry. A hairdryer on the lowest, coolest setting is fine for long coats; never use hot air, and never point it at the face.
\n
\n
\n
\n
\n
The calm trick: smear a little xylitol-free peanut butter on the bath wall or a lick mat stuck to the tiles. A dog that is licking is a dog that is not panicking, and after two or three peanut-butter baths most dogs walk into the tub willingly.
\n
3. Nail trimming — slow, small cuts, no drama
\n
Overgrown nails change how a dog walks, strain the joints, and snag on everything. Most dogs need a trim every three to four weeks — if you can hear the nails clicking on a hard floor, they are too long.
\n
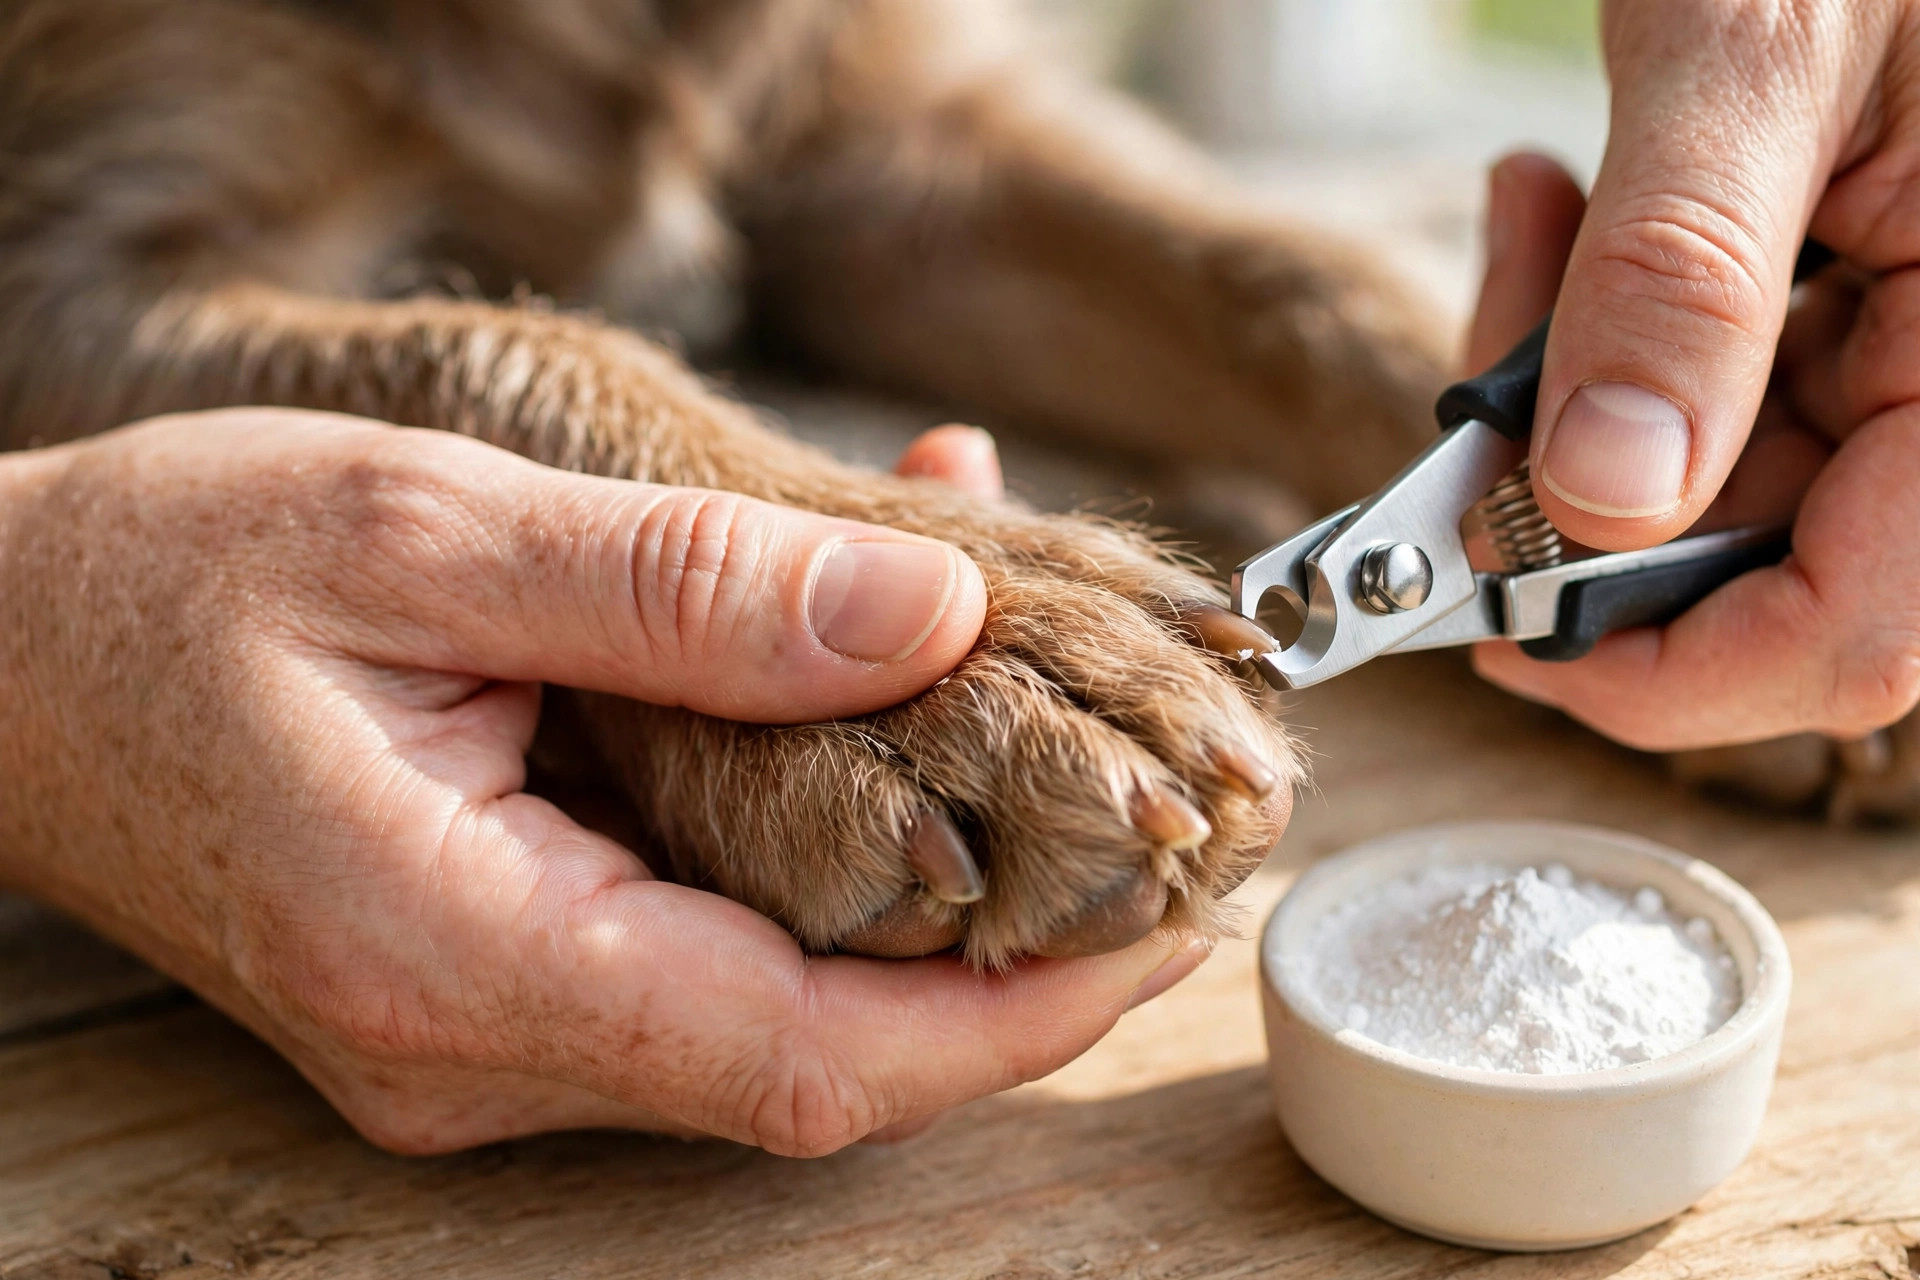
How to do it: hold the paw gently but firmly, and trim a tiny slice off the tip of each nail — one to two millimetres at a time. On light nails you can see the pink quick through the nail; stop well before it. On dark nails, trim thin slices until you see a dark dot appear in the centre of the cut surface — that dot is the quick approaching, so stop there.
\n
If you cut the quick: stay calm, press styptic powder onto the nail for thirty seconds, and give the dog a treat. It bleeds a lot and looks dramatic, but it is not dangerous — it is the grooming equivalent of cutting a fingernail too short. Do not punish the dog for flinching, and do not try to finish the other nails in the same session.
\n
The no-clipper alternative: a nail grinder files the nail down gradually and is much kinder for dogs that panic at clippers. Introduce it over a week — let the dog sniff it, turn it on near (not on) the paw, reward, then grind one nail and stop. Slow introduction beats one bad experience.
\n
The one-nail rule: if your dog hates nail trims, do one nail a day. Sixteen nails over sixteen days is still a full trim, and nobody gets stressed. Grooming is a long game, not a single event.
\n
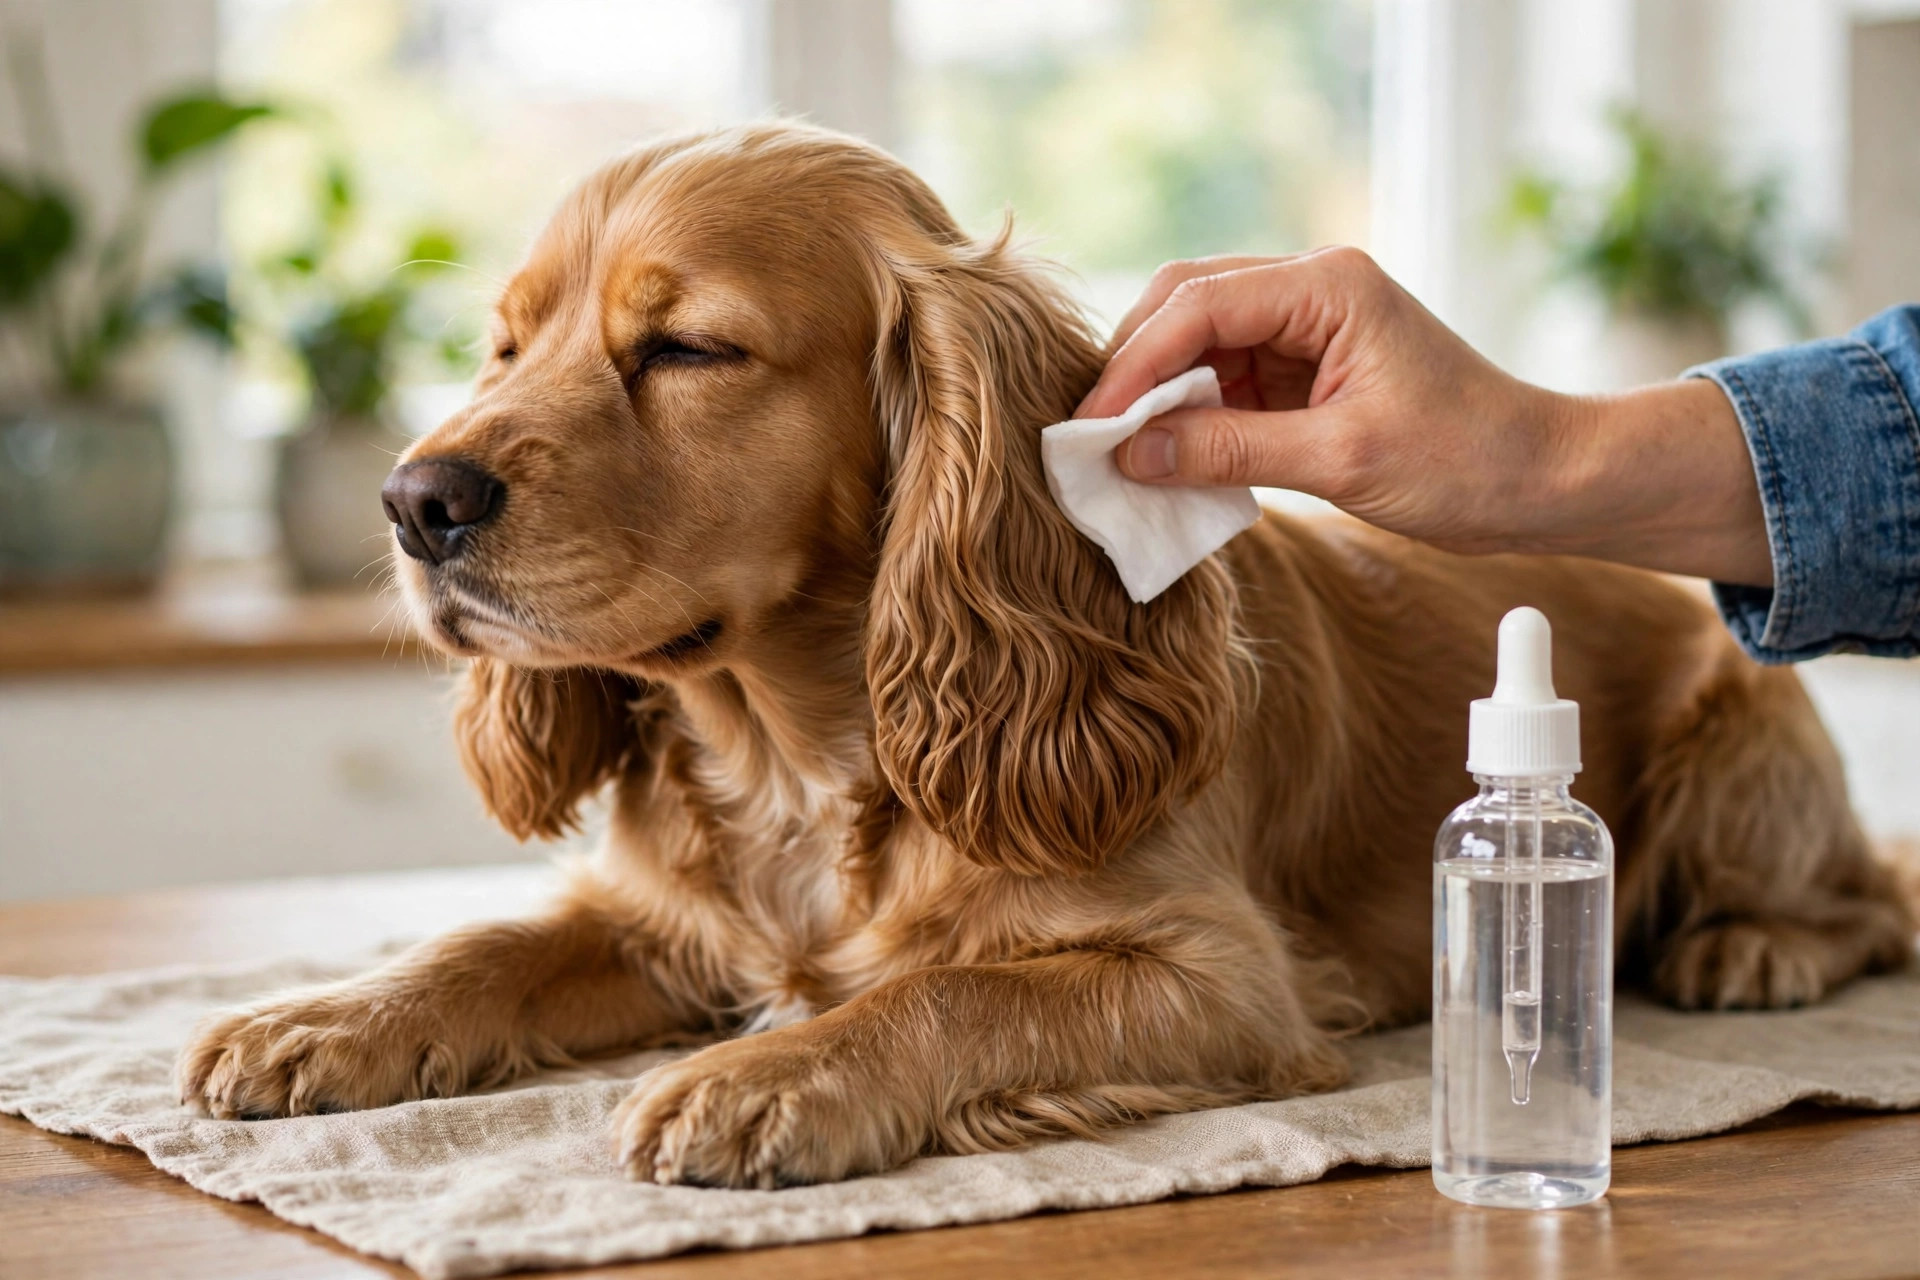
4. Ears — look, wipe, never dig
\n
Healthy ears are pink, clean and smell of nothing. Check them weekly — lift the ear flap and look. A little wax is normal; dark, crumbly debris, a bad smell, redness or head-shaking are vet signs, not DIY signs.
\n
Cleaning: squeeze a few drops of vet-approved ear cleaner into the ear canal opening, massage the base of the ear for twenty seconds (you will hear a squelching sound — that is correct), then let the dog shake and wipe away what comes out with a cotton pad. Clean only what you can see. Never insert cotton buds, fingers or anything else into the canal — you will push debris deeper and can damage the eardrum.
\n
Breeds that need more attention: floppy-eared dogs (spaniels, basset hounds, retrievers) trap moisture and need weekly checks, especially after swimming. Dogs that swim regularly should have their ears dried and checked after every swim — water left in a floppy ear is the fastest route to an infection.
\n
5. Teeth, paws and the once-over
\n
Grooming is also your weekly health check. While the dog is calm, run through this list:
\n
- \n
- Teeth: lift the lip and look for brown tartar along the gumline and red, bleeding gums. Brush with a dog toothpaste (never human toothpaste — xylitol and fluoride are toxic to dogs) two or three times a week, or use dental chews if brushing is a battle.
- Paws: check between the toes for grass seeds, grit and cracked pads. Trim the fur between the pads if it mats, and check for salt or grit damage in winter.
- Skin: part the coat and look for red patches, lumps, ticks and flea dirt (tiny black specks that turn red-brown on a wet tissue). Finding a lump early is worth more than any shampoo.
- Coat condition: a dull, greasy or flaky coat can mean a diet problem rather than a grooming problem — omega-3s help many dogs, and our guide to salmon oil for dogs explains dosage by weight.
\n
\n
\n
\n
\n
Mistakes that send dogs to the vet
\n
- \n
- Shaving a double coat — it does not keep the dog cooler, it removes their insulation and sun protection, and the coat may never grow back properly.
- Cutting mats out with sharp scissors against the skin — use blunt-tipped scissors with a comb as a guard, or leave it to a groomer.
- Bathing a matted dog — water tightens mats into felt. Brush or cut mats out first, always.
- Using human products — human shampoo, human toothpaste and human ear drops are all wrong for dogs. The pH and the ingredients are different.
- Grooming a dog in pain — if the dog yelps when you touch a spot, stop. Pain during grooming is usually a real injury, an ear infection or arthritis, and it needs a vet, not a brush.
- Skipping the drying step — a dog left damp in a cold house can chill, and damp ears breed infections. Towel-dry properly every time.
\n
\n
\n
\n
\n
\n
\n
When to book a professional instead
\n
DIY grooming covers most dogs most of the time, but some jobs belong to a professional groomer or a vet:
\n
- \n
- Severe matting — mats tight against the skin need clippers and experience; cutting them out at home risks skin tears.
- Breed-specific cuts — poodle clips, spaniel feathering and terrier hand-stripping are skills, not guesses. A bad home cut grows out, but a bad clip on a nervous dog can cause injuries.
- Anxious or aggressive dogs — if your dog bites, panics or needs muzzling for grooming, a professional with proper restraint training is safer for everyone.
- Ear infections, skin infections and anything bleeding — those are vet jobs, full stop.
\n
\n
\n
\n
\n
There is no shame in booking a groomer. DIY grooming is about the routine maintenance between professional visits, not about replacing them entirely.
\n
FAQs
\n
How often should I groom my dog at home?\nBrush two to three times a week (daily for curly coats), bath every four to eight weeks, trim nails every three to four weeks, and check ears weekly. That is the whole routine — about fifteen minutes a week once you are used to it.
\n
Can I use human shampoo on my dog in an emergency?\nOnce, in a genuine emergency (a roll in something toxic, for example), a single wash with a gentle human shampoo will not cause lasting harm — but rinse thoroughly and switch back to dog shampoo immediately. Repeated use causes dry, itchy skin.
\n
My dog hates being brushed. What do I do?\nGo slower and shorter. One minute of brushing with treats, every day, beats a twenty-minute battle once a week. Let the dog sniff the brush, brush one stroke, treat, repeat. Most dogs come around within a fortnight. If the coat is already matted, get the mats removed professionally first — brushing a matted coat hurts, and the dog is right to hate it.
\n
How do I know if I have cut the quick?\nThe nail bleeds, the dog yelps, and you will see blood at the cut surface. Apply styptic powder and hold it for thirty seconds. It stops quickly. The lesson is to take smaller cuts next time — a millimetre at a time on dark nails.
\n
Should I shave my dog in summer?\nNo, for most breeds. A dog’s coat insulates against heat as well as cold — shaving a double-coated dog can make them hotter and risks sunburn. Keep them brushed, keep them hydrated, and give them shade. Only single-coated dogs with a vet’s advice should be clipped short.
\n
What is the easiest grooming routine for a beginner?\nBrush, bath, nails, ears — in that order, one job per day if you like. Start with brushing only for the first week, add the bath in week two, and nails in week three. By the end of the month you have a routine and a dog that trusts the process.
\n
The bottom line
\n
DIY dog grooming is four skills — brushing, bathing, nail trims and ear checks — done in that order, with the right tools and a slow, calm approach. Brush before you bath, cut nails a millimetre at a time, clean only the ear you can see, and never use human products on a dog. Do a little every week and you will spend less at the groomer, catch health problems earlier, and end up with a dog that actually enjoys the routine. Start with the brush today — it is the easiest win in the whole guide.
\n
Pin this for later 📌 — and if bath time is the hard part, our DIY dog wash station guide shows how to build a proper wash spot at home.
“,
“source_draft”: “/home/hatch/workspace/goals/pinterest-pin-automation-for-petsmush-com/files/dog-grooming-diy-post-draft.md”,
“status”: “publish”
}