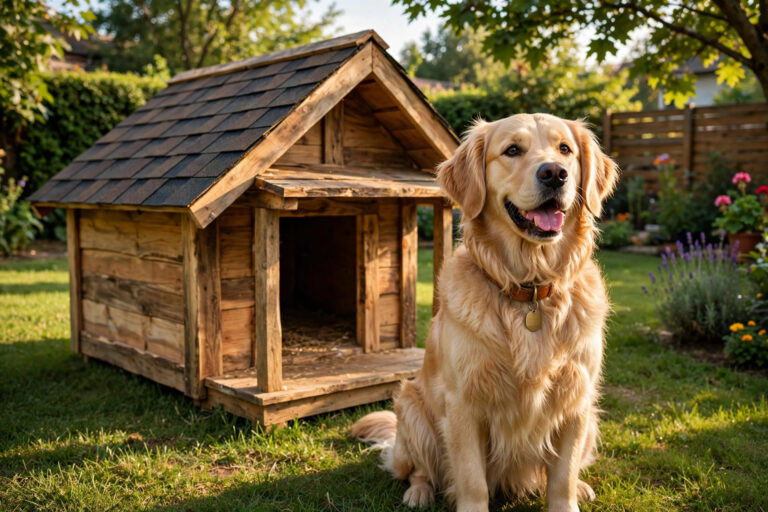
A store-bought dog house can cost anywhere from a little to a lot — and half of them are too small, too flimsy, or made of plastic that turns your backyard into a sauna. Building your own changes the maths completely: with a weekend, some reclaimed timber and basic tools, you can give your dog a sturdy, well-sized shelter that fits your yard and your budget.
Below are 9 DIY dog house ideas, ordered from “an afternoon and almost no money” to “a proper weekend carpentry project”. Every build includes the sizing rule, the weatherproofing basics, and the safety notes that keep a nice project from becoming a vet visit.
The golden rule of sizing: the house should be tall enough for your dog to stand and turn around, and long enough for them to stretch out — but no bigger. An oversized house feels cold and empty in winter, because your dog’s body heat can’t warm the space.
Budget builds (under a day, minimal tools)
1. The pallet dog house
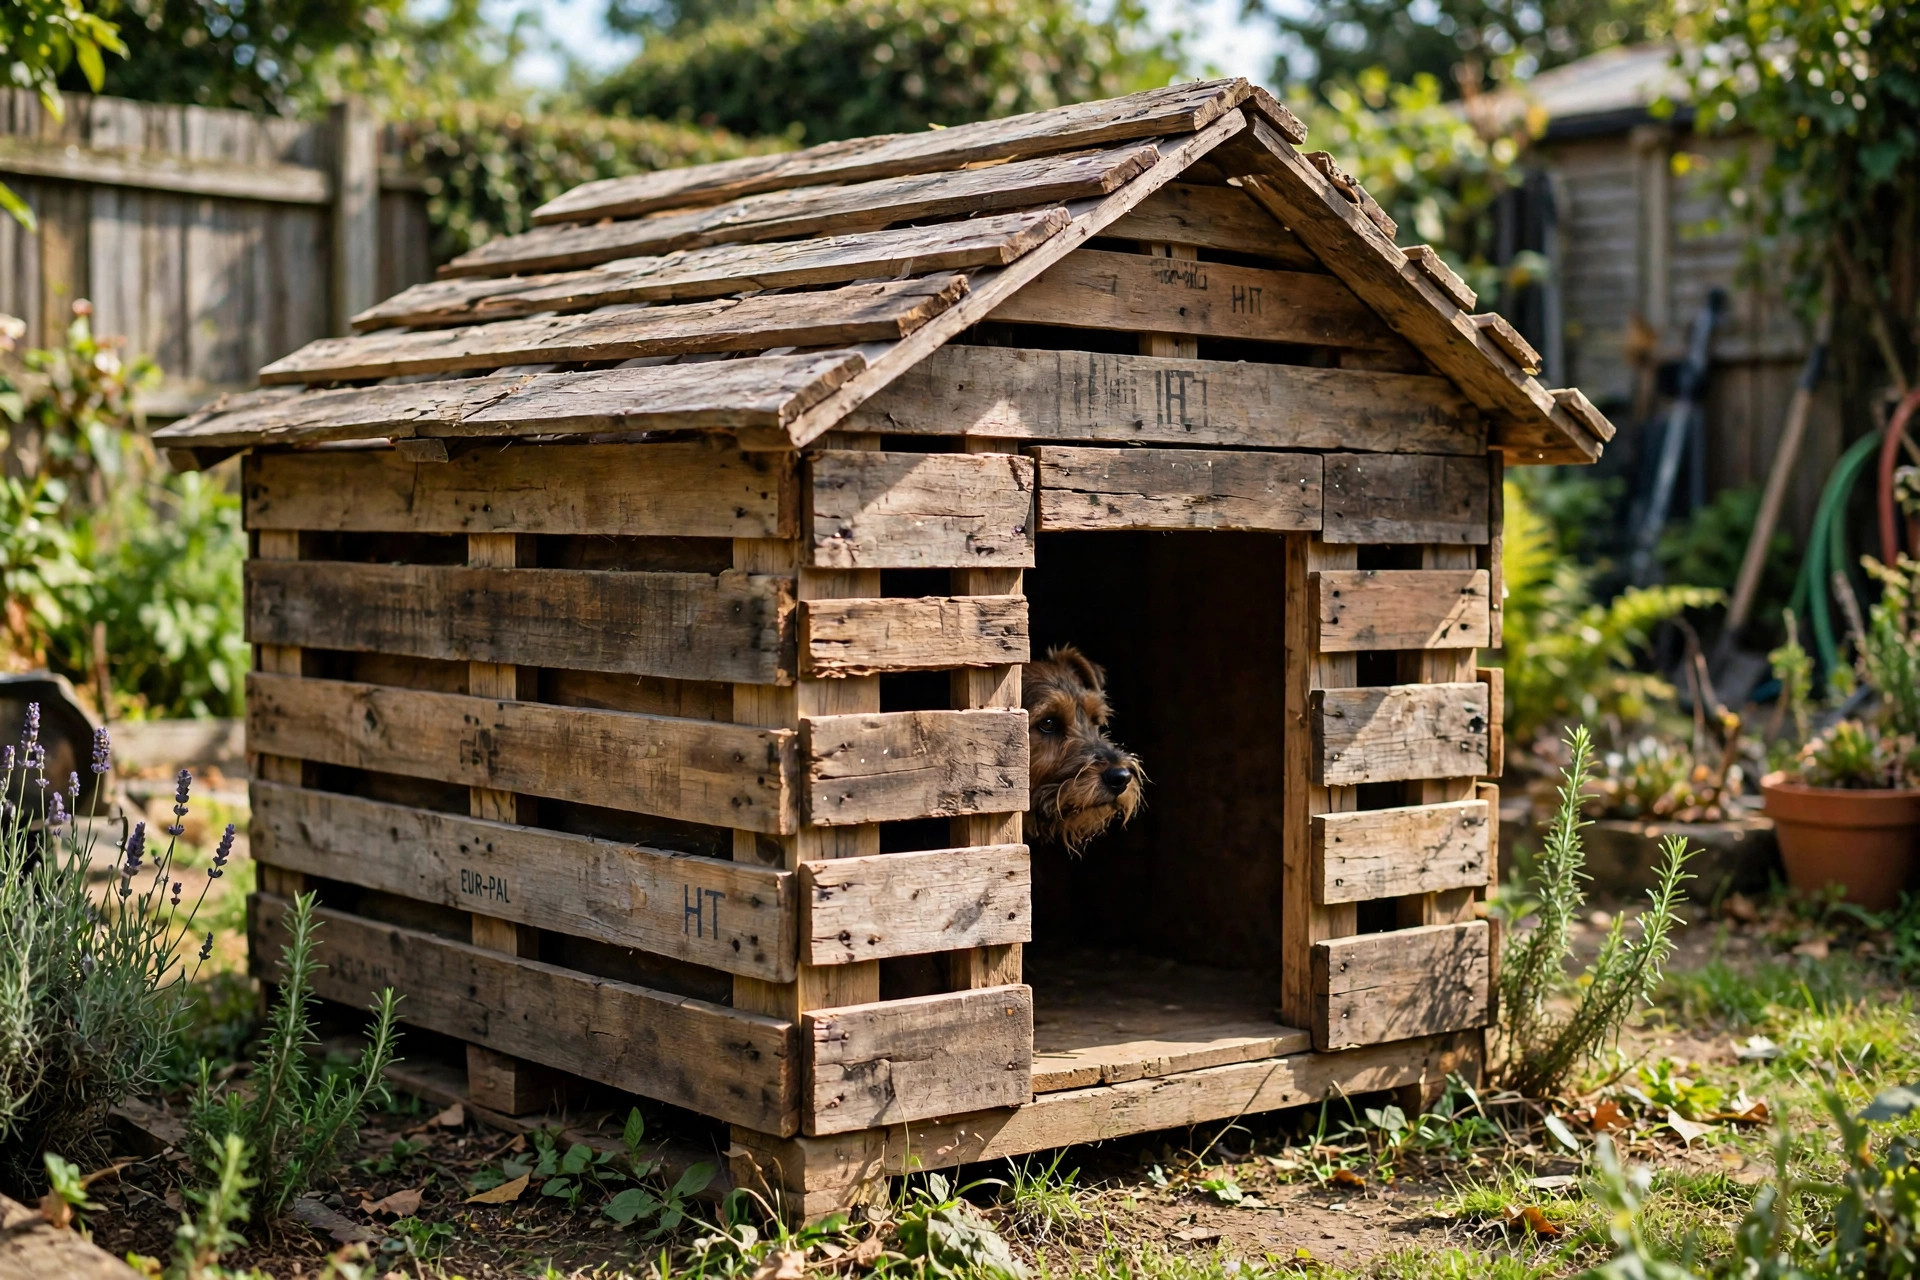
The classic. Pallets are free or nearly free, and two or three of them give you walls, a floor frame and most of a roof. Break them down (a reciprocating saw or just a hammer and pry bar), sand the slats smooth, and screw them into a simple box shape with a pitched roof. Raise it 10 cm off the ground on short legs or bricks so air flows underneath and the floor stays dry.
Safety note: check pallets for the HT (heat-treated) stamp — avoid MB (methyl bromide) treated wood. Sand every surface your dog’s mouth can reach, and sink or pull any protruding nails.
 2. The crate-and-plywood shell
Got a big plastic or wire crate your dog outgrew? Build a simple plywood box around it — walls, floor and a sloped lid — and you’ve turned a boring crate into a proper little house. This is the fastest build on this list: four panels, a roof, and some hinges on the lid so you can lift it for cleaning. The crate inside gives your dog the familiar den feel, and the shell keeps rain and sun off.
3. The insulated barrel house
A food-grade plastic barrel (ask bakeries and food wholesalers — they often give them away) laid on its side makes a surprisingly cosy den. Cut a doorway in one end with a jigsaw, sand the edge smooth, and line the inside with a layer of closed-cell foam board glued under a plywood inner skin. Barrels shed rain naturally and the curved walls stay warm — this is the cheapest build that genuinely works for cooler weather.
Weekend carpentry builds
4. The classic pitched-roof kennel
The build most people picture: 2×2 framing, tongue-and-groove or plywood walls, a pitched roof with real shingles or roofing felt. Add a front porch overhang of 20–30 cm — it keeps rain out of the doorway and gives your dog a dry spot to sit and supervise the garden. Ventilation matters: leave a small vent gap under the roof ridge so hot air escapes in summer.
Paint the outside with exterior paint or wood stain, and line the floor with a removable panel you can hose off. Dogs are gloriously muddy; plan for it.
5. The insulated winter dog house
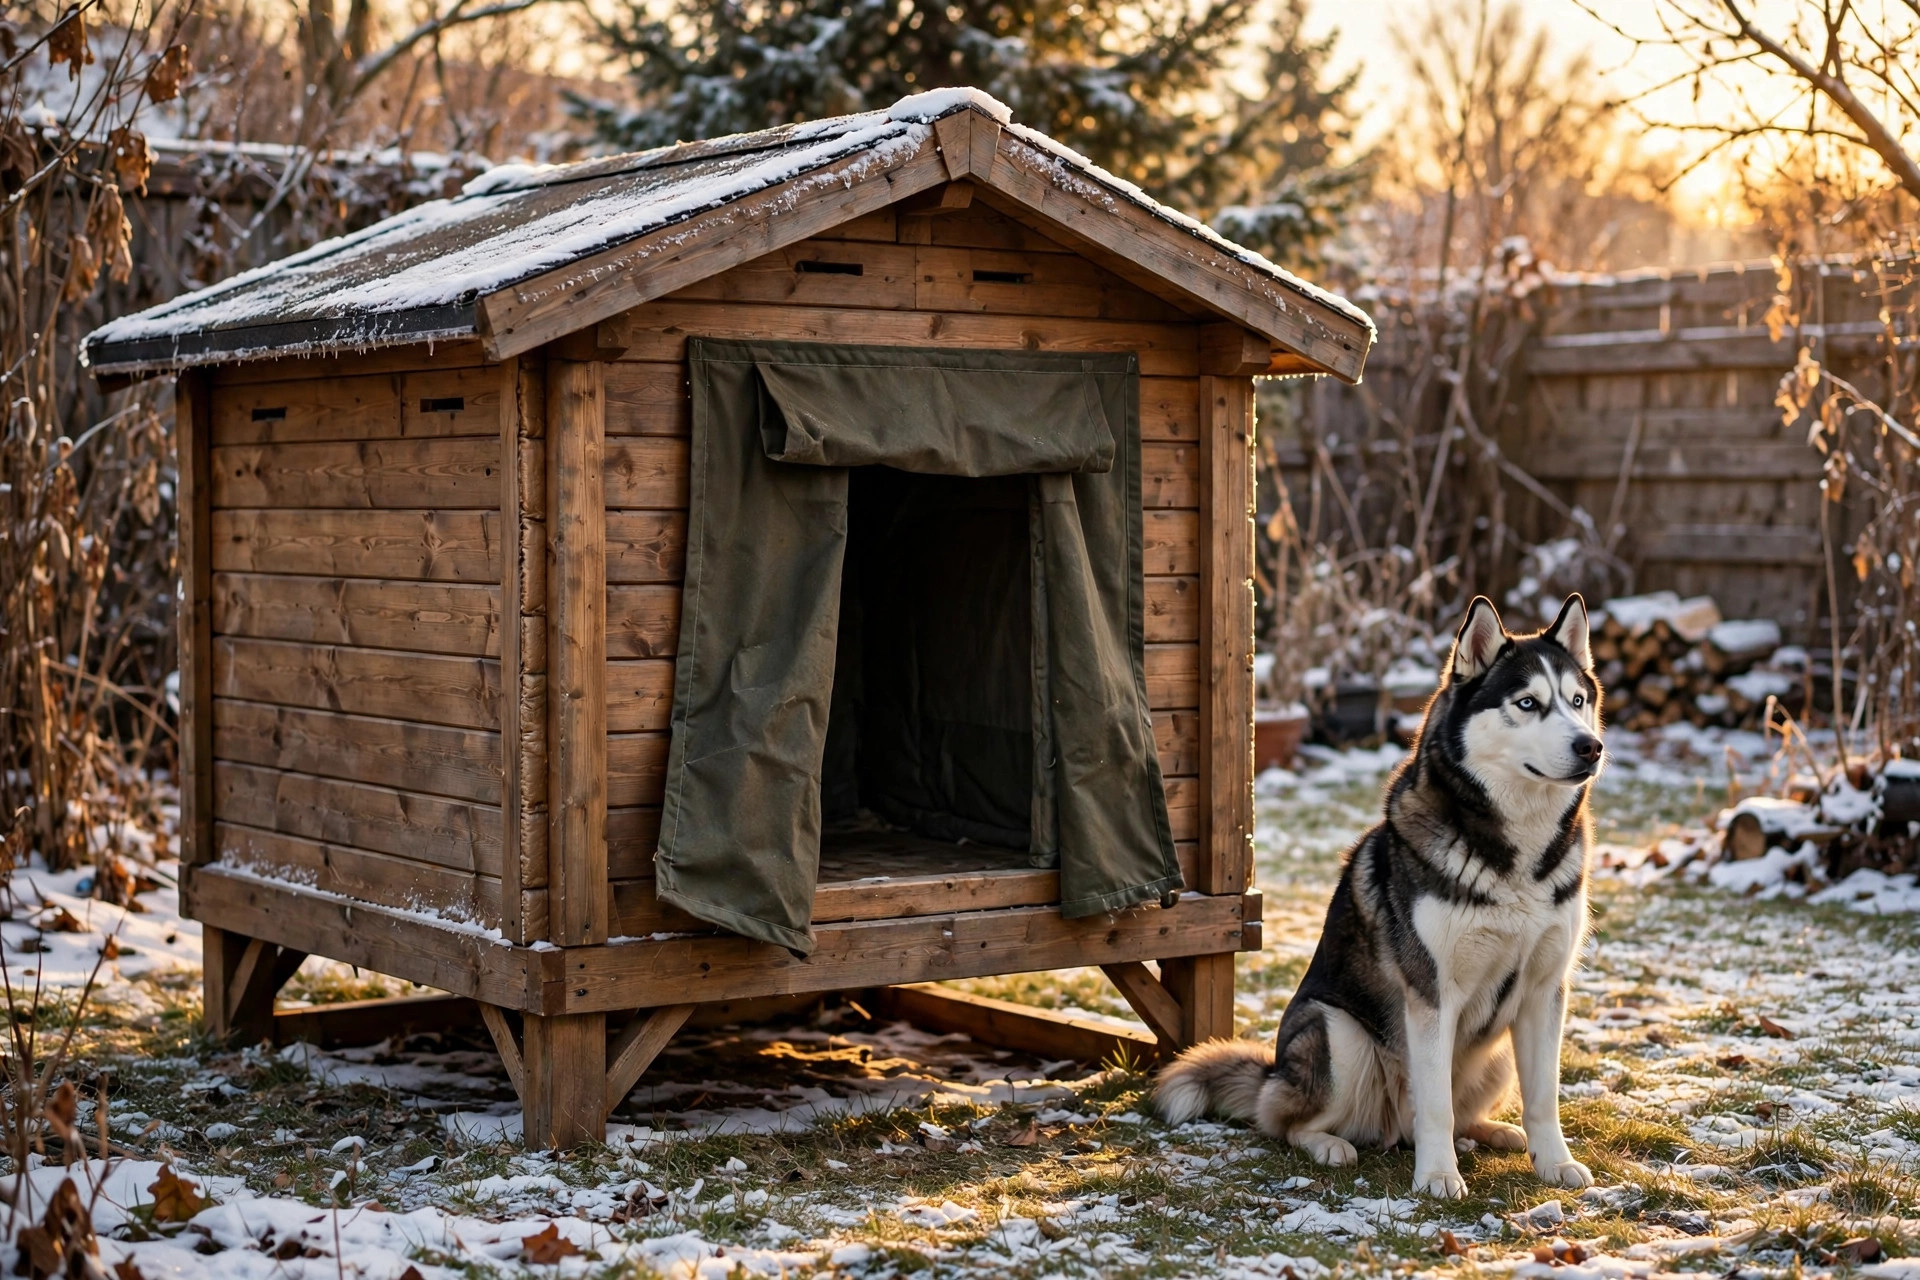
If your dog spends real time outside in cold weather, insulation is not optional — it’s the whole point of the build. Sandwich rigid foam board between the outer wall and an inner plywood skin on all sides, floor and roof. Cut the doorway smaller than usual (about 10 cm taller than your dog’s shoulders) and hang a heavy fabric or vinyl flap over it to block wind. A raised floor plus insulation keeps the interior noticeably warmer than the air outside.
Never heat a dog house with electric heaters, heat lamps or heated mats left running unattended — fires and burns are a real risk. A well-built insulated house plus deep, dry bedding is warm enough.
 6. The dog house with a run
Combine a medium-sized house with an attached fenced run and your dog gets shelter plus safe outdoor space in one project. Build the house first, then frame a run of kennel panels or welded-wire mesh off the front, with a small doorway cut between them. Give the run a shaded half and a sunny half, and bury the mesh 20–30 cm underground or lay an L-shaped footer so diggers don’t tunnel out.
7. The raised deck dog house
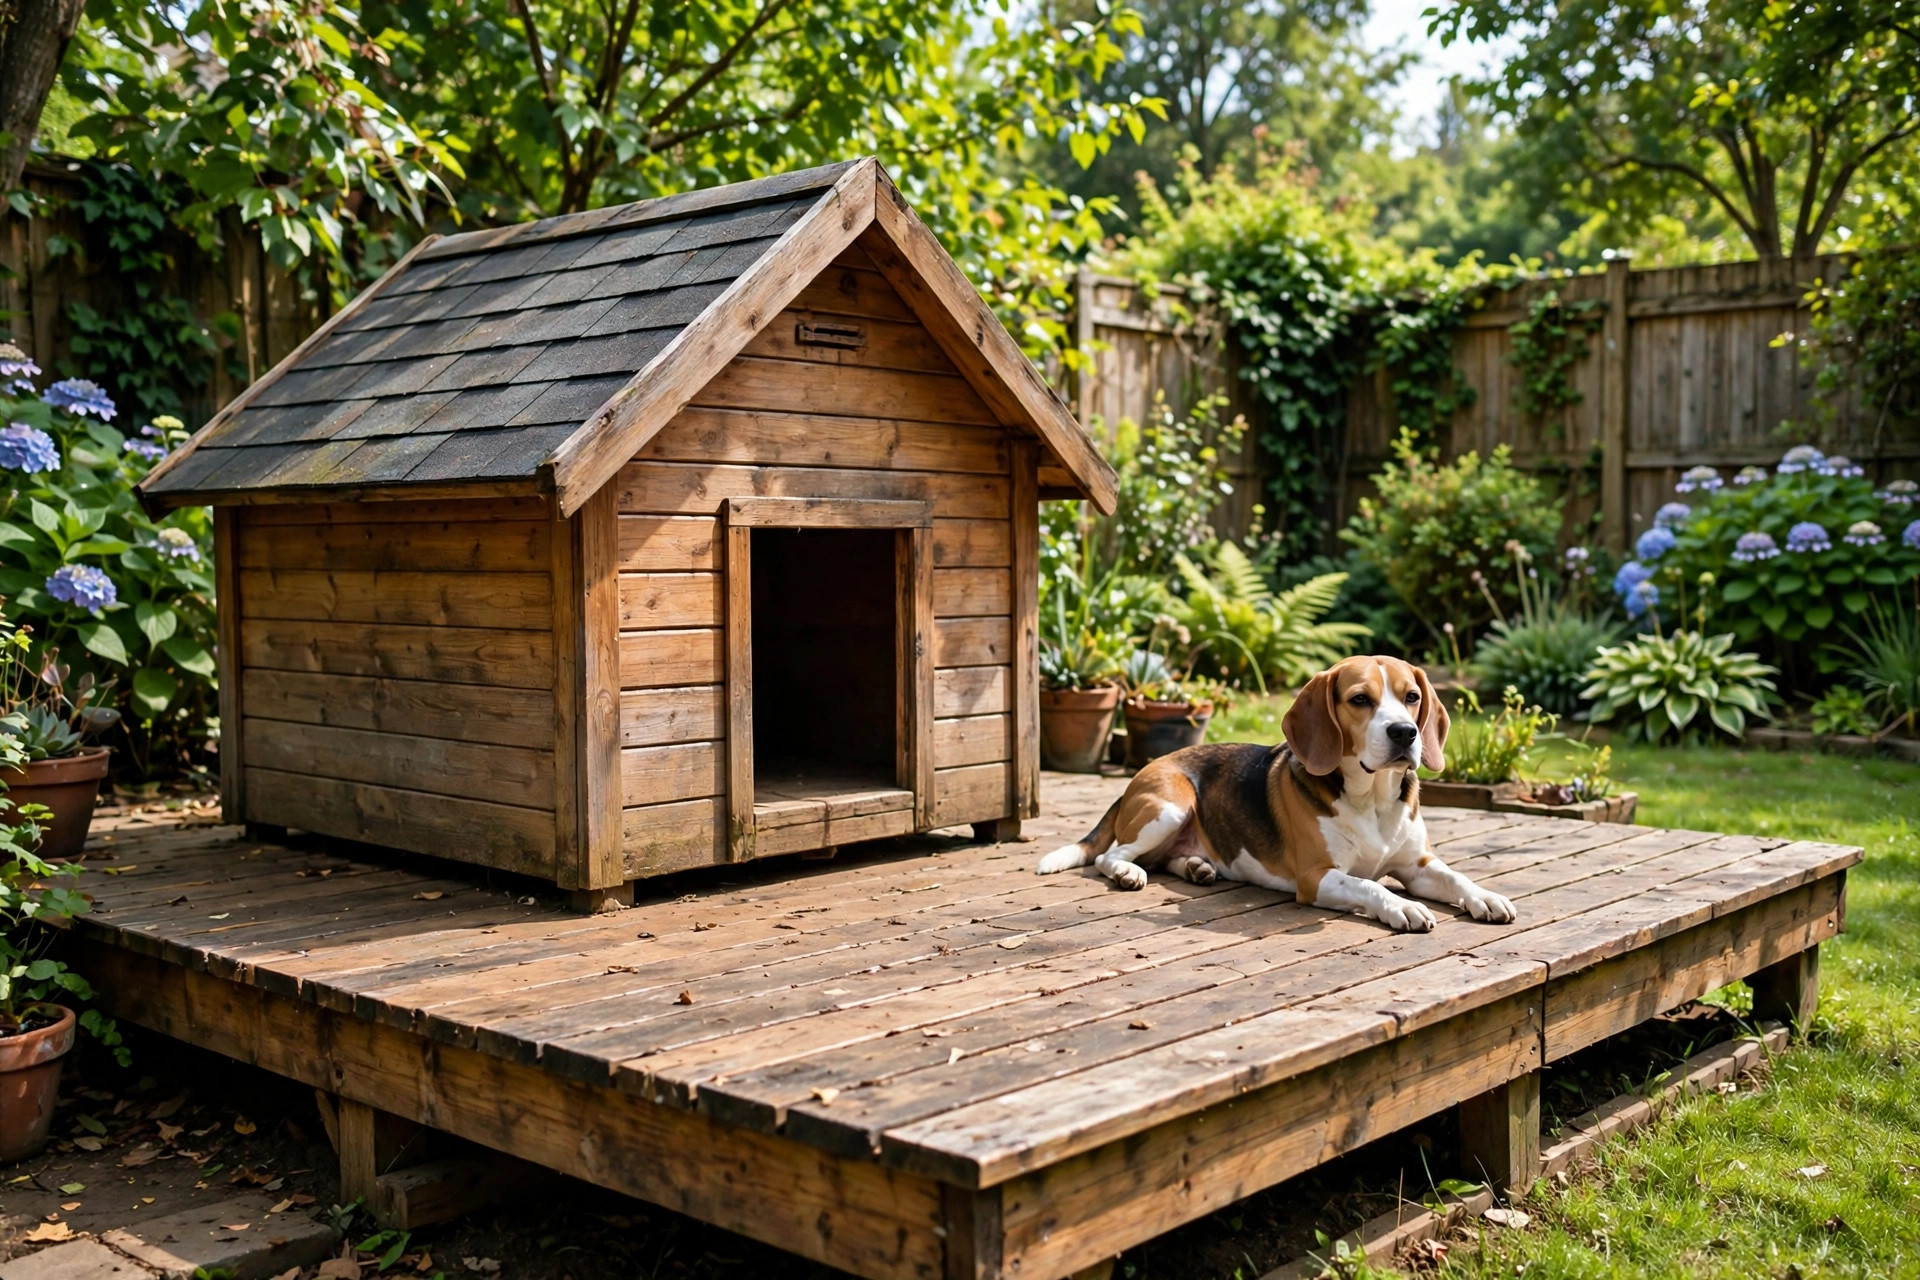
Damp ground is the enemy of every dog house. Build the house on a sturdy deck platform 30–40 cm off the ground and you solve drainage, damp and even most pests in one move. The deck doubles as a lounging spot your dog will probably prefer to the house itself. Use pressure-treated timber for the deck structure (not for any surface your dog chews) and make sure the steps or ramp aren’t slippery when wet.
 Indoor builds
8. The furniture-grade indoor dog nook
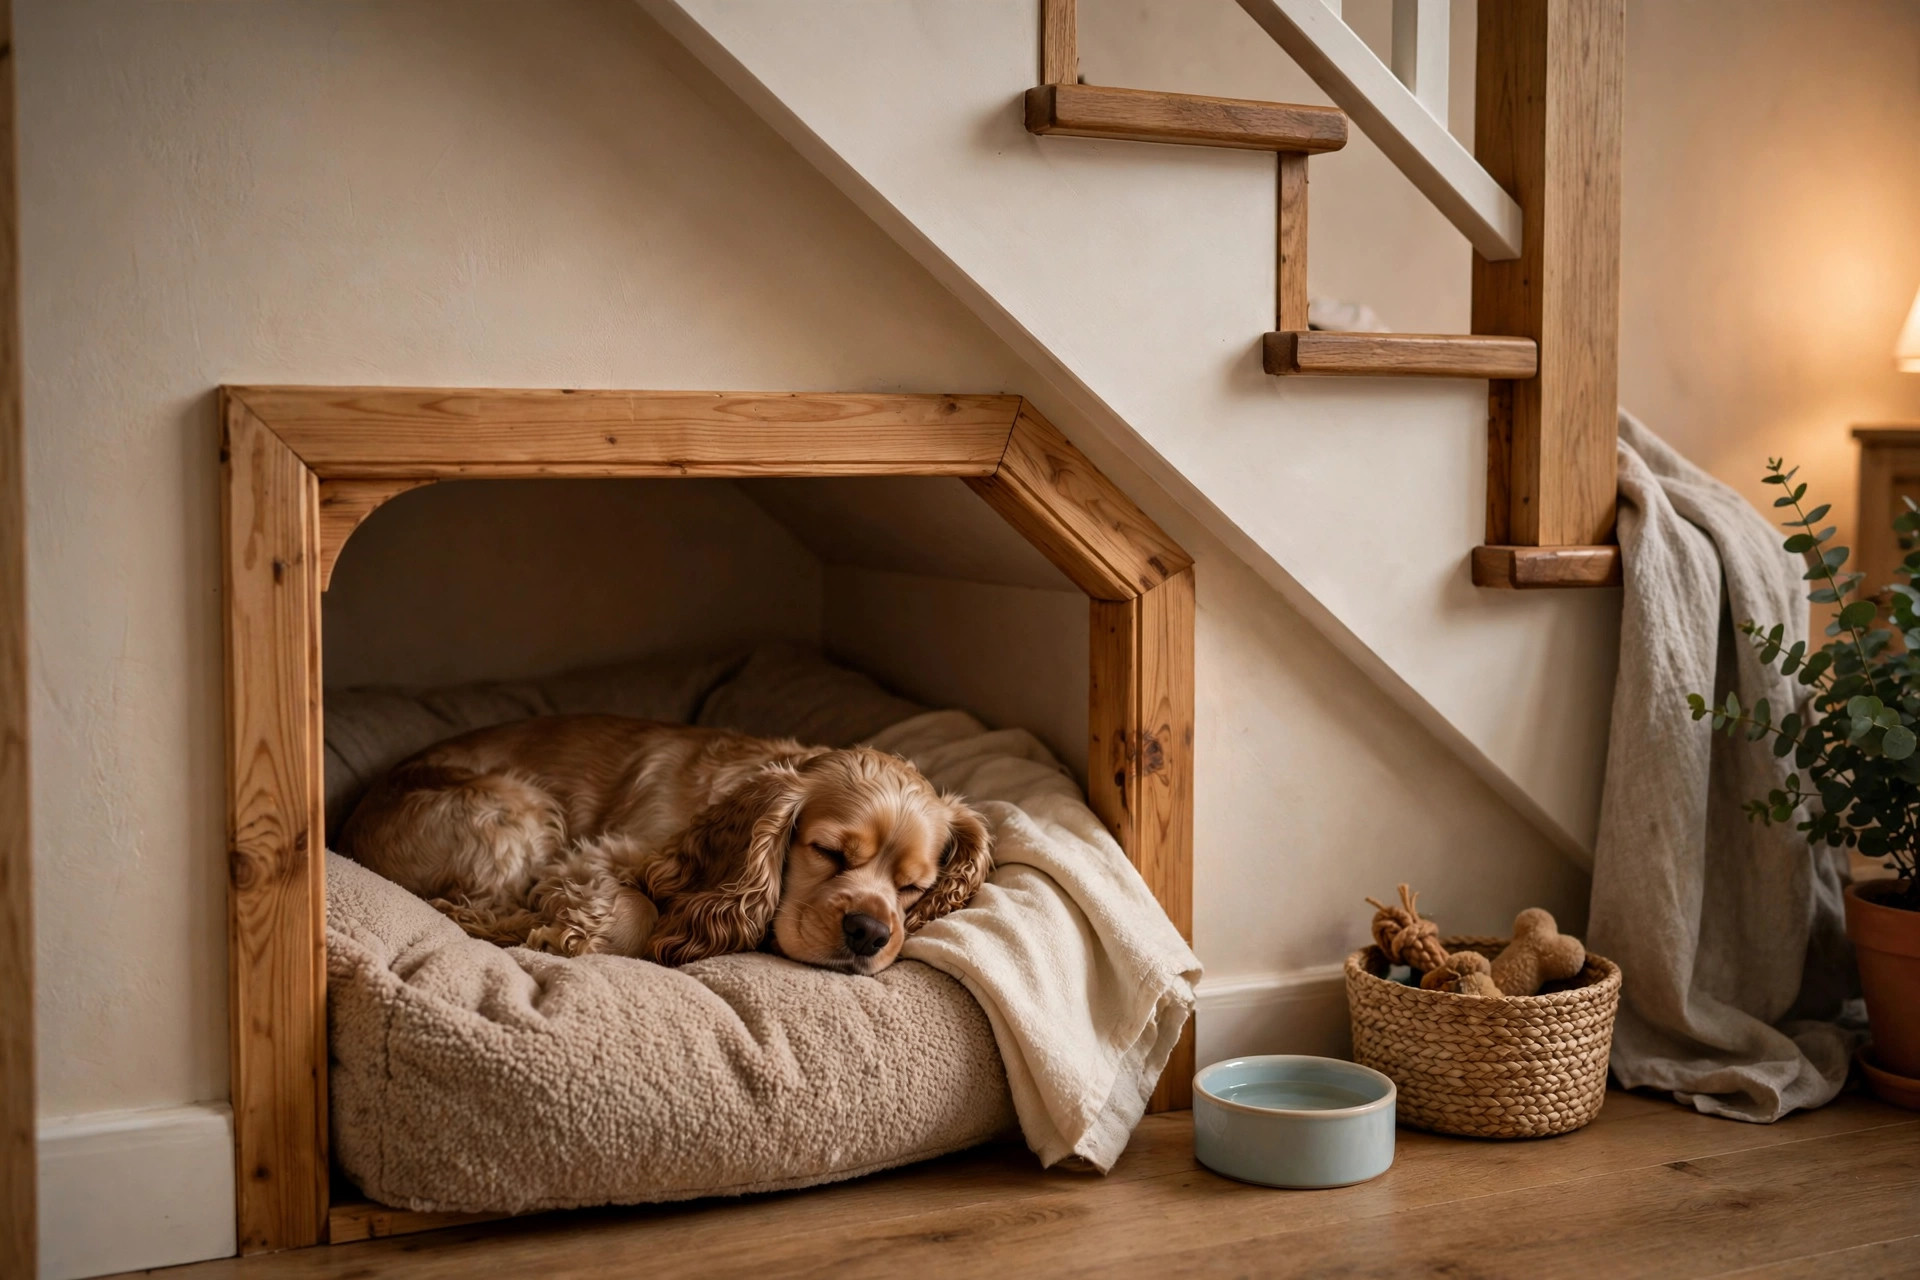
Not every “dog house” goes outside. Turn a side table, the space under the stairs, or a low cabinet into a built-in dog nook: add a cushion, a curtain or low door for den-feel, and ventilation at the back. Dogs that sleep in your bedroom will often abandon their expensive bed for a quiet dark corner — this just makes that corner deliberate. Keep the entrance wide enough that a nervous dog never feels trapped.
 9. The corner-frame nook with a roof
Two walls, a roof panel and a front rail — the simplest indoor structure that still reads as a “house” to your dog. Frame it from timber battens, drape it with washable fabric or bolt on plywood panels, and you have a den that fits any room corner. Because it’s light, you can move it with the seasons: next to the radiator in winter, by the garden door in summer. Add a machine-washable cushion and it’s done.
Weatherproofing basics (every outdoor build)
- Elevate the floor 10–40 cm off the ground — damp rises, dogs get cold, and rot follows. This single step matters more than any paint.
- Slope the roof at least 10 degrees and overhang every wall by 15–30 cm. Water should never run down a wall.
- Face the doorway away from prevailing wind and rain. A flap or small porch helps in exposed spots.
- Seal and paint all exterior wood with exterior-grade products, and re-seal every year or two. Interior surfaces: seal with a water-based, non-toxic finish only.
- Ventilate. A house that’s airtight in summer becomes an oven. A ridge vent or two small louvered vents near the roof line is enough.
Safety checklist before your dog moves in
- No exposed fasteners. Every screw head should be countersunk or capped; pull or hammer flat every staple and nail.
- No treated wood where your dog can chew — no pressure-treated, creosote or MB-stamped timber on interior or chewable surfaces.
- No toxic finishes inside the house. Water-based, pet-safe products only, and let everything cure fully before the dog moves in.
- The doorway test. Your dog should walk in and turn around without scraping. Too big is worse than slightly snug in cold climates.
- Check it seasonally. Tighten screws, re-seal wood, replace bedding, and look for wasp nests in spring — they love roof overhangs.
FAQs
What size should a DIY dog house be?
Big enough for your dog to stand up, turn around and lie stretched out — and not much bigger. Measure your dog: the interior height should be about 25% taller than their shoulder height, and the length roughly equal to their nose-to-tail-base measurement. A house that’s too large loses body heat fast in winter.
Can a dog house be too warm?
Yes. A plastic house in full summer sun can be dangerously hot inside. Always place outdoor houses in partial shade, give them ventilation near the roof, and check the interior temperature on hot afternoons. If it’s uncomfortable for your hand, it’s too hot for your dog.
How do I keep a dog house dry inside?
Elevate it, slope the roof, overhang the walls, face the door away from rain, and use bedding that drains and dries — straw works better than blankets in wet weather, and it should be replaced when damp.
Is plywood safe for a dog house?
Exterior-grade plywood is fine for walls and roofs once sealed. Avoid OSB and chipboard for outdoor builds — they swell and crumble when wet. For any surface a determined chewer can reach, use solid timber instead.