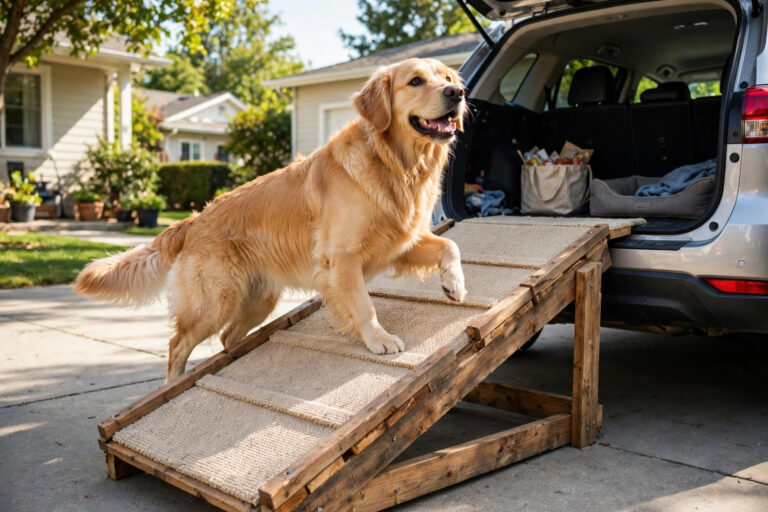
Every jump onto the bed, every leap out of the car boot, lands on your dog’s joints. For a young, healthy dog it’s nothing. For a senior with stiff hips, a dachshund with a long back, or any dog recovering from a leg injury, those daily jumps add up — and they’re one of the most common ways older dogs hurt themselves at home.
A ramp fixes it quietly. No more lifting a 30-kilo labrador into the car. No more wincing when your old dog hesitates at the edge of the bed. And you don’t need to buy one: a DIY dog ramp is one of the simplest weekend builds there is — one sheet of plywood, a carpet offcut, two hinges, and basic tools you probably already own.
This guide covers the build that works for beds, couches and cars alike: a folding plywood ramp with a proper non-slip surface, sized to your dog, for under $30 in materials.
Why a ramp, and which dogs need one most
Ramps aren’t just for old dogs, though seniors are the biggest winners. Think about it from the joint’s point of view: jumping down from a car boot or a tall bed multiplies the force on elbows, shoulders and spine several times over. Dogs that benefit most include:
- Seniors and arthritic dogs — if your dog hesitates before jumping, or needs a running start, a ramp removes the daily impact. It pairs perfectly with the joint support in our guide to the best orthopedic dog beds.
- Long-backed breeds — dachshunds, corgis and basset hounds are prone to back injuries (IVDD), and vets routinely recommend ramps over stairs or jumps for them.
- Small dogs — a chihuahua jumping off a sofa is proportionally like you jumping off a kitchen counter. Repeatedly.
- Dogs recovering from surgery — vets almost always prescribe “no jumping” after cruciate or hip surgery, and a ramp is how you actually enforce that.
- Big, heavy dogs — lifting a 40-kilo dog into an SUV gets old fast, for your back as much as their joints.
If your dog already struggles with household obstacles, a ramp plus a dog door can turn the whole house into easy-access territory.
Step 1: Measure the right height and angle
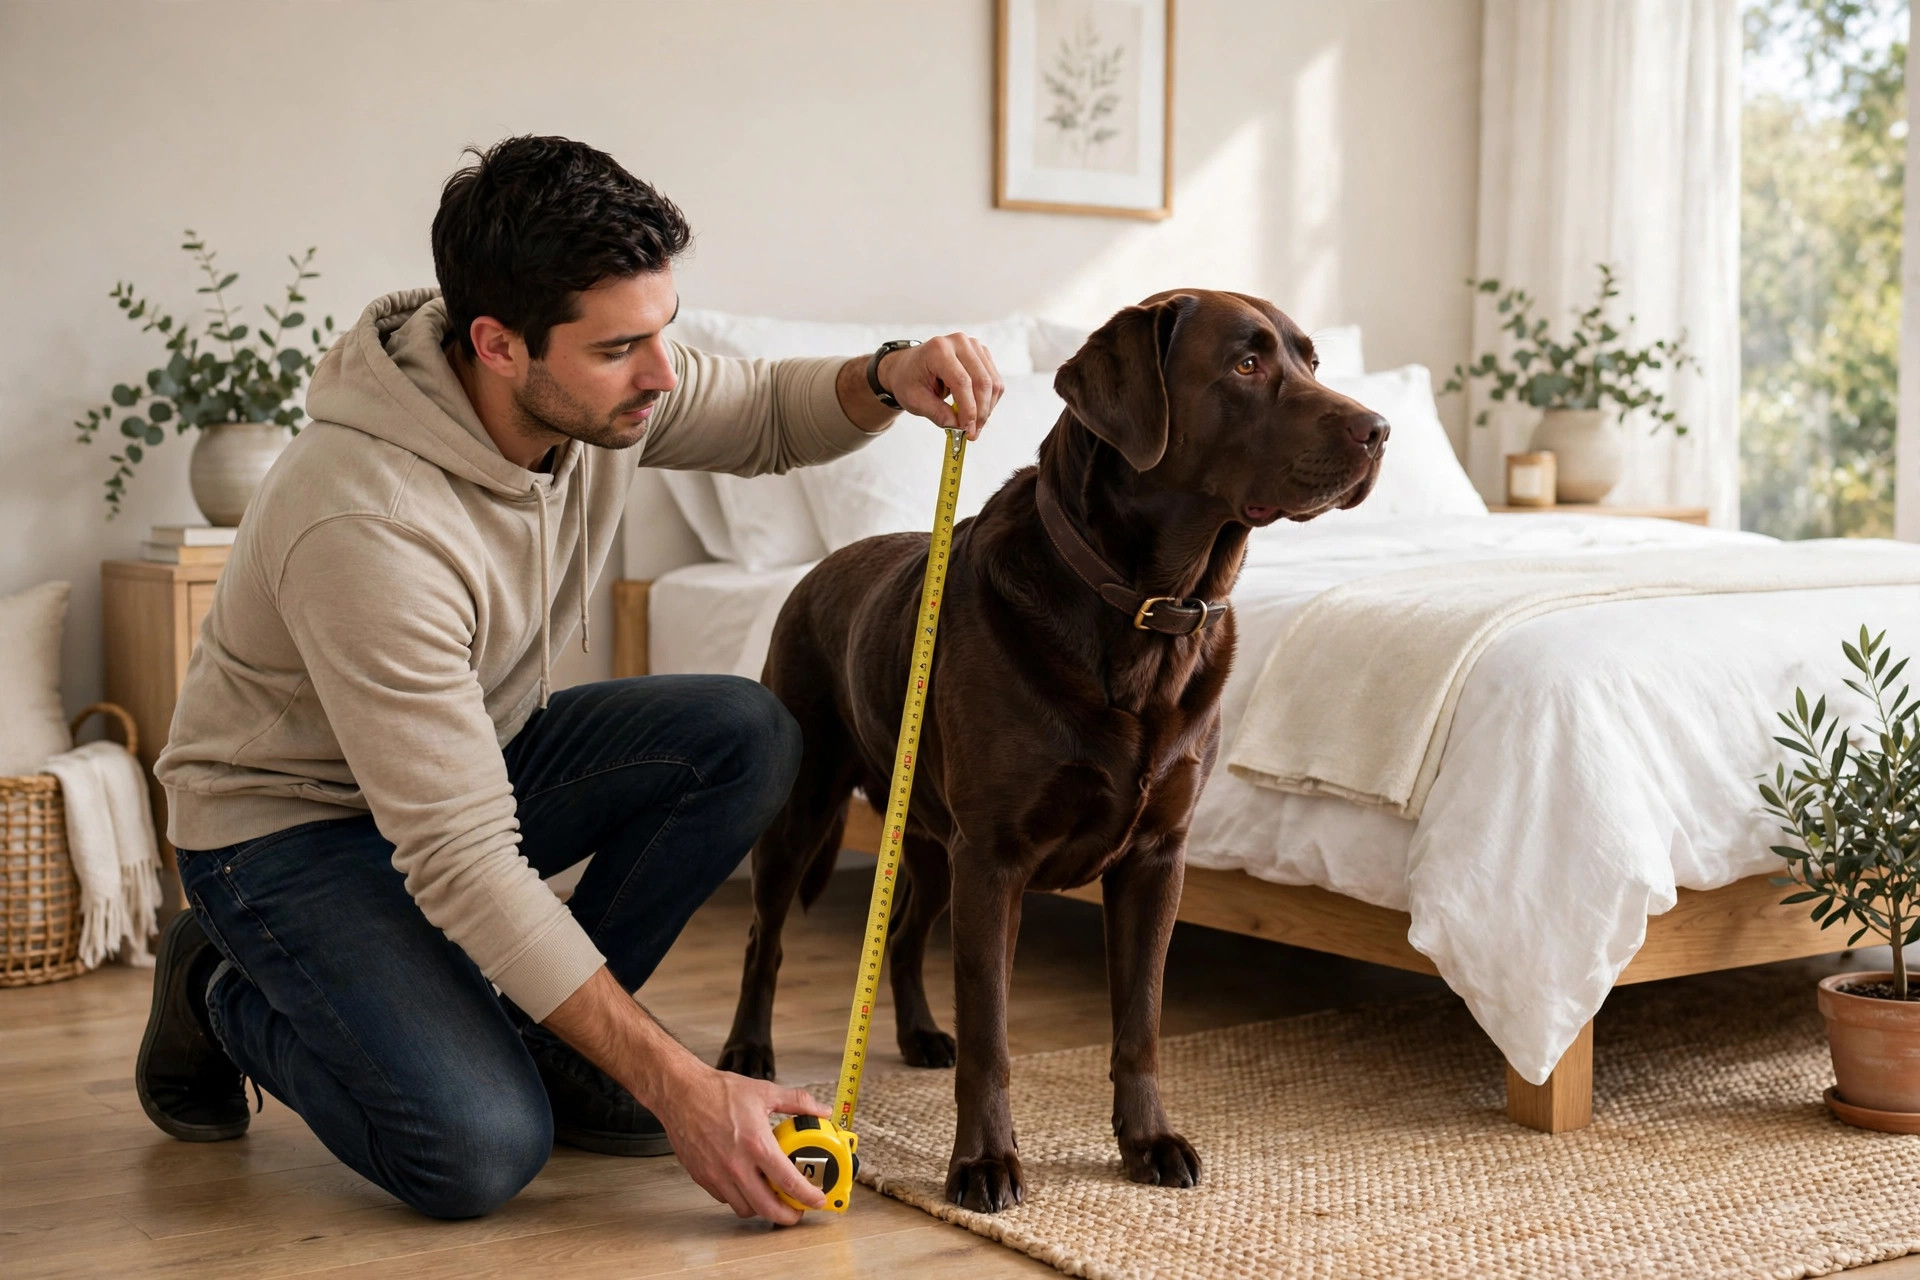
This is the step most people skip, and it’s the one that decides whether your dog actually uses the ramp. Too steep and they’ll refuse it; too long and it won’t fit anywhere.
Measure the height first. Measure from the floor to the surface your dog needs to reach — the top of the mattress, the couch cushion, or the car boot lip. Typical numbers: bed 55–65 cm, couch 40–50 cm, SUV boot 70–80 cm.
Then pick the angle. The sweet spot for most dogs is 18–25 degrees. Under 18° the ramp gets very long; over 25° most dogs — especially seniors — start balking.
Here’s the simple rule of thumb: for every 30 cm of height, plan 75–90 cm of ramp length. A 60 cm bed height needs a ramp roughly 1.5–1.8 m long. A 75 cm SUV boot needs 1.9–2.2 m. Longer is always kinder than shorter — if you have the space, go long.
Width: 30–40 cm for small dogs, 45–60 cm for medium and large dogs. A nervous dog feels much safer on a wider ramp, and the extra plywood costs almost nothing.
Step 2: Gather the materials
For a standard folding ramp (~1.8 m long, 50 cm wide):
- One sheet of 12 mm plywood (exterior grade if it’ll live outdoors or in a damp car boot), cut to your length × width. Most hardware stores will cut it for you.
- A carpet runner or rubber-backed doormat offcut to cover the walking surface — this is the non-slip layer, don’t skip it.
- Two sturdy hinges (for the folding version) or four short legs (for the fixed version).
- Wood screws, wood glue, sandpaper (120 grit).
- Optional: two side rails (thin battens, 5 cm tall) along the edges — brilliant confidence-boosters for wobbly seniors.
- Optional: a handle or rope loop for carrying.
Total cost: typically $20–$30 if you buy the plywood new; free if you’ve got offcuts in the garage.
Step 3: The build (folding version)
The folding design is the most useful: it halves in length for storage behind a door or in the car, and unfolds into a full ramp in seconds.
- Cut and sand. Cut the plywood to your measured length and width (or have the store do it). Sand every edge and face smooth — splinters and paws don’t mix.
- Split it in two. Cut the board across the middle into two equal halves. These are your two ramp sections.
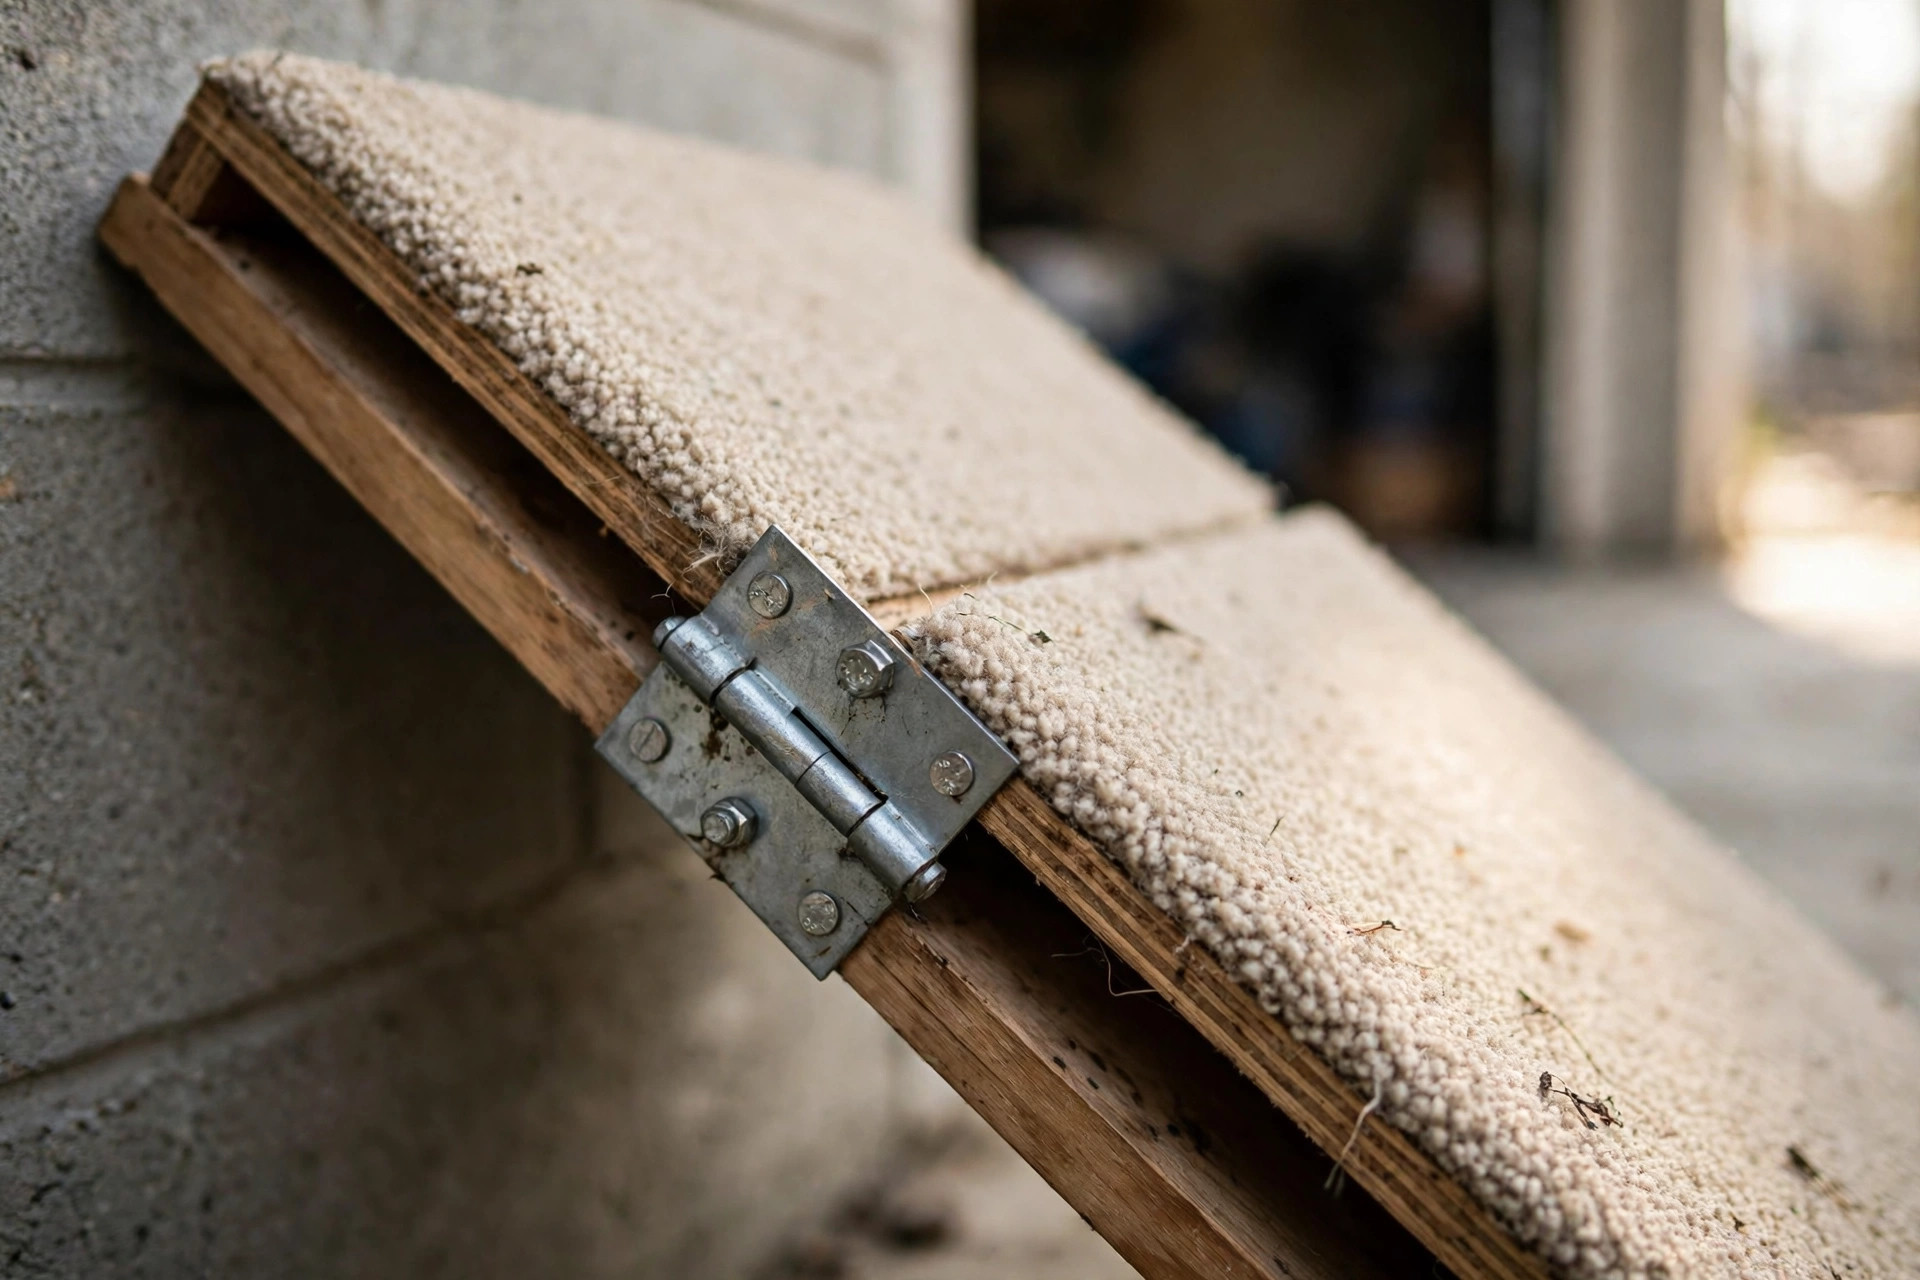
- Hinge the halves. Lay them face-down, butt the cut edges together, and screw the two hinges across the join. Test the fold — it should fold flat like a book.
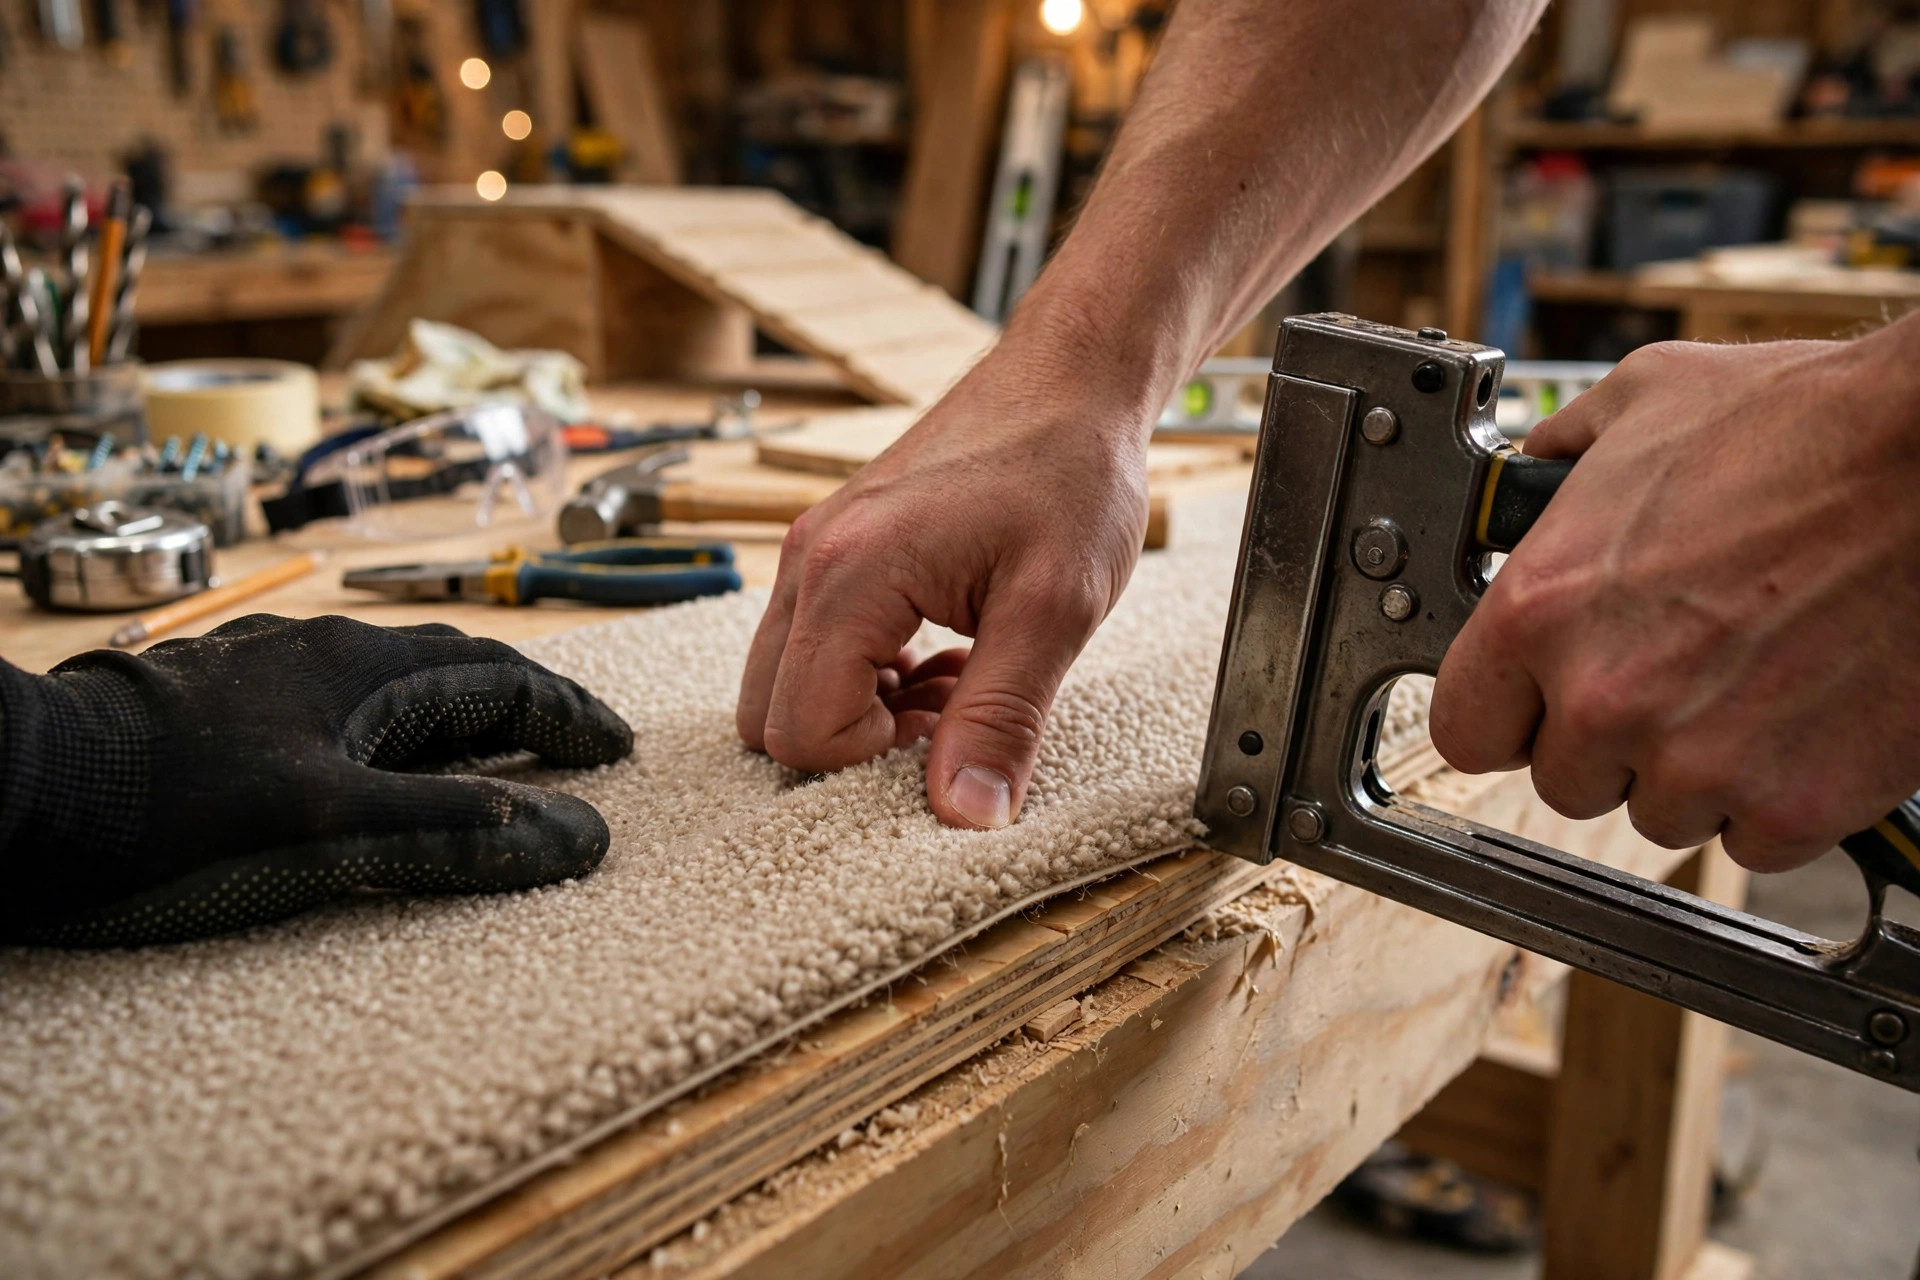
- Add the grip surface. Cut the carpet to cover each half’s top face, leaving the hinge area clear. Glue it down, then staple or screw the edges for good measure. The carpet should run the full length with no gaps — a bare plywood patch in the middle is exactly where a paw will slip.
- Add side rails (recommended). Screw a 5 cm batten along each long edge of the top face. They stop paws sliding off sideways and give nervous dogs a visual “lane” to follow.
- Stabilise the ends. The top end needs to grip, not slide: glue a strip of rubber shelf liner or stick-on rubber feet under the top edge where it meets the bed or car. For the folding version, small folding legs near the middle hinge stop it sagging under heavy dogs.
Let the glue cure overnight before the first use.
Folding vs fixed: which should you build?
Folding wins if the ramp needs to travel (car boot ramps, visiting family) or storage space is tight. Slightly more work, slightly less rigid — fine for dogs under 40 kg with the middle legs in place.
Fixed (one solid board, no hinge, maybe with short legs) wins for a permanent bedside or couch ramp. It’s stiffer, simpler, and you can make it extra wide. If the ramp will live in one spot forever, build it fixed and skip the hinges.
The non-slip surface matters more than the wood
A beautiful ramp with a slippery surface is a decoration, not a tool. Dogs refuse ramps for one reason above all: their paws slipped once, and they don’t trust it anymore. Your options, best first:
- Low-pile carpet or carpet tiles — the gold standard. Grippy in both directions, soft on paws, cheap as offcuts.
- Rubber-backed doormat material — excellent grip, easy to hose clean after muddy paws.
- Non-slip stair treads (the adhesive strips) — good for narrow ramps, but check the edges don’t peel.
- Paint + sand texture — works, but rough on paw pads over time. Carpet is kinder.
Whatever you use, cover the entire walking surface edge to edge, and replace it when it wears smooth.
Training your dog to use the ramp
Most dogs don’t march up a new ramp on day one — and pushing them up it is the fastest way to make them hate it. Do this instead:
- Flat first. Lay the ramp flat on the floor and let your dog walk across it for treats. Click and treat every crossing. Most dogs are fine with this in a day.
- Low angle. Prop one end on a low step or a couple of books — barely an incline — and lure them up with a treat trail. Keep sessions to five minutes.
- Full height. Raise it to the real position. Walk beside your dog the first few times, treat at the top, treat at the bottom.
- Make it routine. Use the ramp for every car trip and bedtime for a week. Dogs learn by repetition, not by lecture.
Safety note: never force or drag a dog up a ramp. One scary experience can undo a week of training. If your dog freezes, go back a step. Arthritic dogs may need a few days just to trust the surface — that’s normal. And always supervise: ramps are for controlled climbing, not for launching off the top.
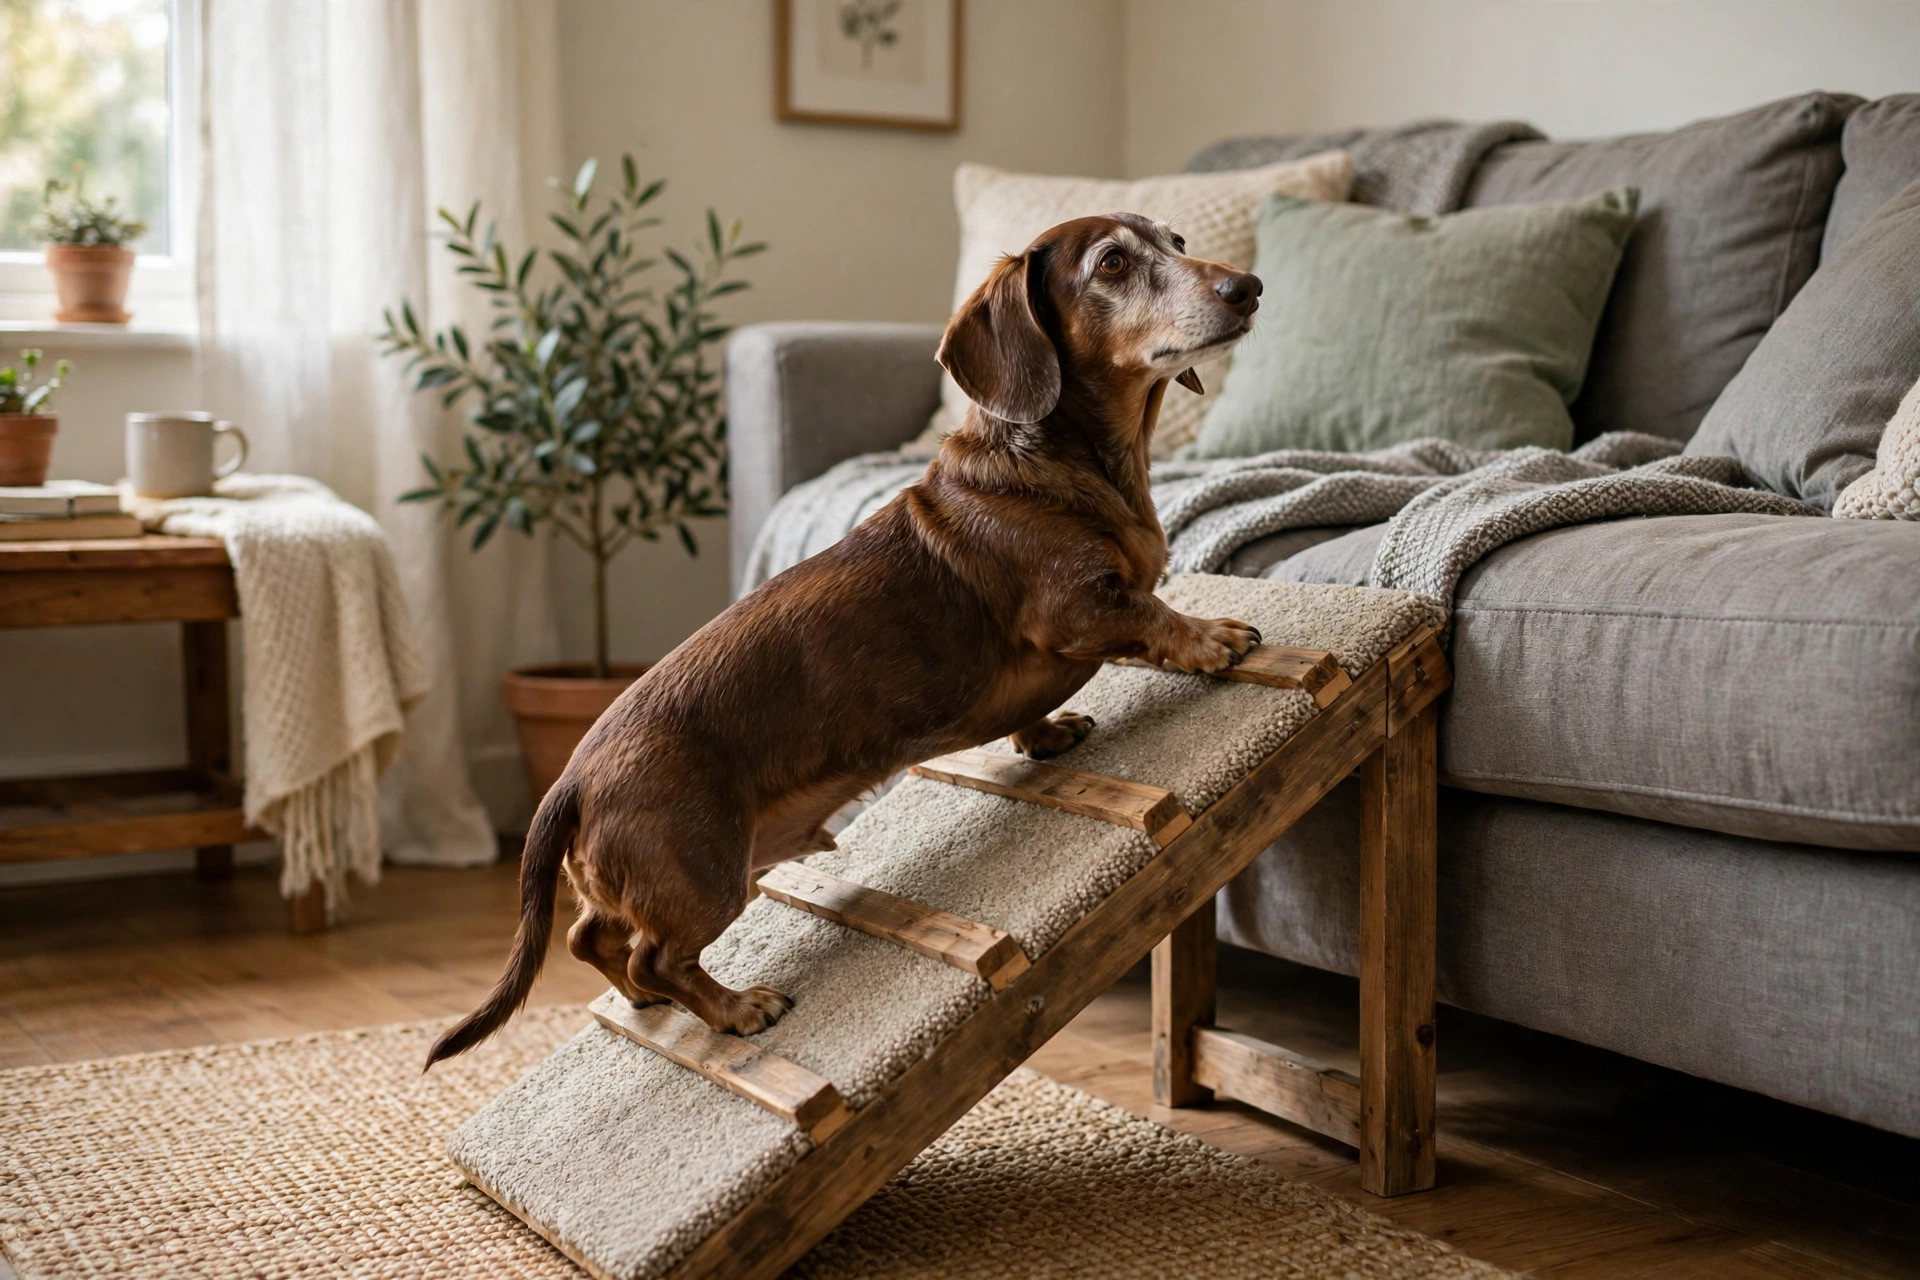
Weight, weather and upkeep
- Weight rating: 12 mm plywood on edge supports most dogs fine, but if your dog is over 40 kg, use 18 mm plywood or add a centre support batten underneath.
- Outdoor/car use: exterior-grade plywood plus a waterproof sealant on the underside; bring the carpet surface inside in heavy rain.
- Cleaning: vacuum the carpet monthly, hose it down if it gets muddy, and check the hinge screws twice a year — they loosen with vibration in a car boot.
- When not to DIY: if your dog is post-surgery, check the ramp plan with your vet first — some recoveries need a specific angle or a sling plus ramp combo.
The bottom line
A DIY dog ramp is an afternoon’s work, about $25 in materials, and it quietly removes dozens of joint-jarring jumps from your dog’s week. Measure twice, build it long and wide, carpet the whole surface, and train it in small steps. Your dog’s hips will thank you — probably by using the ramp to demand more car rides.
FAQs
What angle should a dog ramp be?
18–25 degrees works for most dogs. As a rule of thumb, allow 75–90 cm of ramp length for every 30 cm of height. Seniors and long-backed breeds do best at the gentler end.
Are ramps better than stairs for dogs?
For arthritic dogs, seniors and long-backed breeds, yes — ramps keep the spine level and avoid the repeated impact of step-downs. Stairs are fine for healthy, agile dogs in tight spaces.
How wide should a DIY dog ramp be?
30–40 cm for small dogs, 45–60 cm for medium and large dogs. Wider is always better for nervous or wobbly dogs.
Can I use a dog ramp for my car?
Absolutely — that’s one of the most common uses. Build the folding version so it stores in the boot, and make sure the top end has rubber grip so it doesn’t slide on the bumper.
My dog is scared of the ramp. What do I do?
Go back to the flat-on-the-floor stage and rebuild with treats. Never force them. Most dogs come around within a week of short, treat-heavy sessions.