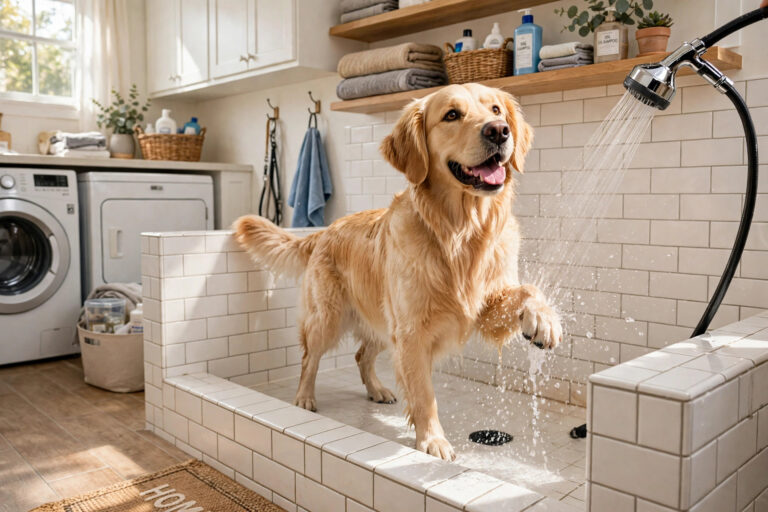
Every muddy walk ends the same way: a negotiation at the back door. Wet paws on the tiles, muddy prints up the hallway, and a dog that somehow gets dirtier during the towelling-off process than during the walk itself.
A dog wash station ends the negotiation. One dedicated spot where the muddy dog goes straight from the door, gets rinsed and dried, and re-enters the house as a clean dog. It’s one of those 2026 “Barkitecture” hallmarks — built-in dog wash stations are now a standard feature of mudroom and laundry renovations — but you don’t need a renovation budget. You need a corner, a plan, and a weekend.
This guide covers three builds at three budgets: the proper mudroom wash corner (raised platform, handheld sprayer, tiled splash zone), the budget outdoor shower from a utility sink and a hose, and the no-plumbing micro option for renters. Plus the drying zone that finishes the job — because a wet dog released into the house undoes everything.
Why a wash station beats the bathtub
Think about what actually happens when you wash a dog in the family bath: hauling a muddy dog through the house first (the thing you’re trying to avoid), a tub that takes ten minutes to clean afterwards, and a wet dog doing zoomies on the sofa while you mop. A wash station flips the order — the dog is contained at the entry point, cleaned, and only then released.
The mud-control payoff is real:
- Contained mess. Mud stays in one washable zone instead of migrating through the house.
- Faster rinses. A handheld sprayer at the door turns a 20-minute ordeal into a 3-minute rinse — which means you actually do it, every walk.
- Less grooming cost. Regular rinses mean fewer full baths and less grit ground into the coat.
- Works in bad weather. The outdoor option aside, the indoor station is usable in pouring rain, which is exactly when you need it most.
Option 1: The mudroom / laundry corner wash station
This is the full build — the one that looks like the renovation photos. You need a corner roughly 90 × 90 cm near a door, ideally in a laundry room, garage nook or mudroom with an existing water supply and drain nearby.
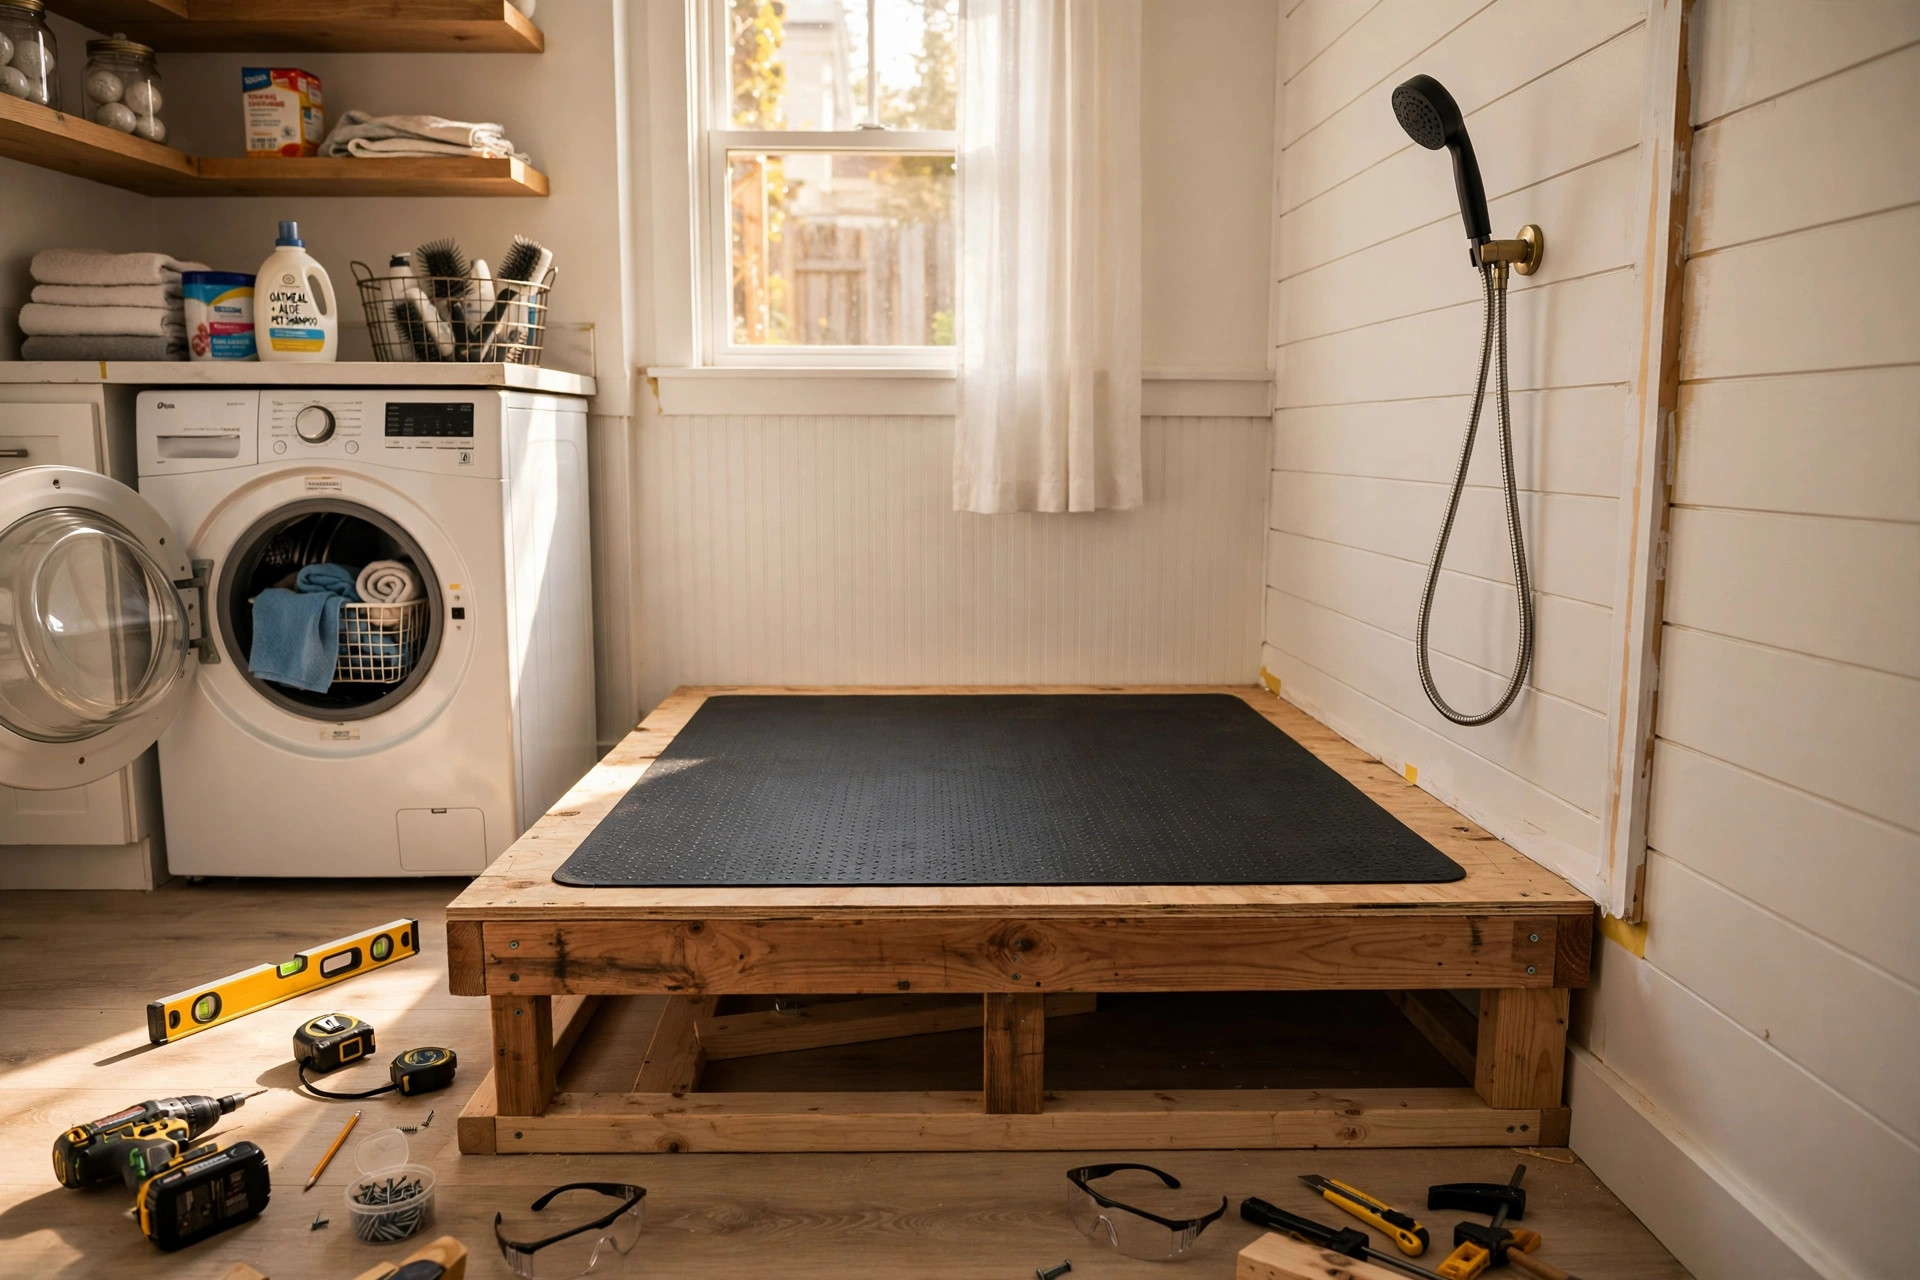
The three components:
1. The raised platform. A dog shower works best raised 20–30 cm off the floor. You stop bending double, the dog stops climbing out so easily, and the drain sits underneath. Build it from a plywood base on treated-wood framing, or — the simplest version — set a large fibreglass laundry tub or stock tank into a frame. The platform surface should be a non-slip rubber mat (horse-stall mat offcuts are perfect: cheap, indestructible, paw-grippy).
For small dogs, a raised laundry sink basin itself can BE the station. For medium and large dogs, a stock tank or a tiled raised platform is the answer.
2. The handheld sprayer. This is the heart of the station. Tee off the nearest cold supply — and hot too, if you can — with a washing-machine Y-splitter or a proper plumber-installed branch, and run a flexible hose to a handheld shower head with a long (2 m+) hose. The sprayer hangs on a hook or a shower rail at dog height when in use.
Safety note: always test water temperature on your own wrist first, the same as for a baby. Lukewarm only — what feels warm to your hand can scald a dog’s thinner-skinned belly. If you tee off hot water, fit a simple thermostatic mixing valve or just be disciplined about testing.
3. The tiled splash zone. Dogs shake. Water goes everywhere — mostly sideways at about dog-shoulder height. Protect the walls 60–90 cm around the station: stick-on vinyl tiles, waterproof wall panels, or a coat of exterior-grade paint over backer board. A cheap shower curtain on a tension rod also works brilliantly as a splash guard and doubles as the “stay in here” boundary during rinses.
Drainage: the ideal is a floor drain or tying into an existing waste pipe — a job for a plumber if you’re not confident. The practical DIY fallback: the station drains into a bucket or a low tray underneath, which you empty after each use. It adds 30 seconds and saves a plumbing bill.
Typical cost: $80–$200 depending on how much you plumb properly versus improvise.
Option 2: The budget outdoor shower
No spare corner indoors? The outdoor version costs almost nothing and is arguably better in summer — the dog never comes inside wet at all.
The classic setup: a utility sink or large tub (a galvanised stock tank is the budget hero) placed near an outside tap, fed by a garden hose with a spray-nozzle attachment. For warm rinses, a solar shower bag hung in the sun gives you a few litres of warm water for free — enough for paws and bellies.
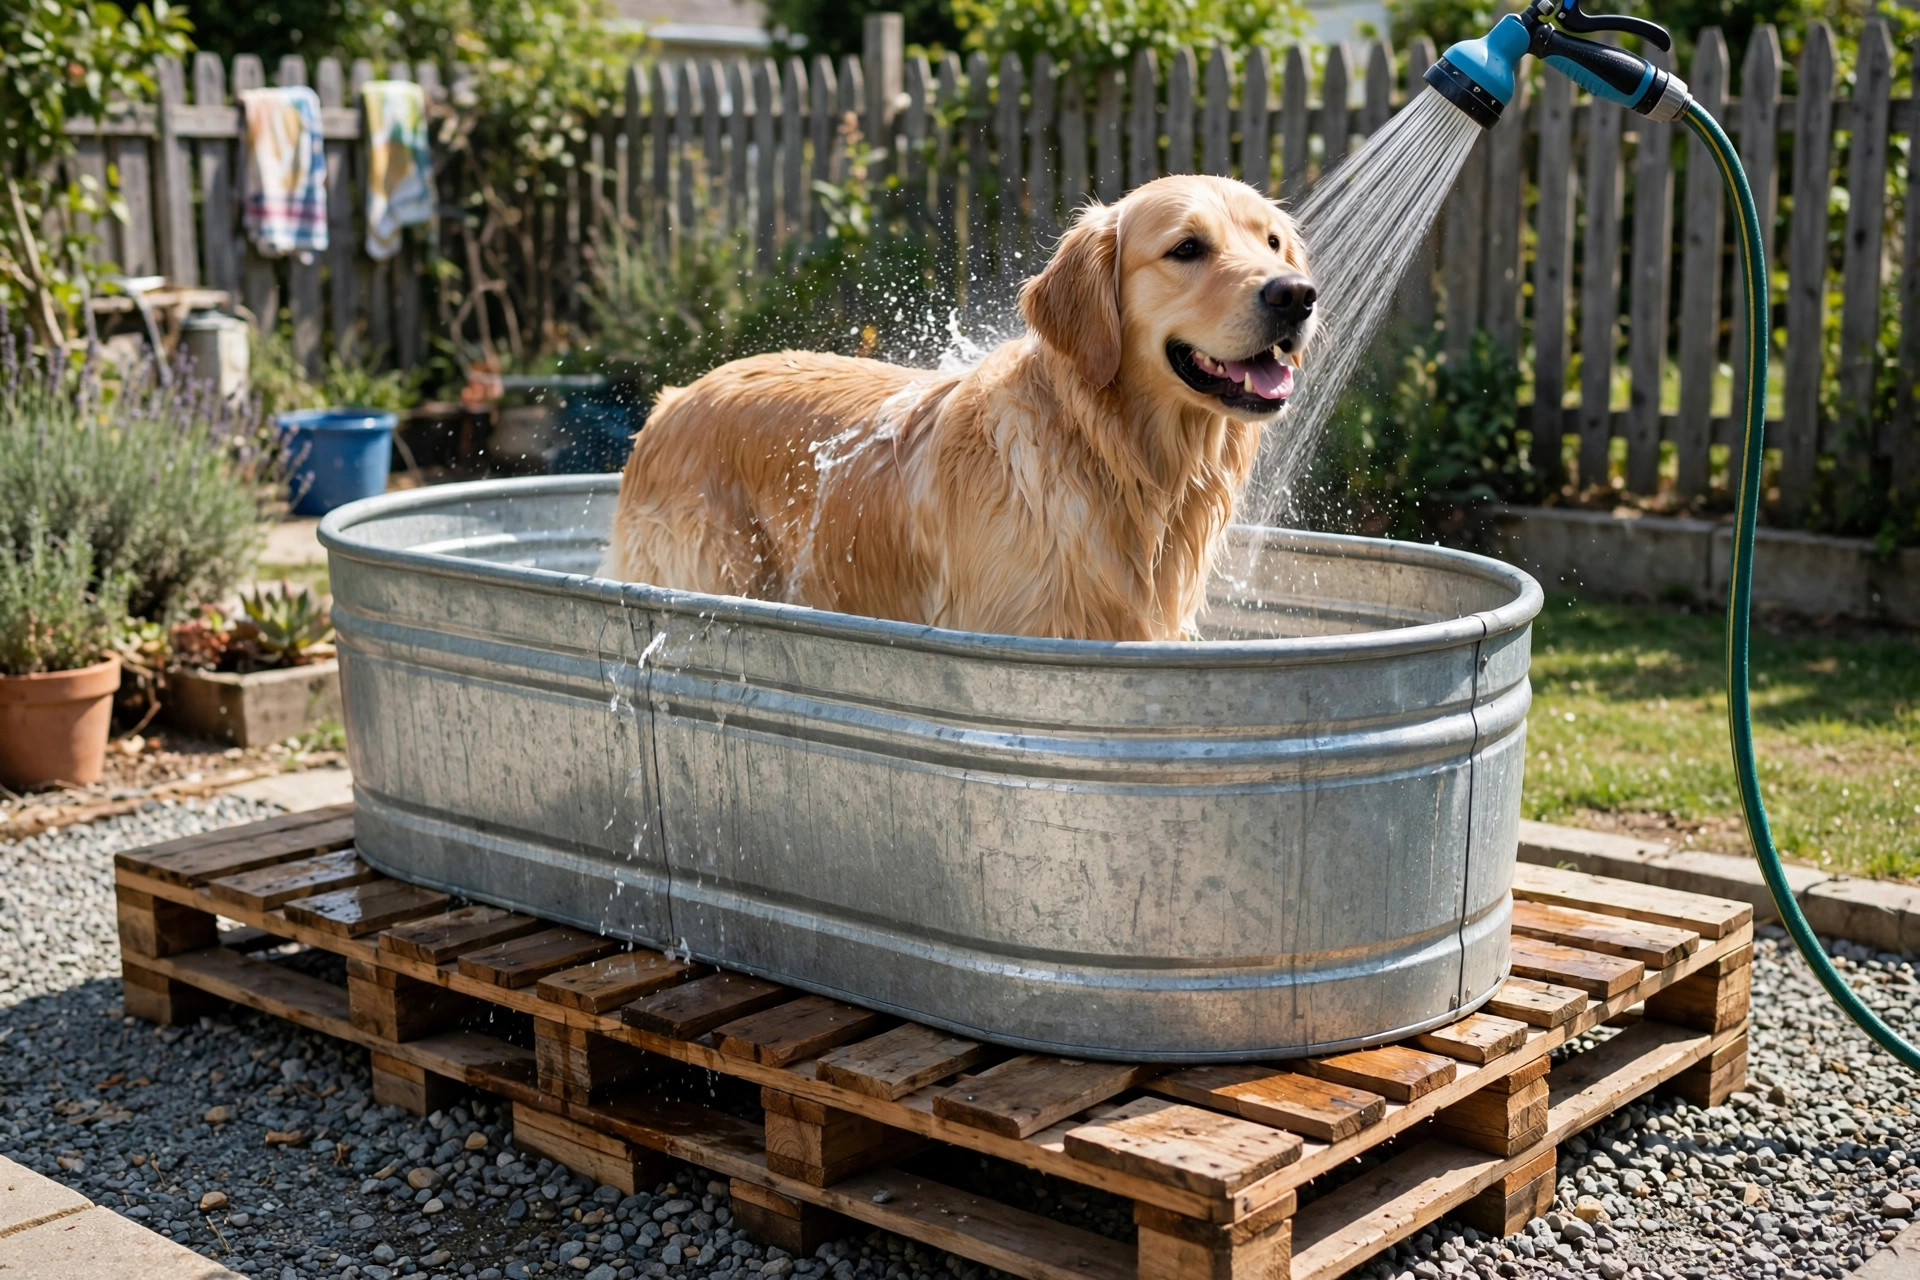
The three outdoor rules:
- Drainage matters outside too. Don’t rinse the dog in a spot that turns into a mud pit — gravel, decking or a paved corner with a fall away from the house. A raised pallet platform under the tub keeps paws out of the puddle.
- Water temperature swings. Hoses left in the sun run scalding for the first seconds — always run it clear before pointing it at the dog. In cold weather, only rinse if you can dry the dog properly afterwards; a wet dog in wind chills fast.
- Dry before entry. The outdoor shower still needs a drying step (see the drying zone below) — a dog that air-dries on the patio then runs inside damp is only half the job.
Typical cost: $30–$60 for the tub, hose nozzle and a pallet platform.
Option 3: The renter’s micro station (no plumbing)
If you can’t touch the plumbing, build the station around containment rather than water supply:
- A boot tray (the big ribbed mats for muddy boots) or a shallow plastic storage-box lid at the door becomes the wash pad.
- A 2-litre pump sprayer — the garden kind — filled with lukewarm water is your “shower”. It gives a directed rinse with zero plumbing.
- A stack of old towels and a paw-washing cup (the silicone-bristle kind) handle the detail work.
It won’t replace a real rinse for a fully mud-caked dog, but for everyday paw-and-belly mud it’s the difference between prints up the hallway and a clean entry. The whole kit lives in a basket by the door and costs under $25.
The drying zone: don’t skip this part
Washing is half the job; drying is the other half, and it’s the part most DIY guides forget. A wet dog in a wash station is contained. A wet dog released into the house is a mop with legs.
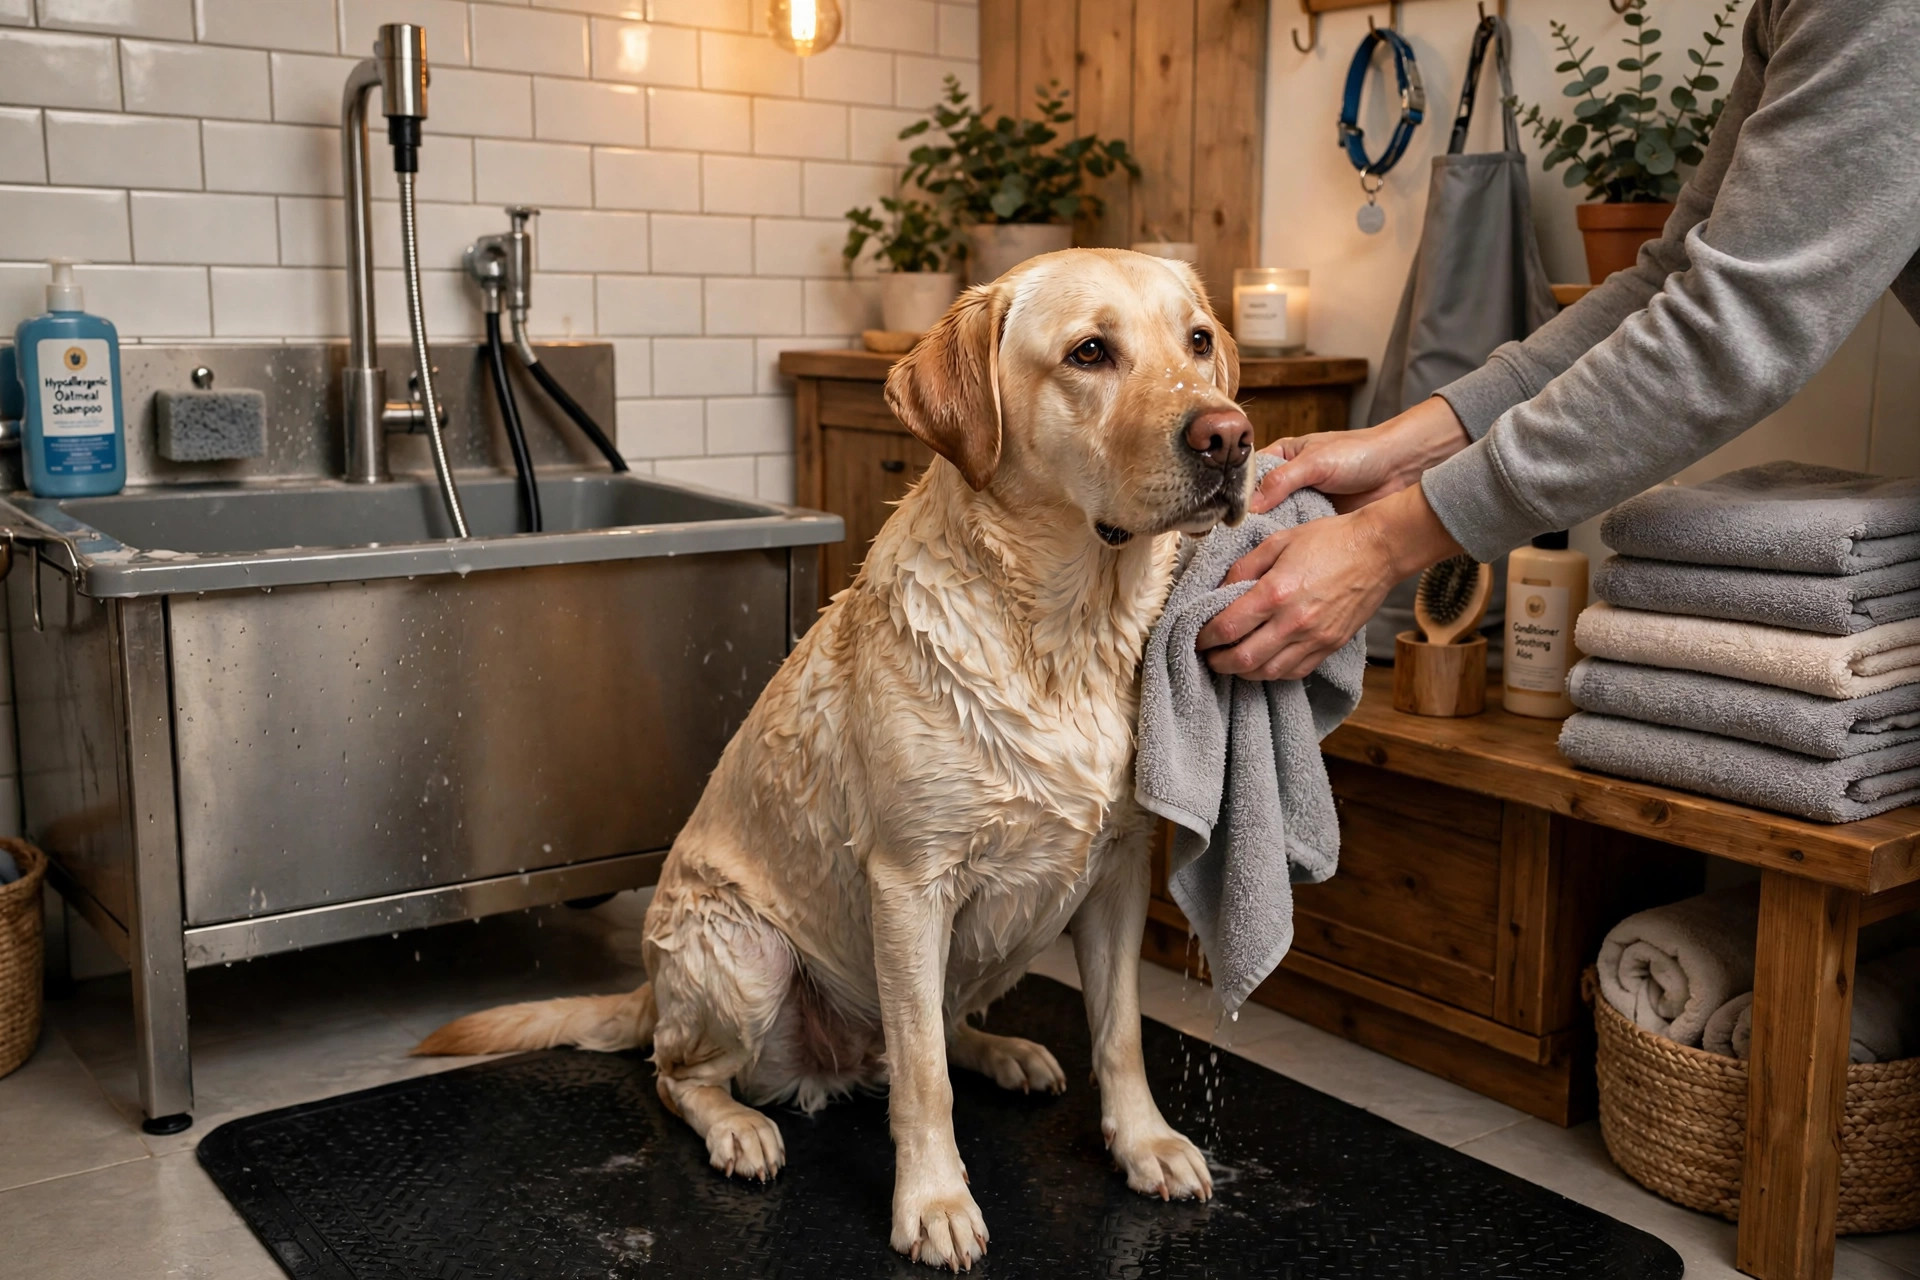
Set up the drying zone right next to the wash station:
- A non-slip mat on the floor — wet dogs slide on tiles, panic, and bolt.
- Dedicated dog towels — microfibre beats cotton: it pulls water out of the coat instead of pushing it around. Keep 3–4 in rotation.
- A towel-dry routine: squeeze (don’t rub) the coat, paws one by one, ears, then belly. Rubbing mats the coat; squeezing removes water.
- Warm air option: a pet dryer or even a hairdryer on its coolest, lowest setting, kept moving — never hot, never pointed at one spot. Many dogs learn to love the warm air if you introduce it with treats.
Safety note: never use a human hairdryer on hot near a dog’s skin — burns happen faster than you’d think, especially on bellies and inner thighs. And never leave a wet dog unsupervised in a cold garage or outdoors in winter; towel-dry thoroughly and bring them into the warm house.
Waterproofing and drainage basics (the unglamorous bit)
Water finds every gap. Wherever your station lives, run through this checklist:
- Seal the floor-wall joint — silicone caulk along the base of the splash zone walls.
- Slight fall to the drain — even a bucket-catch setup works better if the platform tilts a degree or two toward the drain side.
- Ventilation — a damp, unventilated laundry corner grows mildew. Crack a window or run the extractor after wash sessions.
- Store the sprayer dry — disconnect and drain the handheld hose after use; hoses left full of water in an unheated garage split in frost.
Training the dog to love the station
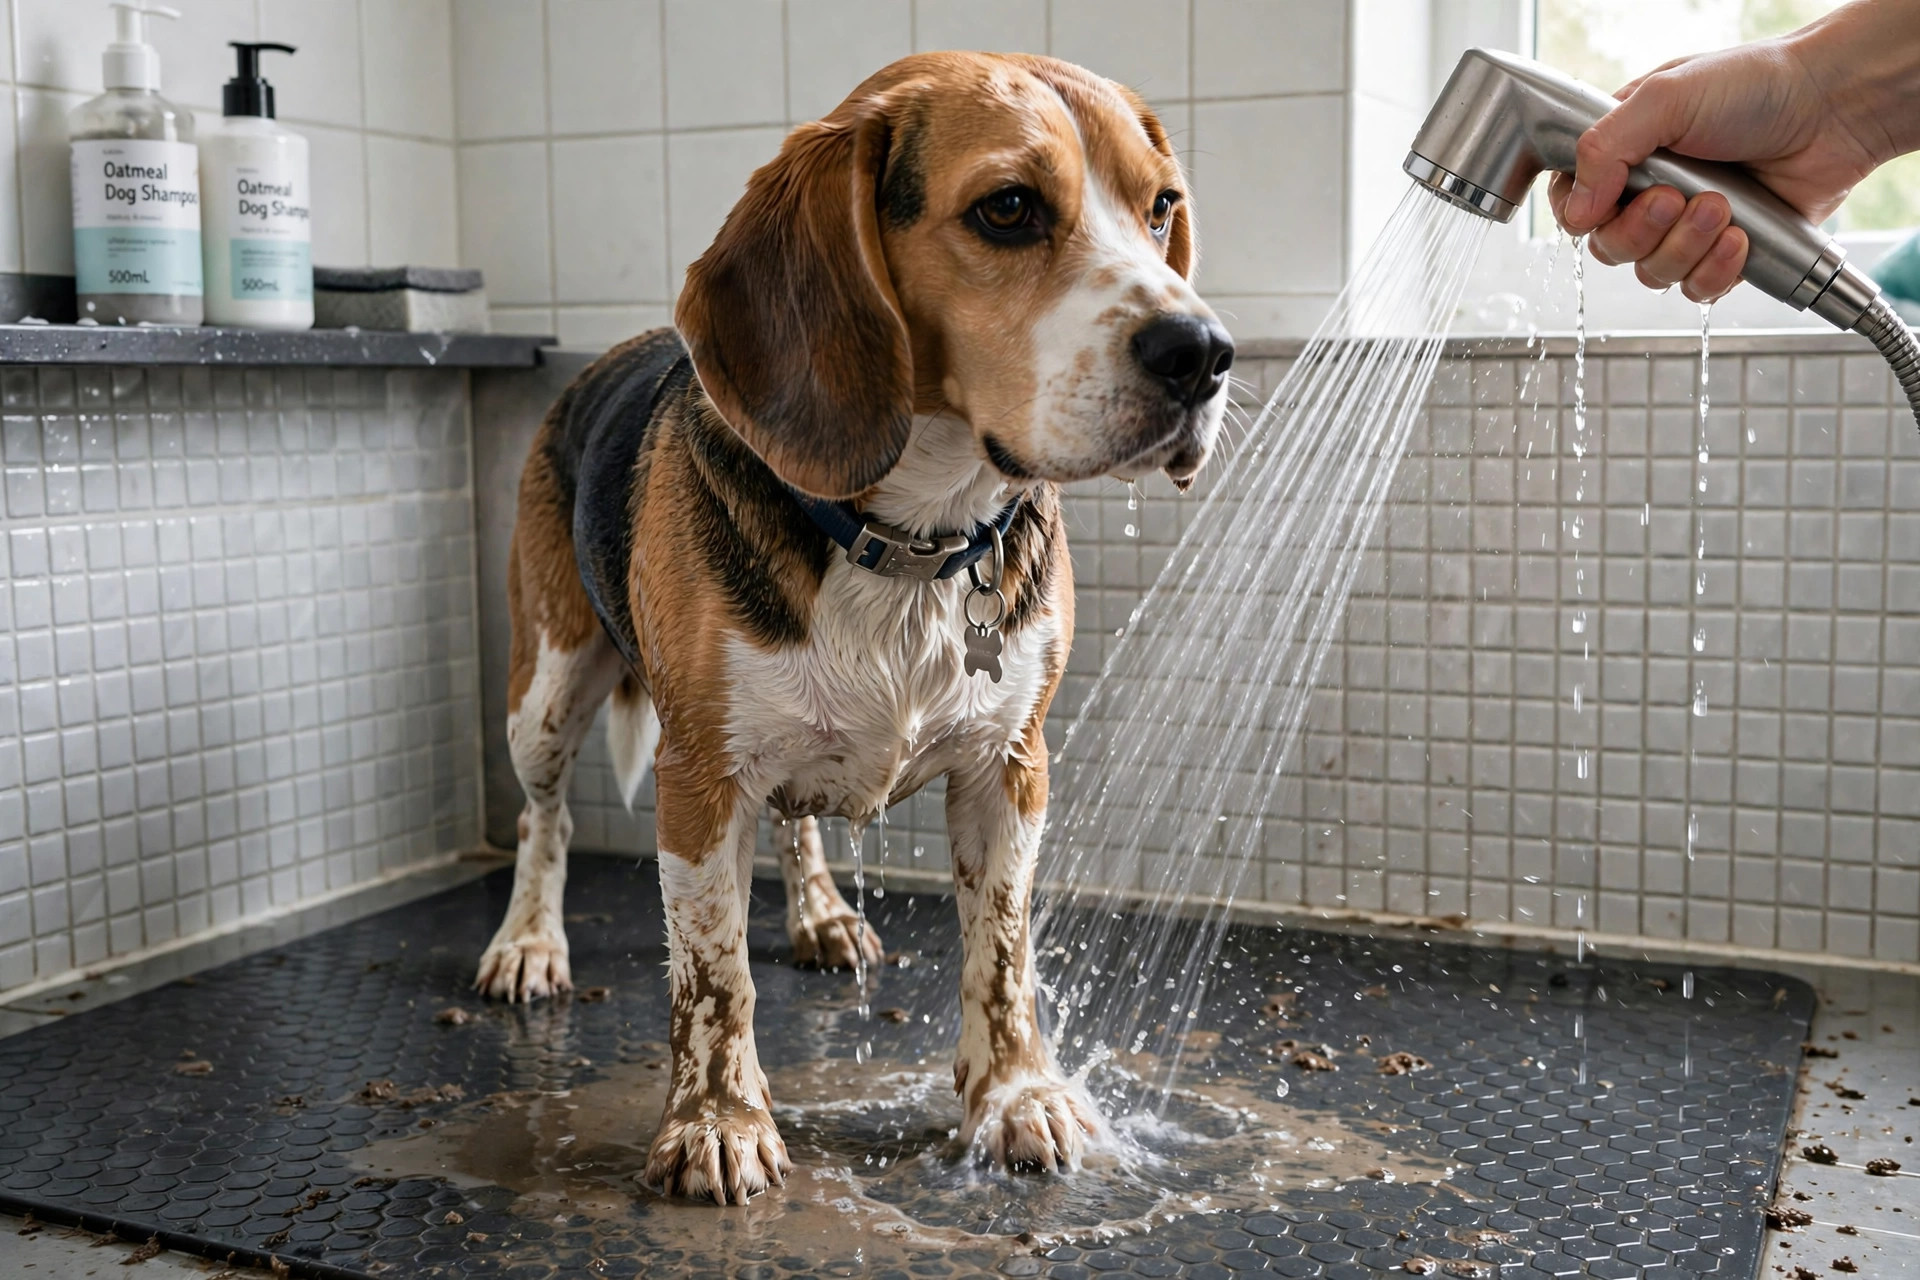
Most dogs tolerate a wash station faster than a bathtub, because it’s at their level and the session is short. Still, don’t start with a full rinse:
- Treats in the station. Feed dinner or high-value treats in the dry station for a week. The station becomes a good place.
- Water on paws only. First wet session: rinse just the paws, treat heavily, done. Five minutes max.
- Full rinse, calm voice. Build up to the full body rinse over a few sessions. Keep the sprayer moving and the water pressure gentle — a jet on the face is the fastest way to lose their trust.
- The dry is the reward. Most dogs love the towelling. End every session with the full dry-down ritual and a treat, and the station becomes something they walk into willingly.
The bottom line
A DIY dog wash station is one of the highest-payoff weekend builds for a dog owner: a mudroom corner with a raised platform and handheld sprayer, a $50 outdoor shower, or even a $25 renter’s kit by the door. Pick the version that fits your space, waterproof the splash zone properly, and don’t forget the drying zone next to it. The muddy-paw negotiation at the back door ends the day you build it.
FAQs
How much does a DIY dog wash station cost?
$25 for the renter’s micro kit, $30–$60 for the outdoor shower, $80–$200 for a proper indoor mudroom station with a raised platform and handheld sprayer. Plumbing work is the variable — a plumber-installed hot/cold branch costs more than a Y-splitter off the washing machine supply.
Can I build a dog wash station as a renter?
Yes — that’s what Option 3 is for. A boot tray, a pump sprayer of lukewarm water and paw-washing cup need zero plumbing and zero holes in walls. Everything packs into a basket.
Do I need hot water for a dog wash station?
Not necessarily. Lukewarm water is ideal, but many dogs are rinsed with cool water in summer without issue. What matters is never using hot — always test on your wrist first.
What’s the best flooring for a dog wash station?
A non-slip rubber mat (horse-stall mat offcuts are the budget pick) over a sealed, slightly sloped base. Avoid bare tile or smooth plastic — wet paws plus slippery surface equals a panicking dog.
My dog hates water. Will a wash station help?
Often, yes — because it’s at their level, the sessions are short, and you train it with treats in stages. Start with treats in the dry station and build up slowly; most dogs come around within a couple of weeks.