{
“title”: “Dog House Plans: 5 DIY Plans with Dimensions & Cut Lists”,
“slug”: “dog-house-plans”,
“excerpt”: “Dog house plans with real dimensions and cut lists — 5 DIY plans for small, medium and large dogs, plus an insulated winter build. Measure, cut, build.”,
“meta_description”: “Dog house plans with real dimensions and cut lists — 5 DIY plans for small, medium and large dogs, plus an insulated winter build. Measure, cut, build.”,
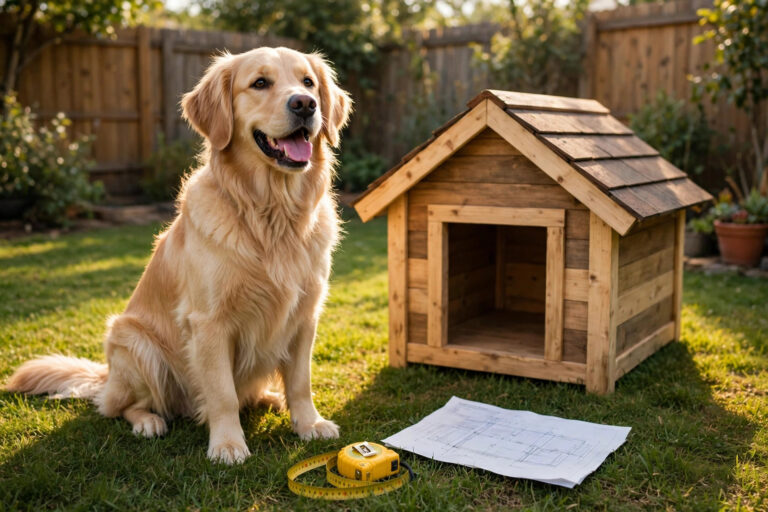
“featured_image_alt”: “Golden retriever sitting beside a newly built wooden dog house with a pitched roof in a sunny backyard.”,
“content_html”: “
A dog house built from a good plan is a different thing from a dog house built from a rough idea. With a plan you know the size before you cut, you buy the right amount of timber, and the roof fits the walls the first time instead of the third. Without one, you end up trimming panels in the garden, making a second trip to the timber yard, and living with a doorway your dog has to duck through.
\n
This guide gives you five proper plans — small, medium, large, insulated winter, and raised deck — each with real dimensions, a cut list, and a materials list. No downloads, no email sign-up, no guesswork: every number you need is in the plan itself. It is the plans companion to our DIY dog house ideas guide, which covers nine builds and styles if you are still choosing what to build — here, you will find the numbers to actually build it.
\n
How to read a dog house plan
\n
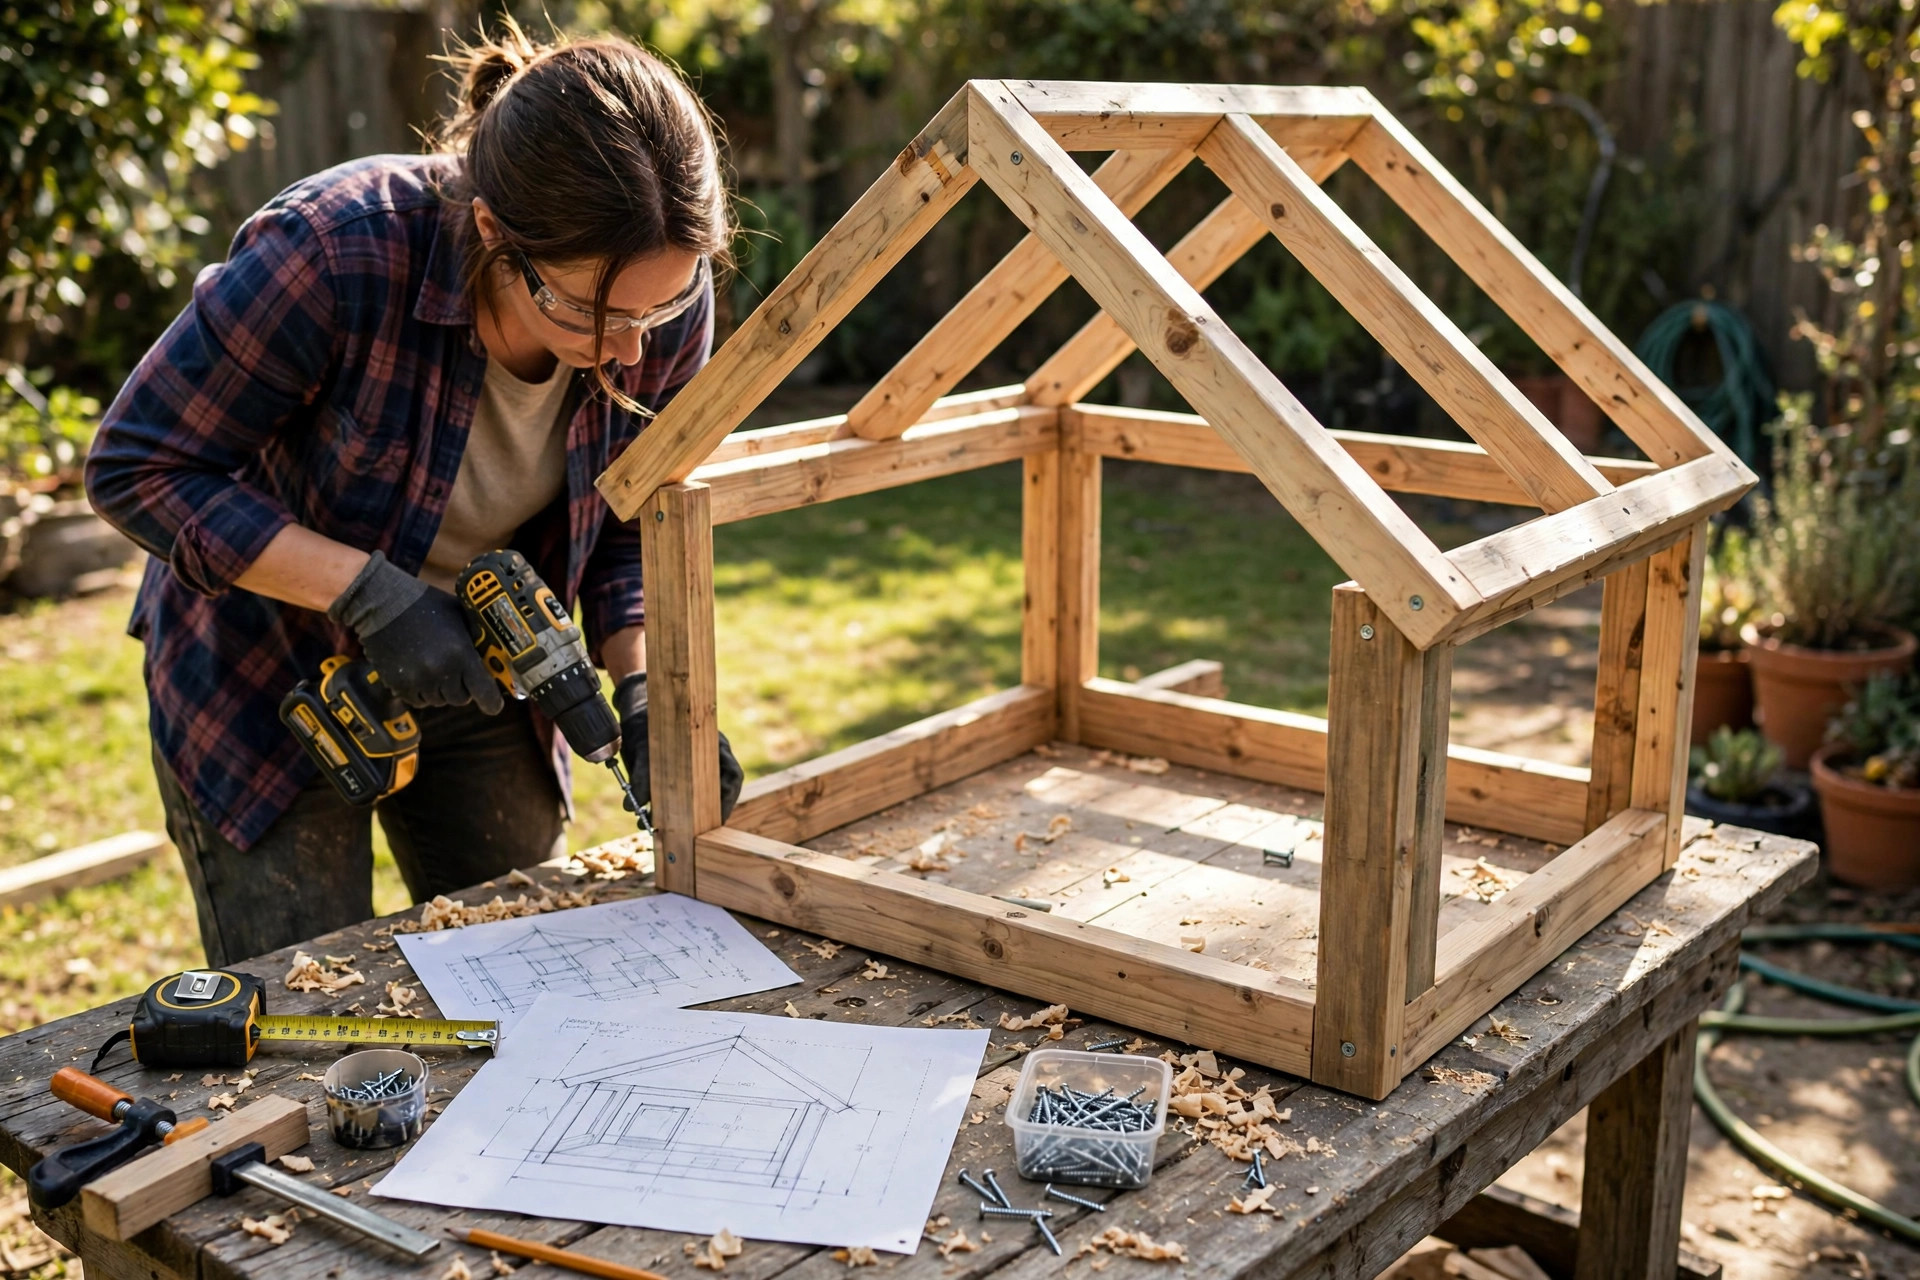
Every plan below is written the same way, so once you can read one you can read all five. Three numbers matter most.
\n
The doorway. The opening your dog walks through. It should be about as wide as your dog’s shoulders plus 5 cm, and as tall as your dog’s shoulder height — no higher. A doorway that is too big lets in wind and rain and lets the dog’s body heat straight out; a doorway that is too small is an invitation to a stuck dog. The doorway sits on one of the short walls, and on every plan here it is offset to one side rather than centred, so the dog can curl up in the dry corner away from the opening.
\n
The interior. The floor your dog actually lies on. Length is your dog’s length from nose to base of tail, plus about 30 cm so the dog can turn around and stretch. Width is roughly your dog’s length too — a square-ish floor is warmer and easier to build than a long thin one. Height inside is your dog’s shoulder height plus about 15 cm, enough to sit up without crouching. Bigger is not better: a house that is too large cannot hold the dog’s body heat, and in winter that is the whole point of the house.
\n
The roof pitch. All five plans use a simple pitched (gable) roof unless stated otherwise, because it sheds rain and snow instead of pooling them. The pitch is given as a rise — for example, a 15 cm rise over a 60 cm run — and the roof panels overhang the walls by at least 5 cm on every side so rain drips clear of the walls. If you live somewhere with heavy snow, increase the pitch: a steeper roof sheds snow before the weight becomes a problem.
\n
A note on units: all dimensions are in centimetres, and timber sizes are the nominal sizes you will find at a timber yard (for example, 5 x 10 cm). Cut lists assume 18 mm exterior plywood for walls and floor, and 12 mm plywood for the roof, unless the plan says otherwise. Always measure your own dog before you cut — the size tables below are starting points, not a substitute for a tape measure.
\n
Measure your dog first — the sizing table
\n
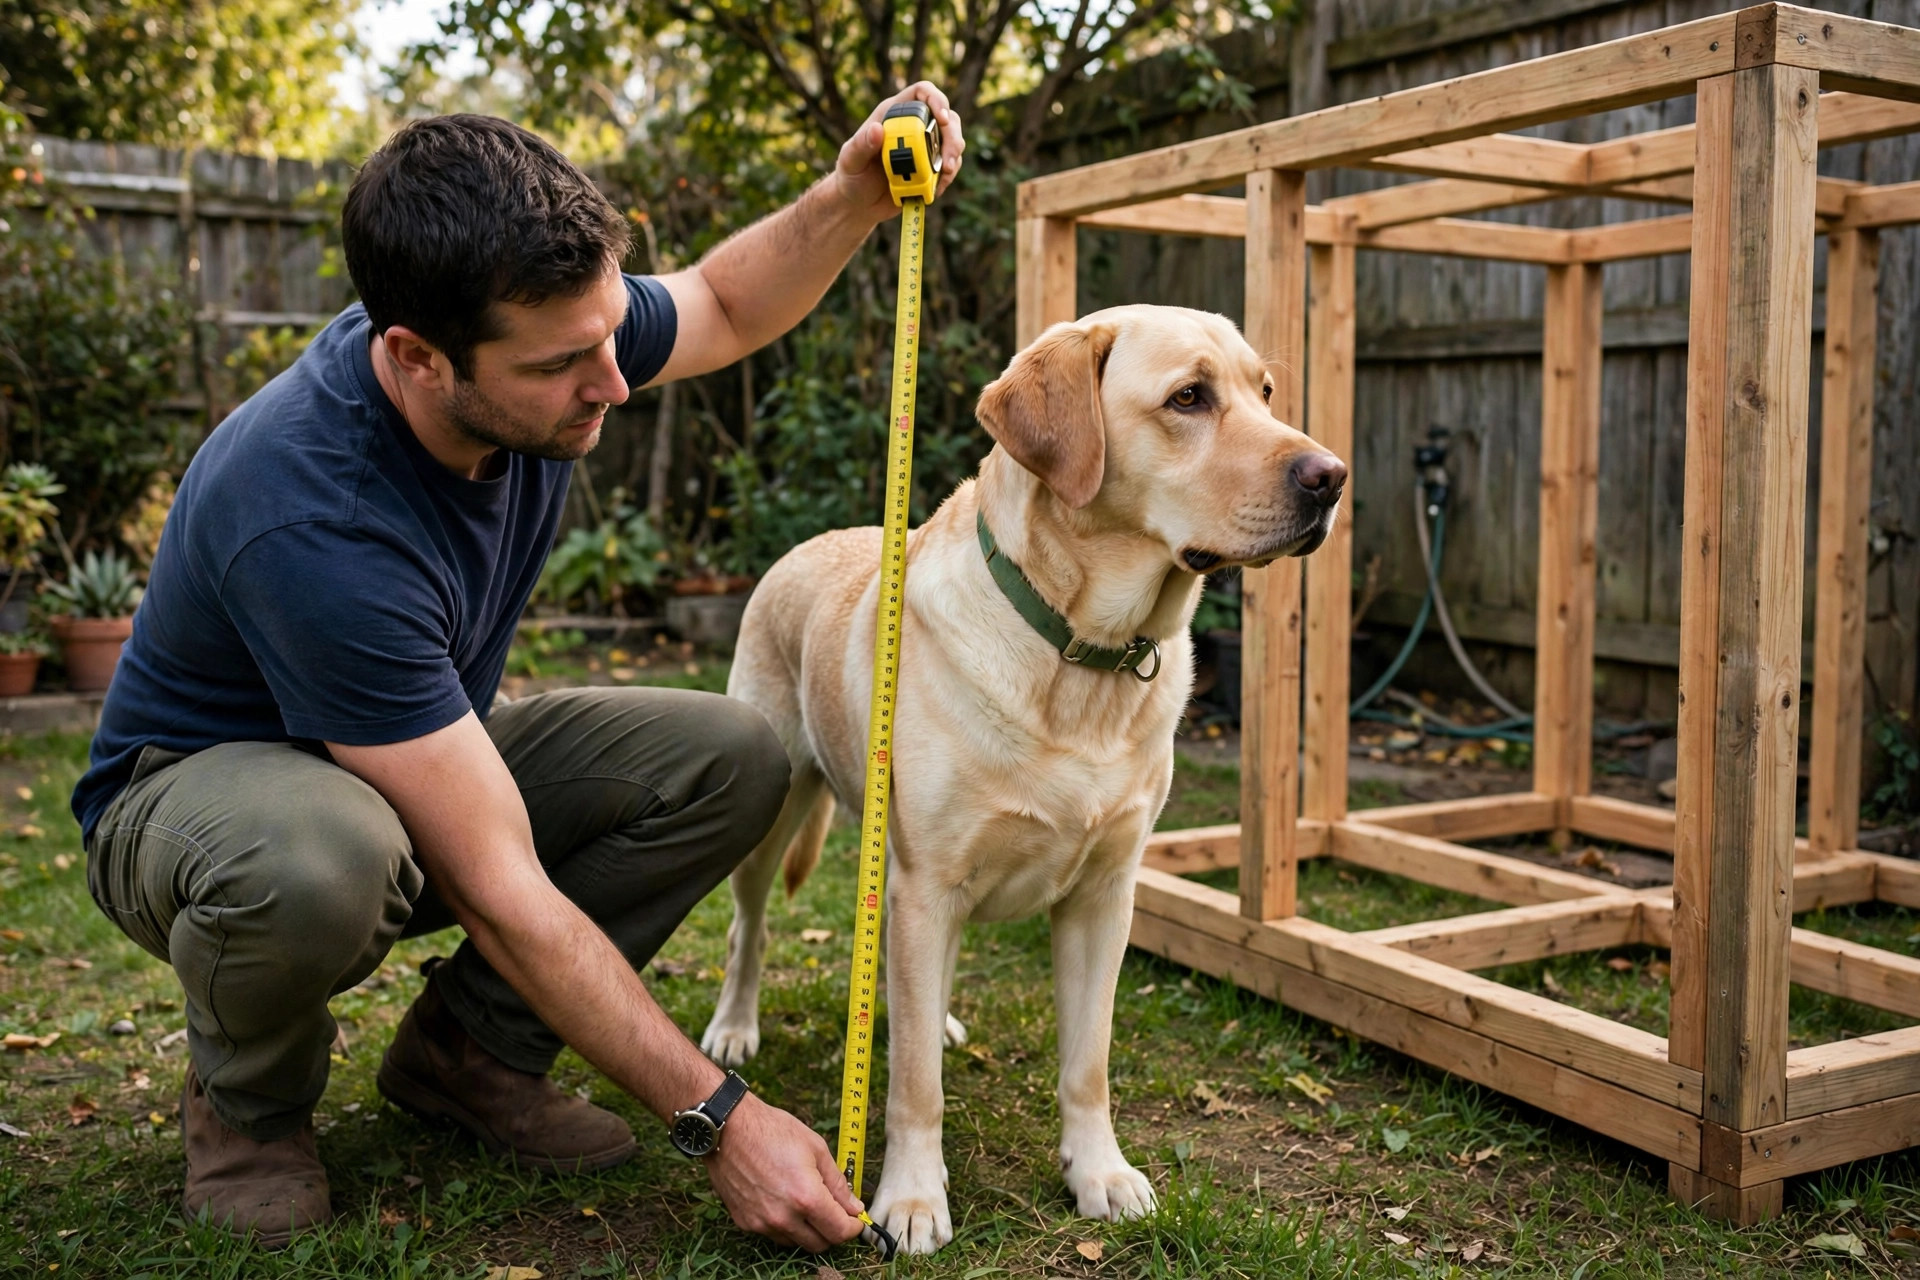
Before you pick a plan, take three measurements. It takes two minutes and it is the difference between a house your dog uses and a house your dog ignores.
\n
Shoulder height: floor to the top of the shoulders, dog standing square. Body length: chest to base of tail. Shoulder width: across the widest point of the chest. Then match to the table.
\n
| Dog size | Examples | Doorway (W x H) | Interior (L x W x H) |
|---|---|---|---|
| Small (under 10 kg) | Dachshund, pug, french bulldog | 25 x 30 cm | 60 x 50 x 45 cm |
| Medium (10–25 kg) | Beagle, border collie, cocker spaniel | 30 x 40 cm | 75 x 60 x 55 cm |
| Large (25–40 kg) | Labrador, golden retriever, boxer | 40 x 55 cm | 90 x 75 x 70 cm |
| Extra large (over 40 kg) | German shepherd, rottweiler | 45 x 65 cm | 105 x 85 x 80 cm |
\n
If your dog falls between sizes, build up, not down — a slightly roomy house is forgiving, a slightly small one is not. And if you have two dogs sharing, add 50% to the floor area rather than doubling it: dogs that share a house sleep curled together, not stretched out side by side.
\n
Plan 1 — Small dog house (under 10 kg)
\n
The weekend-afternoon plan. One sheet of plywood, a handful of screws, and a dog that fits in your lap.
\n
Dimensions: interior 60 x 50 x 45 cm; doorway 25 x 30 cm, offset to the left; roof pitch 12 cm rise over a 50 cm run; overall footprint 66 x 56 cm including the 3 cm wall thickness.
\n
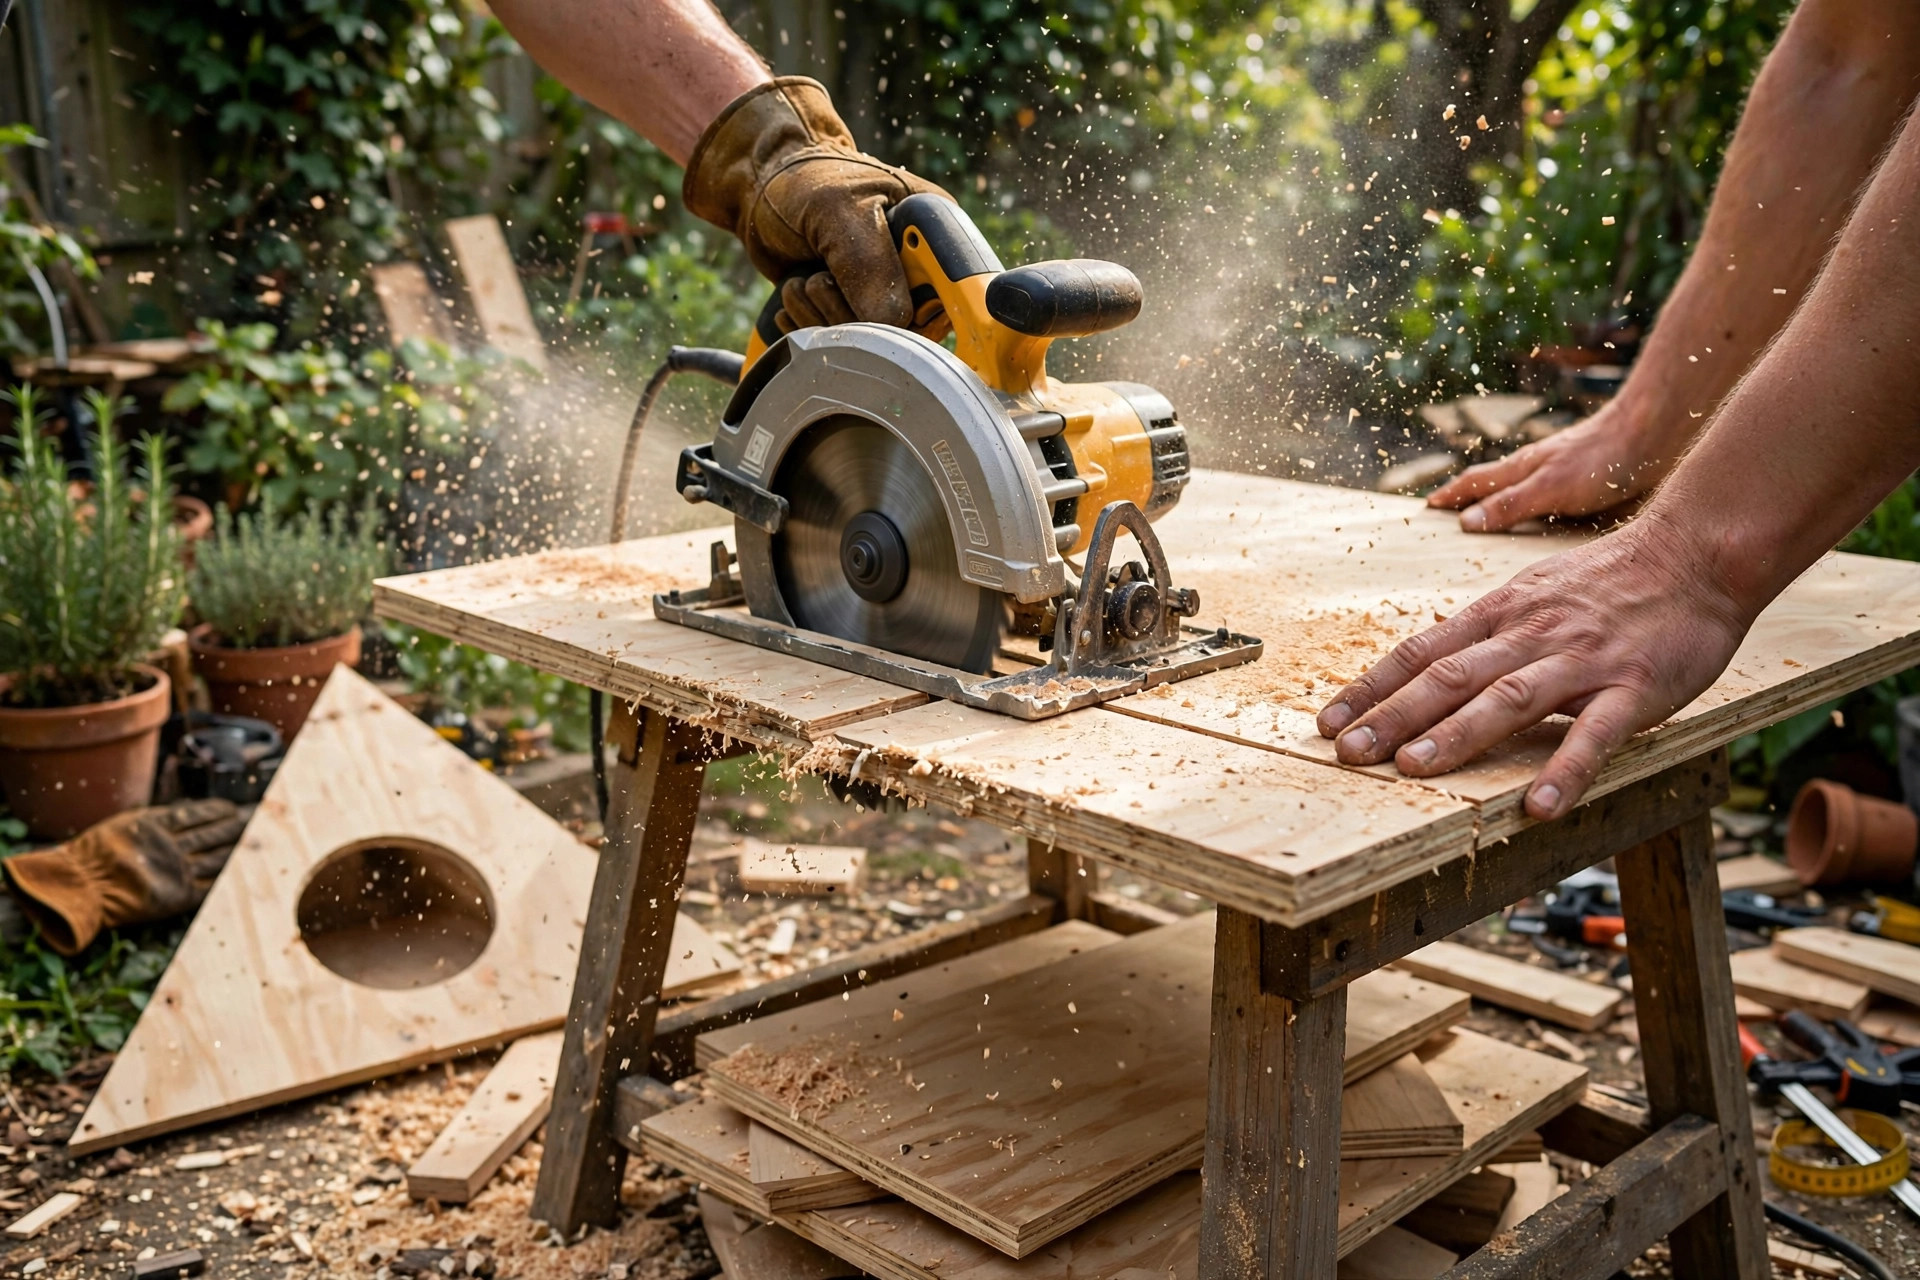
Cut list (18 mm exterior plywood unless noted): floor 66 x 56 cm (1); front wall with doorway cut out 56 x 50 cm (1); back wall 56 x 50 cm (1); side walls 60 x 50 cm (2); roof panels 70 x 34 cm (2, 12 mm plywood); ridge cap strip 70 x 10 cm (1).
\n
Materials: 1 sheet 18 mm exterior plywood (122 x 244 cm), half a sheet of 12 mm plywood for the roof, 2.5 cm exterior screws (about 40), wood glue, exterior paint or wood stain, roofing felt or shingles for the roof panels, 4 small rubber feet or a treated timber skid base.
\n
Build notes: cut the doorway in the front wall before assembly — a jigsaw with a fine blade gives the cleanest curve on the top corners, and rounding those corners stops the plywood splintering. Assemble floor first, then walls, then roof; the roof panels screw down from above into the wall tops, and the ridge cap covers the join. Paint every edge, including the cut edges, before assembly: end grain drinks water, and an unpainted cut edge is where rot starts.
\n
Plan 2 — Medium dog house (10–25 kg)
\n
The most-built size on this page, and the one most dogs actually need. A beagle, a border collie or a cocker spaniel will use this house for years.
\n
Dimensions: interior 75 x 60 x 55 cm; doorway 30 x 40 cm, offset to the left; roof pitch 15 cm rise over a 60 cm run; overall footprint 81 x 66 cm.
\n
Cut list (18 mm exterior plywood unless noted): floor 81 x 66 cm (1); front wall with doorway 66 x 60 cm (1); back wall 66 x 60 cm (1); side walls 75 x 60 cm (2); roof panels 86 x 38 cm (2, 12 mm plywood); ridge cap strip 86 x 10 cm (1); interior draught baffle 30 x 40 cm (1, optional — a simple plywood panel fixed inside at an angle behind the doorway, which blocks wind without blocking the dog).
\n
Materials: 2 sheets 18 mm exterior plywood, half a sheet of 12 mm plywood, 2.5 cm and 5 cm exterior screws, wood glue, exterior paint or stain, roofing felt, a strip of rubber door flap (an old car mat cut to size works), 2 treated timber skids 81 cm long for the base.
\n
Build notes: the baffle is the single best upgrade on this plan — it costs one offcut and turns a draughty box into a shelter. Fix it to the floor and the side wall so it stands at roughly 45 degrees behind the doorway, leaving a clear path in and out. If you are building for a dog that chews, skip the rubber door flap: some dogs eat it, and a flap is not worth a vet visit. Our DIY dog ramp guide pairs well with this plan if your dog is older and struggles with a step up into the doorway.
\n
Plan 3 — Large dog house (25–40 kg)
\n
A labrador or a golden retriever needs real space and real structure — this plan adds a centre floor joist and thicker roof panels so the house stays rigid under a big dog leaning on it.
\n
Dimensions: interior 90 x 75 x 70 cm; doorway 40 x 55 cm, offset to the left; roof pitch 18 cm rise over a 75 cm run; overall footprint 96 x 81 cm.
\n
Cut list (18 mm exterior plywood unless noted): floor 96 x 81 cm (1); front wall with doorway 81 x 75 cm (1); back wall 81 x 75 cm (1); side walls 90 x 75 cm (2); roof panels 102 x 46 cm (2, 18 mm plywood for stiffness); ridge cap strip 102 x 12 cm (1); floor joist 5 x 10 cm x 81 cm (1); roof purlins 5 x 5 cm x 90 cm (2).
\n
Materials: 2 sheets 18 mm exterior plywood, 5 x 10 cm timber for the joist, 5 x 5 cm timber for the purlins, 2.5 cm and 5 cm exterior screws, wood glue, exterior paint or stain, roofing felt or shingles, 2 treated timber skids 96 cm long.
\n
Build notes: the floor joist runs down the centre of the floor, screwed from underneath, and stops the floor flexing when a 35 kg dog flops down after a walk. The purlins sit horizontally under the roof panels, one on each side of the ridge, and the roof screws into them rather than into the thin wall tops. This plan is heavy once assembled — build it where it will live, or fit it with handles on the side walls so two people can carry it. If your dog is larger still, scale the medium plan up using the sizing table above rather than guessing: the proportions stay the same, only the numbers change.
\n
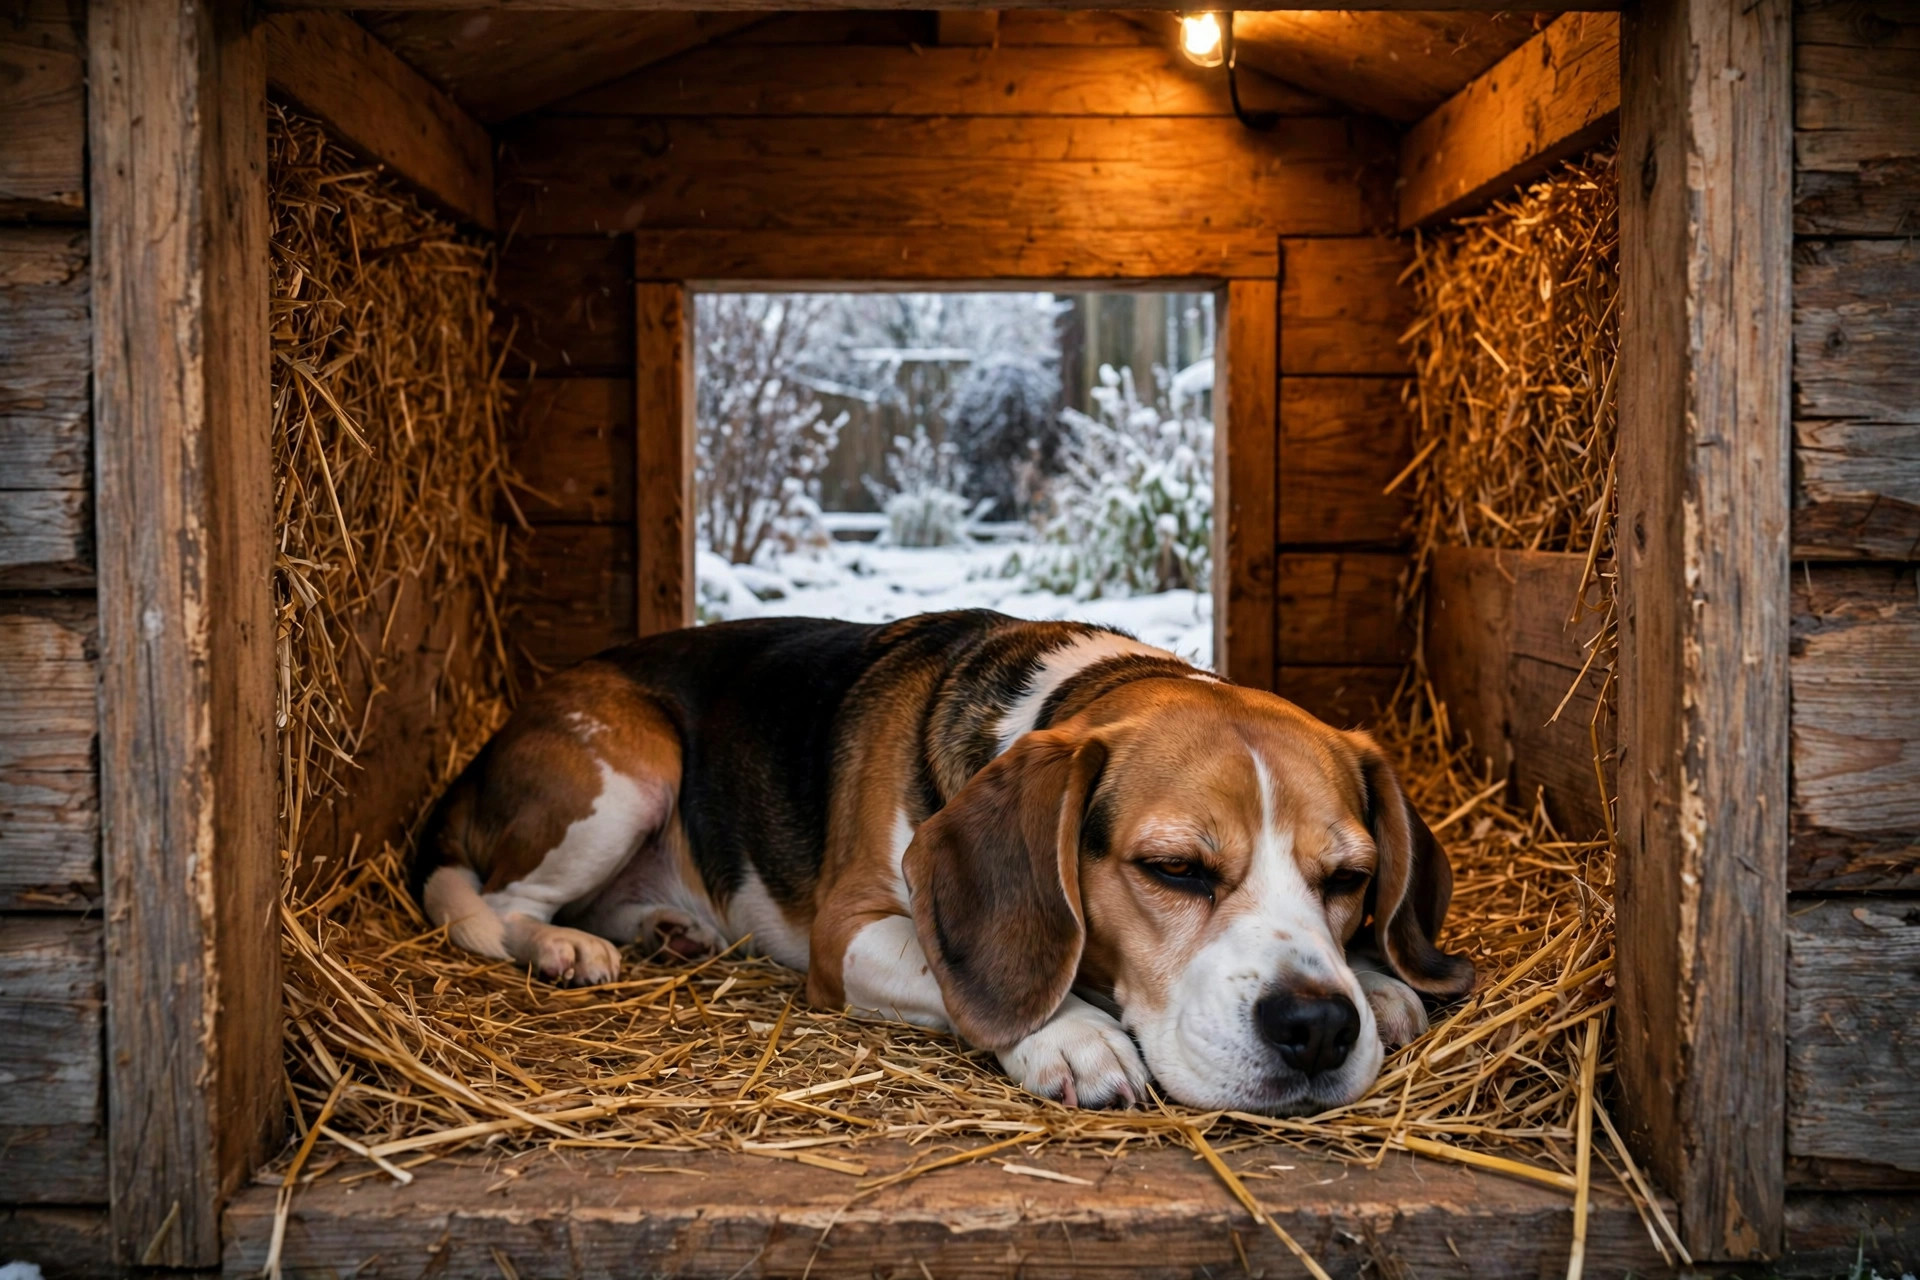
Plan 4 — Insulated winter dog house
\n
Same footprint as the medium plan, built as a double wall with insulation in between. This is the plan for cold winters, exposed gardens, and dogs that sleep outside overnight.
\n
Dimensions: interior 75 x 60 x 55 cm (same as Plan 2); outer shell 87 x 72 cm; doorway 30 x 40 cm with a rubber flap; roof pitch 15 cm rise over a 60 cm run.
\n
Cut list: as Plan 2, plus an inner skin — floor 75 x 60 cm (1, 12 mm plywood), front/back inner walls 60 x 55 cm (2, 12 mm plywood), side inner walls 75 x 55 cm (2, 12 mm plywood) — and 5 cm rigid foam insulation boards cut to fit the 6 cm cavity between inner and outer walls on all four sides plus the roof.
\n
Materials: everything in Plan 2, plus 1 sheet 12 mm plywood for the inner skin, 2 sheets of 5 cm rigid foam insulation, foil tape for the insulation joins, a rubber door flap, and straw for bedding (straw, not blankets — blankets hold moisture and freeze; straw sheds it).
\n
Build notes: build the outer shell first, then line the inside with the foam boards, taping every join so no draught finds a gap, then fit the inner skin over the foam. The insulation must never be exposed where the dog can chew it — the inner skin is not decoration, it is the safety layer. Keep the roof removable on this plan (screws, not glue, on the roof panels) so you can check the insulation and clean the house out in spring. A house this warm needs ventilation too: drill two 2 cm holes high on the back wall, covered with fine mesh, so condensation has somewhere to go.
\n
Plan 5 — Raised deck dog house
\n
The dry-feet plan. The house sits on a raised deck 15 cm off the ground, so rain runs underneath instead of pooling at the doorway, and the deck doubles as a porch where the dog can lie in the sun.
\n
Dimensions: house interior 75 x 60 x 55 cm (Plan 2 shell); deck 110 x 85 cm, 15 cm high; doorway 30 x 40 cm; a small ramp or step up to the deck, 30 cm wide.
\n
Cut list: Plan 2 cut list, plus deck frame 5 x 10 cm timber — long sides 110 cm (2), short sides 75 cm (2) — deck boards 85 x 12 cm (9, 18 mm exterior plywood or decking boards), deck legs 5 x 10 cm x 15 cm (4), ramp board 40 x 30 cm (1) with two 5 x 5 cm cleats.
\n
Materials: everything in Plan 2, plus decking timber, 4 legs, exterior screws, non-slip paint or a strip of outdoor grip tape for the ramp, and a pot of wood preservative for the deck frame (the part closest to the ground rots first).
\n
Build notes: build the deck first and check it is level — a wonky deck makes a wonky house. The house screws down onto the deck through the floor, and the ramp fixes to the deck edge with two cleats so it can be removed for cleaning. Leave a 1 cm gap between deck boards so rain drains through. This plan is the one to choose if your garden holds water after rain: the cheapest insulation in the world is 15 cm of air under the floor. Our DIY raised dog feeder guide uses the same raised-platform thinking for feeding time, if you want the set to match.
\n
Build it in 3 steps
\n
Whatever plan you choose, the build order is the same.
\n
Step 1 — Measure and mark. Measure your dog, confirm the plan size against the table, and mark every cut on the plywood before you pick up a saw. Label each piece with a pencil as you mark it — front, back, left, right, roof — because two panels that look identical at the timber yard will not be identical once the doorway is cut in one of them. Dry-fit the walls on the floor before any glue or screws: if something is wrong, you want to find out while it can still be fixed.
\n
Step 2 — Cut and seal. Cut the panels, sand every edge smooth (a dog’s nose will find every splinter), and paint or stain every surface — including cut edges and the underside of the floor — before assembly. Timber that is sealed on all sides lasts years longer than timber sealed only where you can see it. Let the paint dry fully before the dog moves in: a house that smells of fresh paint is a house the dog will avoid.
\n
Step 3 — Assemble and weatherproof. Screw the floor to the skids, the walls to the floor, and the roof on last, working from the back wall forward so each joint is supported by the one before it. Then weatherproof: roofing felt or shingles on the roof, a bead of exterior sealant along the wall-to-floor joint, and a final check that no screw tip pokes through anywhere inside. Put the house where it will live — ideally against a wall or fence for wind shelter, facing away from the prevailing wind — and add straw or a washable bed inside. If you are adding a door to the garden wall for access, our how to install a dog door guide covers flap sizes and weatherproofing for that job too.
\n
Weatherproofing that actually lasts
\n
Three things kill a dog house: water getting in, water sitting under it, and sun breaking down the finish. The fixes are cheap and boring, which is why people skip them and pay for it a year later.
\n
Water getting in is a roof problem. Felt or shingles, an overhang of at least 5 cm, and a sealed ridge cap will keep a house dry in any normal rain. Check the roof every autumn: felt lifts at the edges first, and a lifted edge lets water run straight down the wall.
\n
Water sitting under it is a base problem. Skids, a raised deck, or even four bricks under the corners keep the floor out of puddles. Never put a dog house directly on soil — the floor will rot from below and you will not notice until it gives way.
\n
Sun breaking down the finish is a paint problem. Exterior paint or stain, reapplied every year or two, is the whole answer. If the paint is flaking, the timber underneath is already getting wet. And use a pet-safe, low-VOC exterior paint, and let it cure fully before the dog moves in — a week in warm weather is not too long.
\n
Safety rules before your dog moves in
\n
A plan is only as good as the house it produces, so run this check before the first night.
\n
- \n
- No exposed screw tips or nails inside. Run your hand over every interior surface. If you can feel it, the dog can catch on it.
- No treated timber where the dog can chew it. Pressure-treated wood is fine for skids and the deck frame, but the interior walls and floor should be untreated plywood, sealed with pet-safe paint. Never use old pallets with unknown chemical treatments.
- No insulation exposed. On the winter plan, every bit of foam must be behind the inner skin. Dogs chew foam, and foam in a gut is a vet emergency.
- The doorway is the right size. Your dog should walk in without ducking and without squeezing. If the dog hesitates at the doorway for more than a day, the opening is wrong — widen it by 5 cm and try again.
- Ventilation on insulated houses. Two small high vents, meshed, so condensation escapes without a draught at dog level.
- Check it monthly. A quick look at the roof, the floor and the doorway once a month catches rot, loose screws and chewed edges before they become a rebuild.
\n
\n
\n
\n
\n
\n
\n
FAQs
\n
What is the best size for a dog house?\nThe interior should be your dog’s length plus about 30 cm, and tall enough for the dog to sit up — shoulder height plus 15 cm. The doorway should be shoulder height and shoulder width plus 5 cm. Bigger is not better: an oversized house cannot hold the dog’s body heat in winter.
\n
Do I need a plan, or can I just build it?\nYou can build without one, but a plan saves a sheet of plywood and an afternoon. The cut list tells you exactly what to buy, the dimensions tell you exactly where to cut, and the sizing table stops you building a house your dog will not use.
\n
What wood is best for a dog house?\nExterior plywood (18 mm for walls and floor, 12 mm for the roof) is the best balance of strength, weight and price for a DIY build. Solid timber boards look lovely but cost more and take longer. Avoid MDF and chipboard outdoors — they swell and fall apart the first time they get wet.
\n
Should a dog house be insulated?\nIn mild climates, no — a well-built single-wall house with a draught baffle is enough. In cold winters, or for a dog that sleeps outside overnight, yes: the double-wall insulated plan keeps the interior several degrees warmer and is worth the extra sheet of plywood and foam.
\n
How do I keep a dog house dry inside?\nRoof overhang of at least 5 cm, roofing felt or shingles, a raised base or deck so water runs underneath, and the doorway offset to one side so rain cannot blow straight in. Straw bedding sheds moisture; blankets hold it.
\n
Can I build a dog house with no power tools?\nYes, for the small and medium plans: a handsaw, a drill, a tape measure and a square are enough, and most timber yards will cut the plywood to your cut list for a small fee — which also solves the hardest part, the long straight cuts. A jigsaw helps for the doorway curve, but a drill and a coping saw will do it.
\n
The bottom line
\n
A dog house plan is a promise: measure the dog, pick the size from the table, cut from the list, and the house fits the first time. Start with the small plan if your dog is under 10 kg, the medium for most family dogs, the large for labradors and up — and build the insulated version if your winters are cold, or the raised deck if your garden holds water. Seal every edge, keep the screws inside flush, and put the house where the wind does not hit the doorway. Done right, the house you build this weekend is the house your dog uses for years — and if you want the full set, our dog bed ideas guide covers what goes inside it.
\n
Pin this for later 📌 — and if you are still choosing a style, our DIY dog house ideas guide shows nine builds, from pallet houses to indoor nooks, to compare before you cut.
“,
“source_draft”: “/home/hatch/workspace/goals/pinterest-pin-automation-for-petsmush-com/files/dog-house-plans-post-draft.md”,
“status”: “publish”
}