{
“title”: “Dog Nook Ideas Under Stairs: Turn That Wasted Space Into Your Dog’s Favourite Spot”,
“slug”: “dog-nook-ideas-under-stairs”,
“excerpt”: “Turn the wasted space under your stairs into a cosy dog nook — measuring, crate fit, lighting, ventilation and 7 build ideas for every dog.”,
“meta_description”: “Turn the wasted space under your stairs into a cosy dog nook — measuring, crate fit, lighting, ventilation and 7 build ideas for every dog.”,
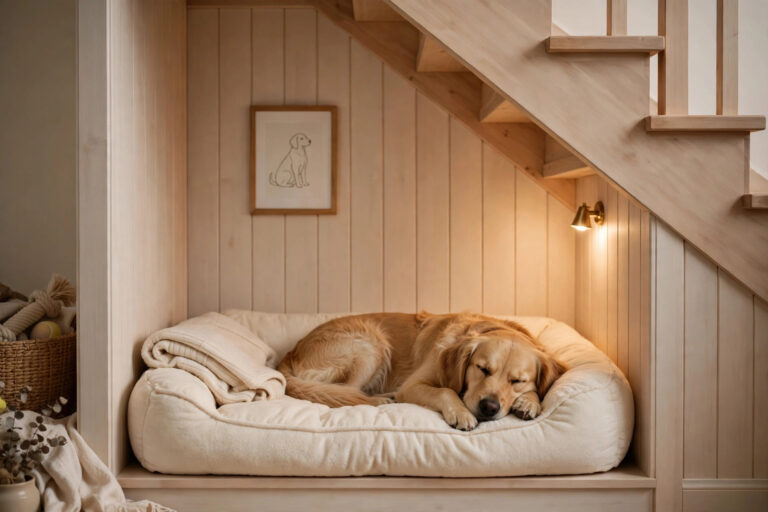
“featured_image_alt”: “A golden retriever resting on a plush bed inside a cosy under-stairs dog nook with warm lighting and wooden panelling.”,
“content_html”: “
Every house has one: the awkward triangle under the stairs, too low to stand in, too dark to use properly, and currently home to a vacuum cleaner, three coats, and a box you have not opened since moving in. Your dog, meanwhile, is looking for exactly that kind of space — a small, enclosed, den-like corner that feels safe. Put the two together and you get one of the best home projects a dog owner can do: a dog nook under the stairs.
\n
A well-built nook gives your dog a place of their own that is out of the hallway traffic, easy to keep clean, and genuinely loved — dogs are den animals, and a snug, sheltered spot with a good bed beats an open corner of the living room every time. This guide walks through the whole thing: measuring the space and the dog, seven nook ideas for different dogs and budgets, lighting and airflow, and the safety rules that matter most.
\n
Why dogs love an under-stairs nook
\n
Dogs do not want the biggest bed in the house — they want the safest-feeling one. In the wild, dogs rest in dens: low, enclosed spaces with solid walls on three sides and one way in and out. The space under the stairs copies that shape almost exactly, which is why so many dogs already curl up under staircases, behind sofas, and under tables without being asked.
\n
A nook also solves a practical problem. A dog bed in the middle of the hallway gets tripped over, covered in dust, and moved every time someone hoovers. A bed inside a nook stays put, stays cleaner, and gives the dog a clear signal: this spot is yours, nobody walks through it, and nobody will disturb you here. Anxious dogs and puppies settle faster in a nook for the same reason — the walls do the comforting.
\n
Measure first — the space and the dog
\n
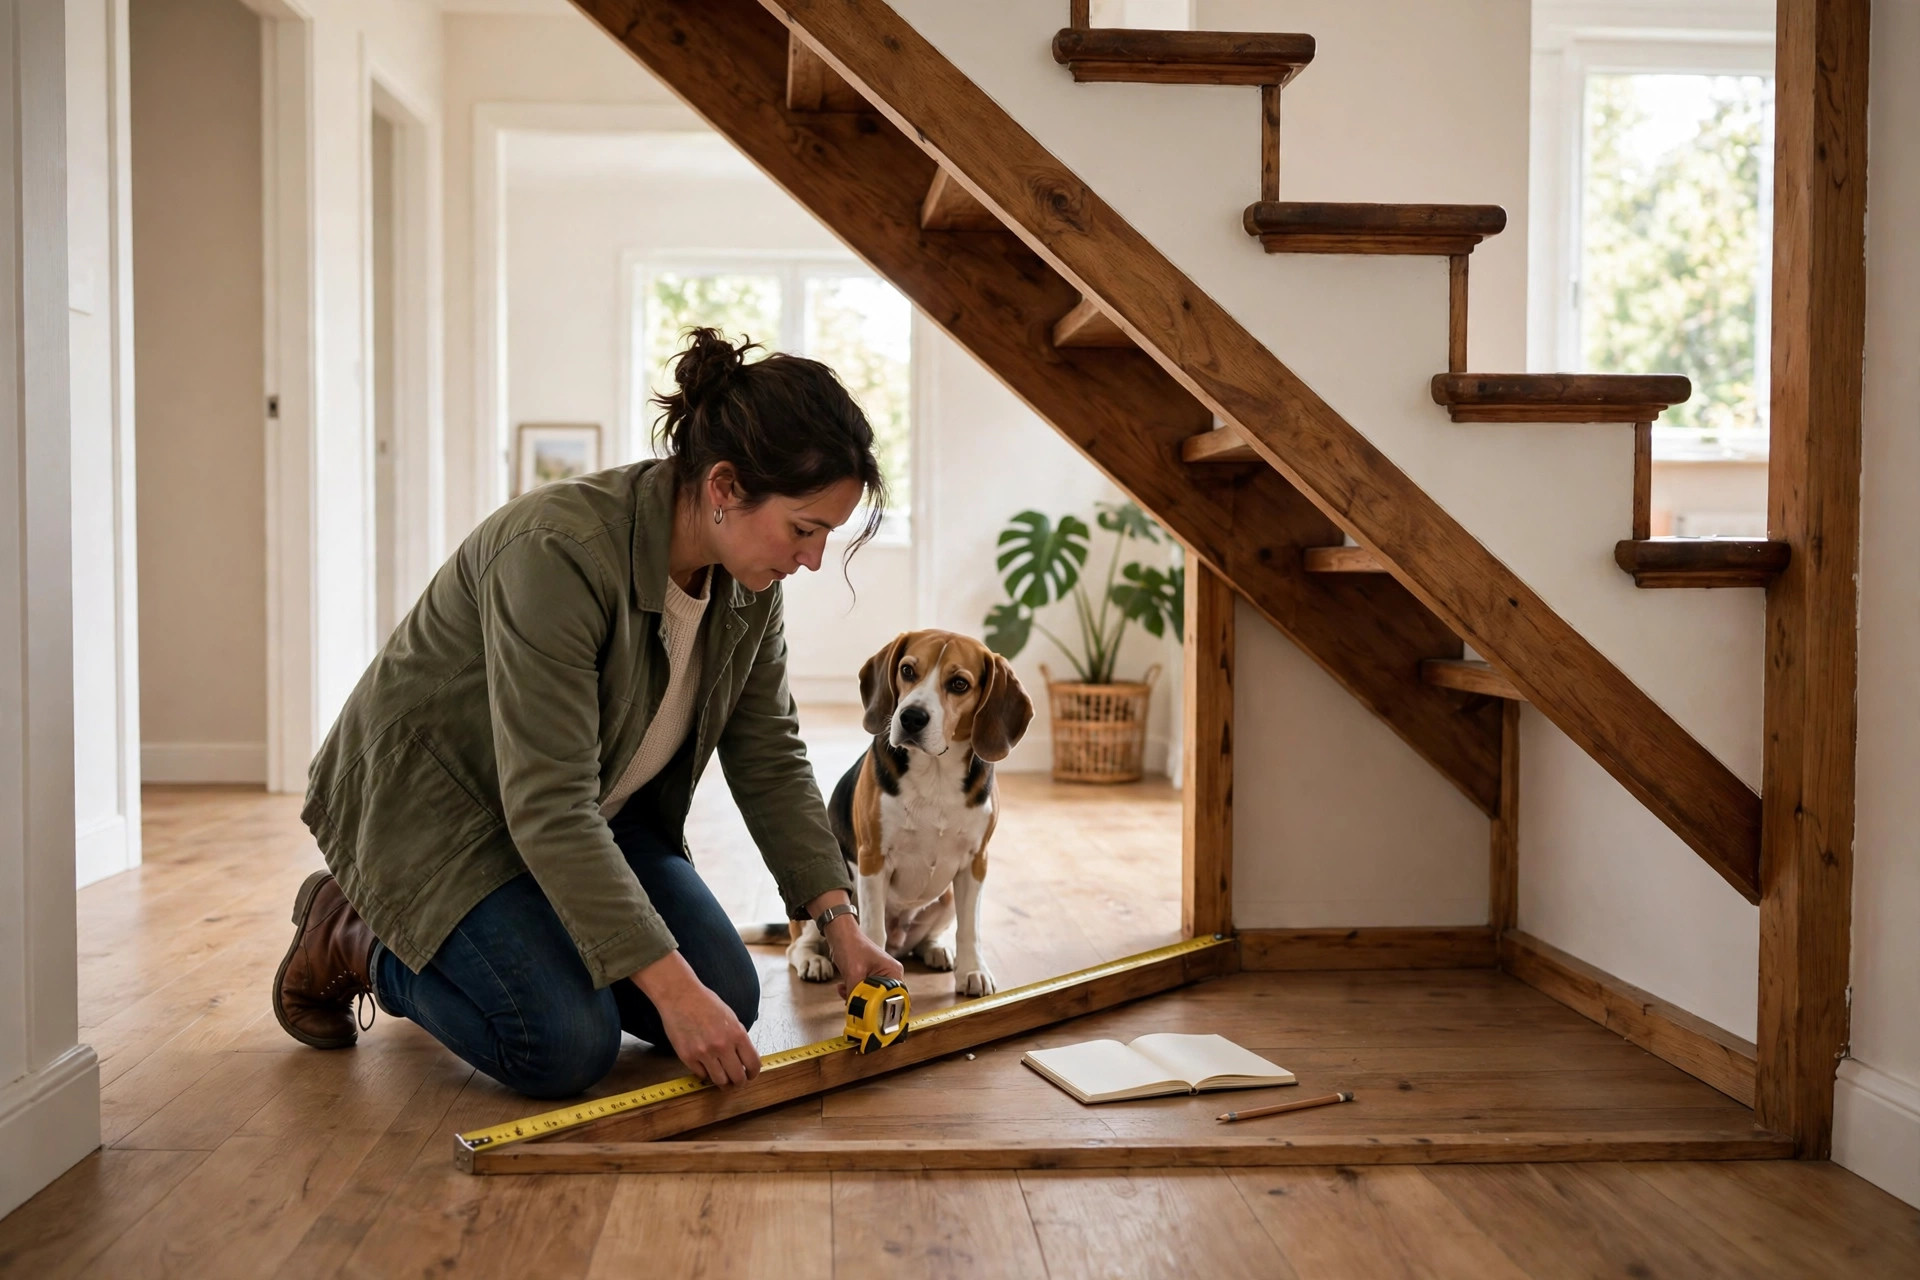
Every under-stairs nook fails or succeeds on measuring, so do this before buying anything. Staircases are never as regular as they look, and the headroom drops fast towards the back of the triangle.
\n
Measure the space. Take three measurements: the width of the opening, the depth from the front to the back wall, and the height at the front edge, the middle, and the very back. Write all five numbers down. The height at the back is the one people forget — a nook that is 90 cm tall at the front can be 30 cm at the back, which is useless for anything but storage.
\n
Measure the dog. Measure your dog lying flat on their side, nose to tail base, then add 15 cm. That is the minimum bed length. Then measure their height at the shoulder and add 10 cm — that is the minimum clear height at the front of the nook where the dog stands to turn around. A dog that has to duck and shuffle to turn will simply stop using the nook.
\n
| Dog size | Minimum bed length | Minimum front height |
|---|---|---|
| Small (up to 10 kg) | 60 cm | 50 cm |
| Medium (10–25 kg) | 85 cm | 65 cm |
| Large (25–40 kg) | 110 cm | 80 cm |
| Extra large (40 kg +) | 130 cm | 95 cm |
\n
If the space is too low or too shallow for your dog’s size, do not force it — use the space for storage instead and give the dog a nook elsewhere. A nook your dog cannot stand up and turn around in is a cupboard, not a den.
\n
Idea 1 — The fitted crate nook
\n
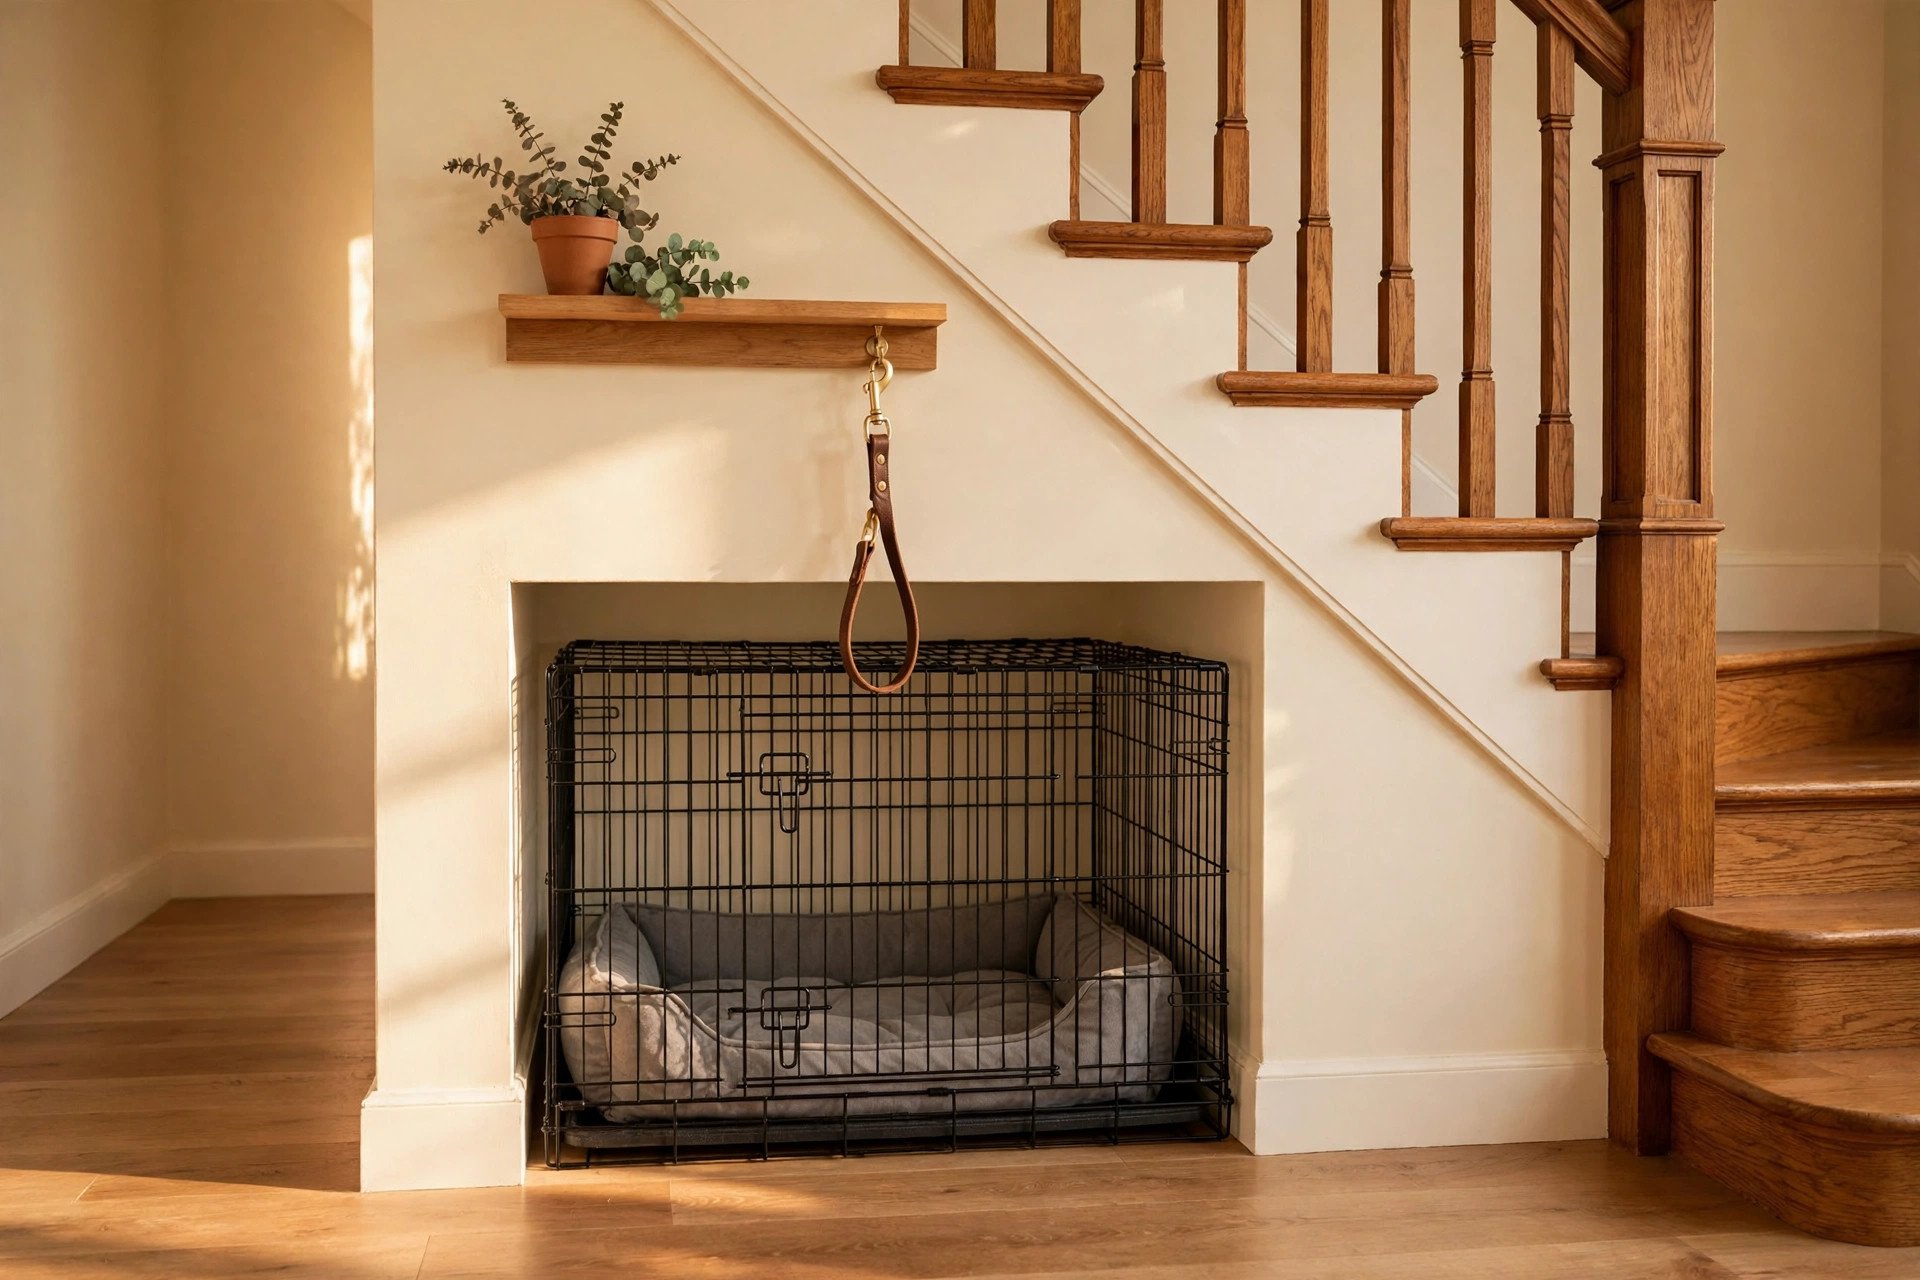
The simplest and most popular under-stairs nook is a crate that slides into the space like it was made for it. Buy the crate to fit the measurements above, not the other way round, and leave 2–3 cm of clearance on each side so it slides in and out for cleaning. A wire crate with a fitted cover looks tidy and gives the den feeling; a wooden crate cover turns the whole thing into furniture.
\n
Put a washable crate pad inside rather than a loose blanket — blankets bunch up and slide, while a pad stays flat and is easy to pull out and wash. Leave the crate door open during the day so the dog can come and go freely, and never use the nook as a punishment space. If you want the crate to disappear, add a simple frame around the opening painted the same colour as the wall, so the crate reads as a built-in.
\n
Idea 2 — The open bed nook
\n
If your dog is crate-trained and happy, or simply prefers open sleeping, skip the crate and build the nook around a bed. A raised bed works brilliantly here because it keeps the dog off a cold floor and the airflow underneath keeps the bed dry — our elevated dog beds guide covers the styles that suit nooks best. For nervous dogs, a calming dog bed with a raised rim gives the same enclosed feeling as a crate without any door at all.
\n
Line the back and side walls with washable panelling or wipe-clean paint — dogs lean, shake, and drool, and plain plaster in a low nook gets grubby fast. A single cushion and a folded blanket are enough dressing; the nook should look calm, not cluttered. And keep the bed slightly smaller than the floor of the nook so you can pull it out and hoover underneath without dismantling anything.
\n
Idea 3 — The nook with storage built in
\n
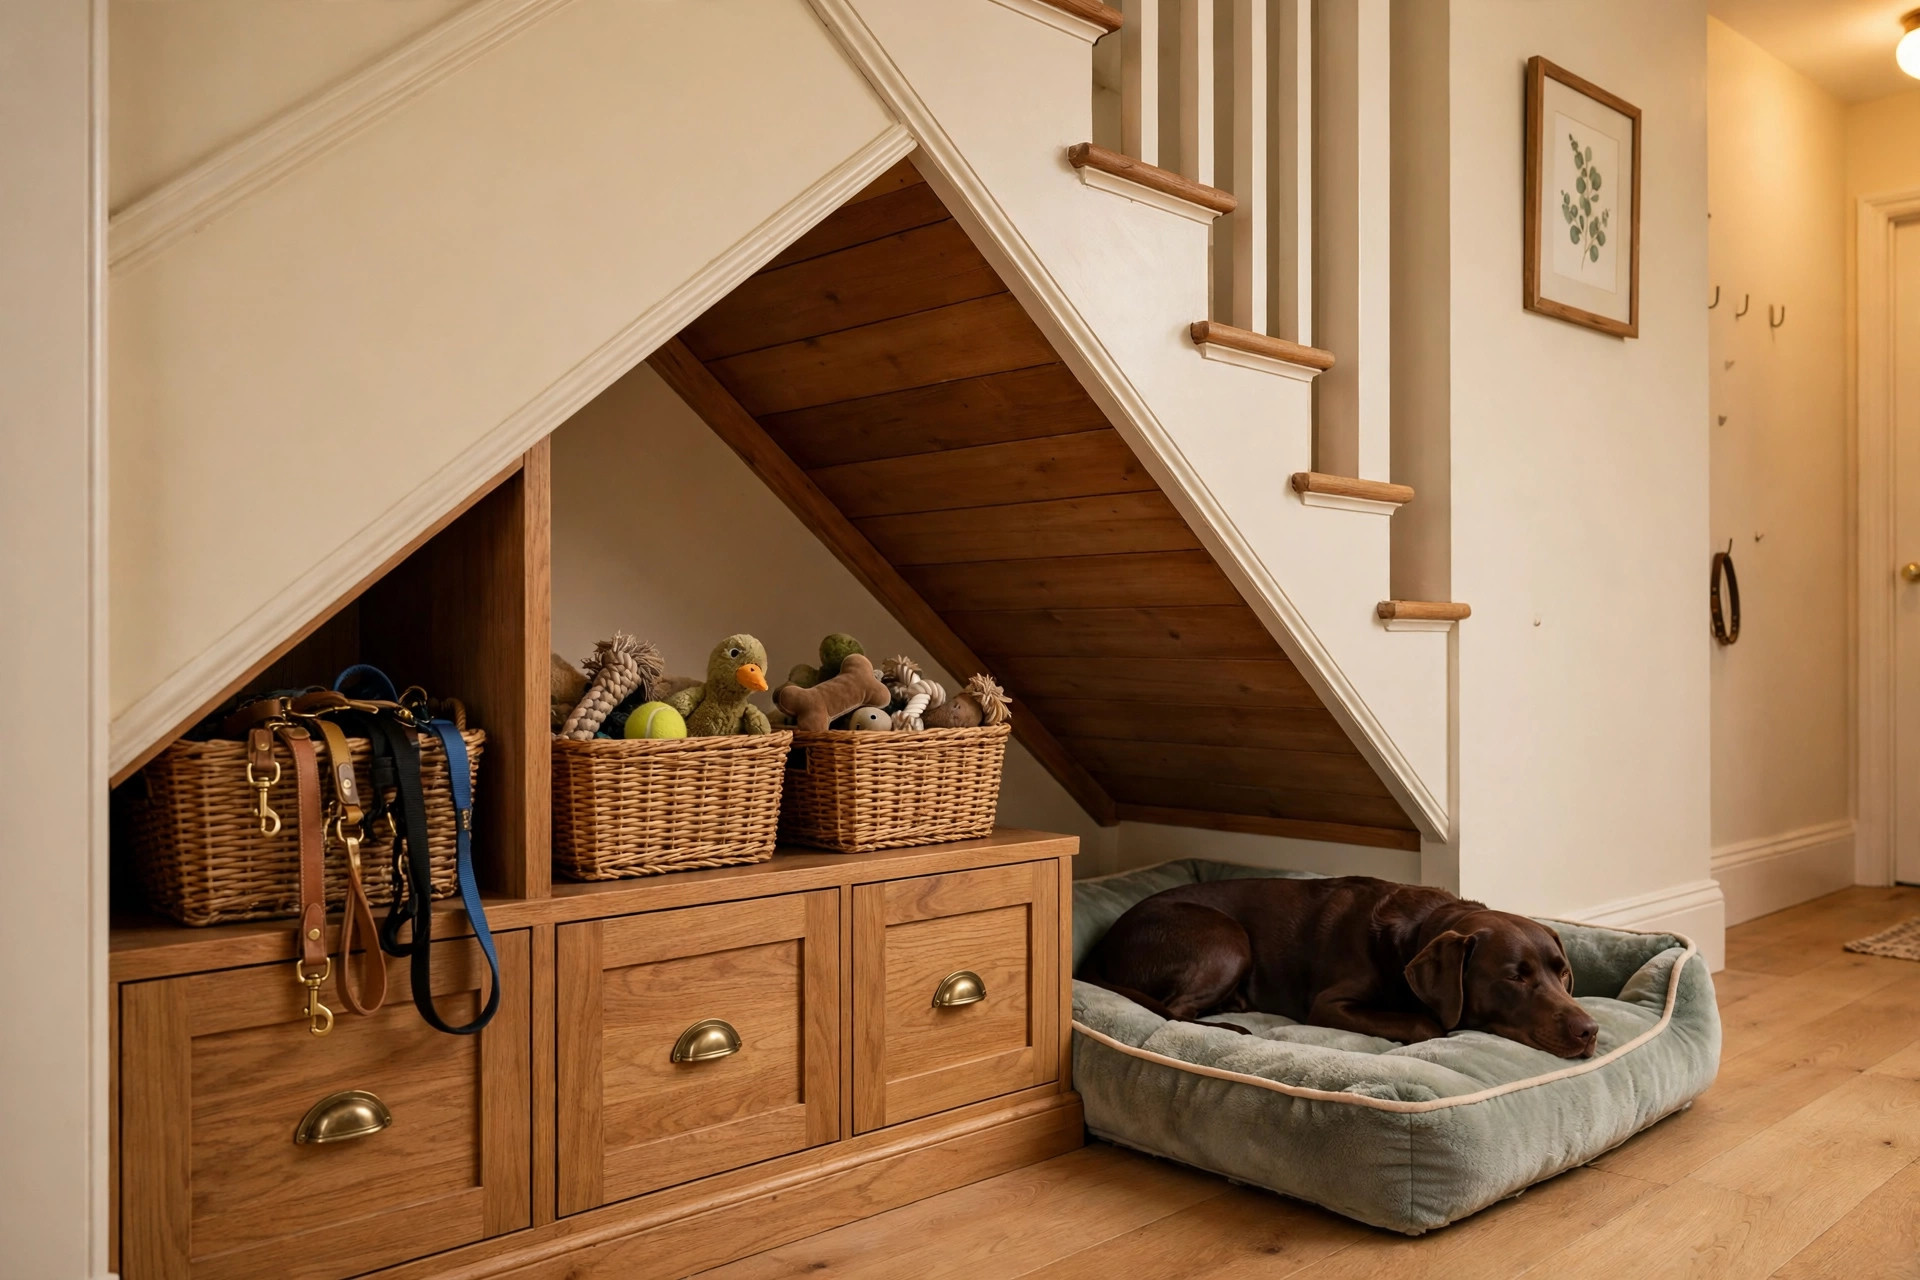
The space under the stairs is usually bigger than one dog needs, so use the spare triangle for storage. A row of shallow drawers under a raised bed platform holds leads, poo bags, towels, and grooming kit — everything within reach of the front door. Baskets on the low side (where the headroom is too small for a dog) hold toys and spare blankets.
\n
The rule is simple: dog things in the nook, everything else somewhere else. The moment the nook becomes a dumping ground for shoes and shopping bags, the dog stops using it. Fit a small hook on the side wall for the lead and a towel ring for the muddy-paw towel, and the nook becomes the whole coming-home routine in one place.
\n
Idea 4 — A nook for two dogs
\n
Two dogs can share an under-stairs nook, but only if the space is genuinely big enough for both to stretch out without touching — use the sizing table above for the larger dog, then add half the smaller dog’s length. If the opening is wide enough, two beds side by side work better than one big bed, because each dog can choose their own spot and leave when they want.
\n
Watch the first week carefully. If one dog always blocks the entrance while the other waits outside, the nook is too small or the entrance is too narrow for two. In that case, give each dog their own nook or move the second bed out into the room. Dogs that love each other on the sofa can still argue over a doorway, and a nook should never become a place where one dog guards the other out.
\n
Idea 5 — The nook with a feeding station
\n
For houses where the kitchen is crowded, the front of an under-stairs nook can hold a feeding station: two bowls in a raised stand just outside the sleeping area, with a waterproof mat underneath. Keep the bowls out of the sleeping zone itself — dogs do not like sleeping where they eat, and spilled water on a bed is the fastest way to ruin it.
\n
Use heavy ceramic or stainless-steel bowls that cannot be tipped, and a mat with a raised edge so spills stay on the mat. If the nook is near the front door, this also puts the water bowl where the dog actually drinks after a walk, which is a small thing that makes daily life noticeably easier.
\n
Idea 6 — The puppy nook
\n
Puppies take to under-stairs nooks faster than adult dogs, because the enclosed shape feels like the nest they left. Start with a crate inside the nook and a puppy pad at the entrance for the first weeks, then remove the pad once toilet training is reliable. A cheap, washable bed is the right choice for a puppy — they will chew it, wee on it, and drag it about, and a good bed can wait until they are six months old.
\n
Keep a night light in the nook for the first month. Puppies wake in the dark and panic when they cannot see the way out, and a tiny warm light is often all it takes to stop the 3 a.m. crying. Our DIY dog toys from old clothes guide has a soft tug toy that makes a good comfort toy to leave in the nook — something that smells of you and is safe to chew.
\n
Idea 7 — The senior dog nook
\n
Older dogs benefit most from a nook, and need the most care in how it is built. An orthopaedic bed with a low entry edge is essential — a senior dog should never have to climb or step up into their bed. Put the bed on the floor, not on a platform, and keep the entrance wide and free of any lip or threshold they could trip on.
\n
Warmth matters more than style for a senior: a nook on an outside wall can be cold, so add a draught excluder around the opening and a washable fleece blanket. Keep the nook close to where the family sits in the evening — older dogs want to be near their people, and a nook down a cold hallway will go unused no matter how well it is built. If your senior dog has started having accidents, a waterproof bed liner under the bed saves the floor and the mattress.
\n
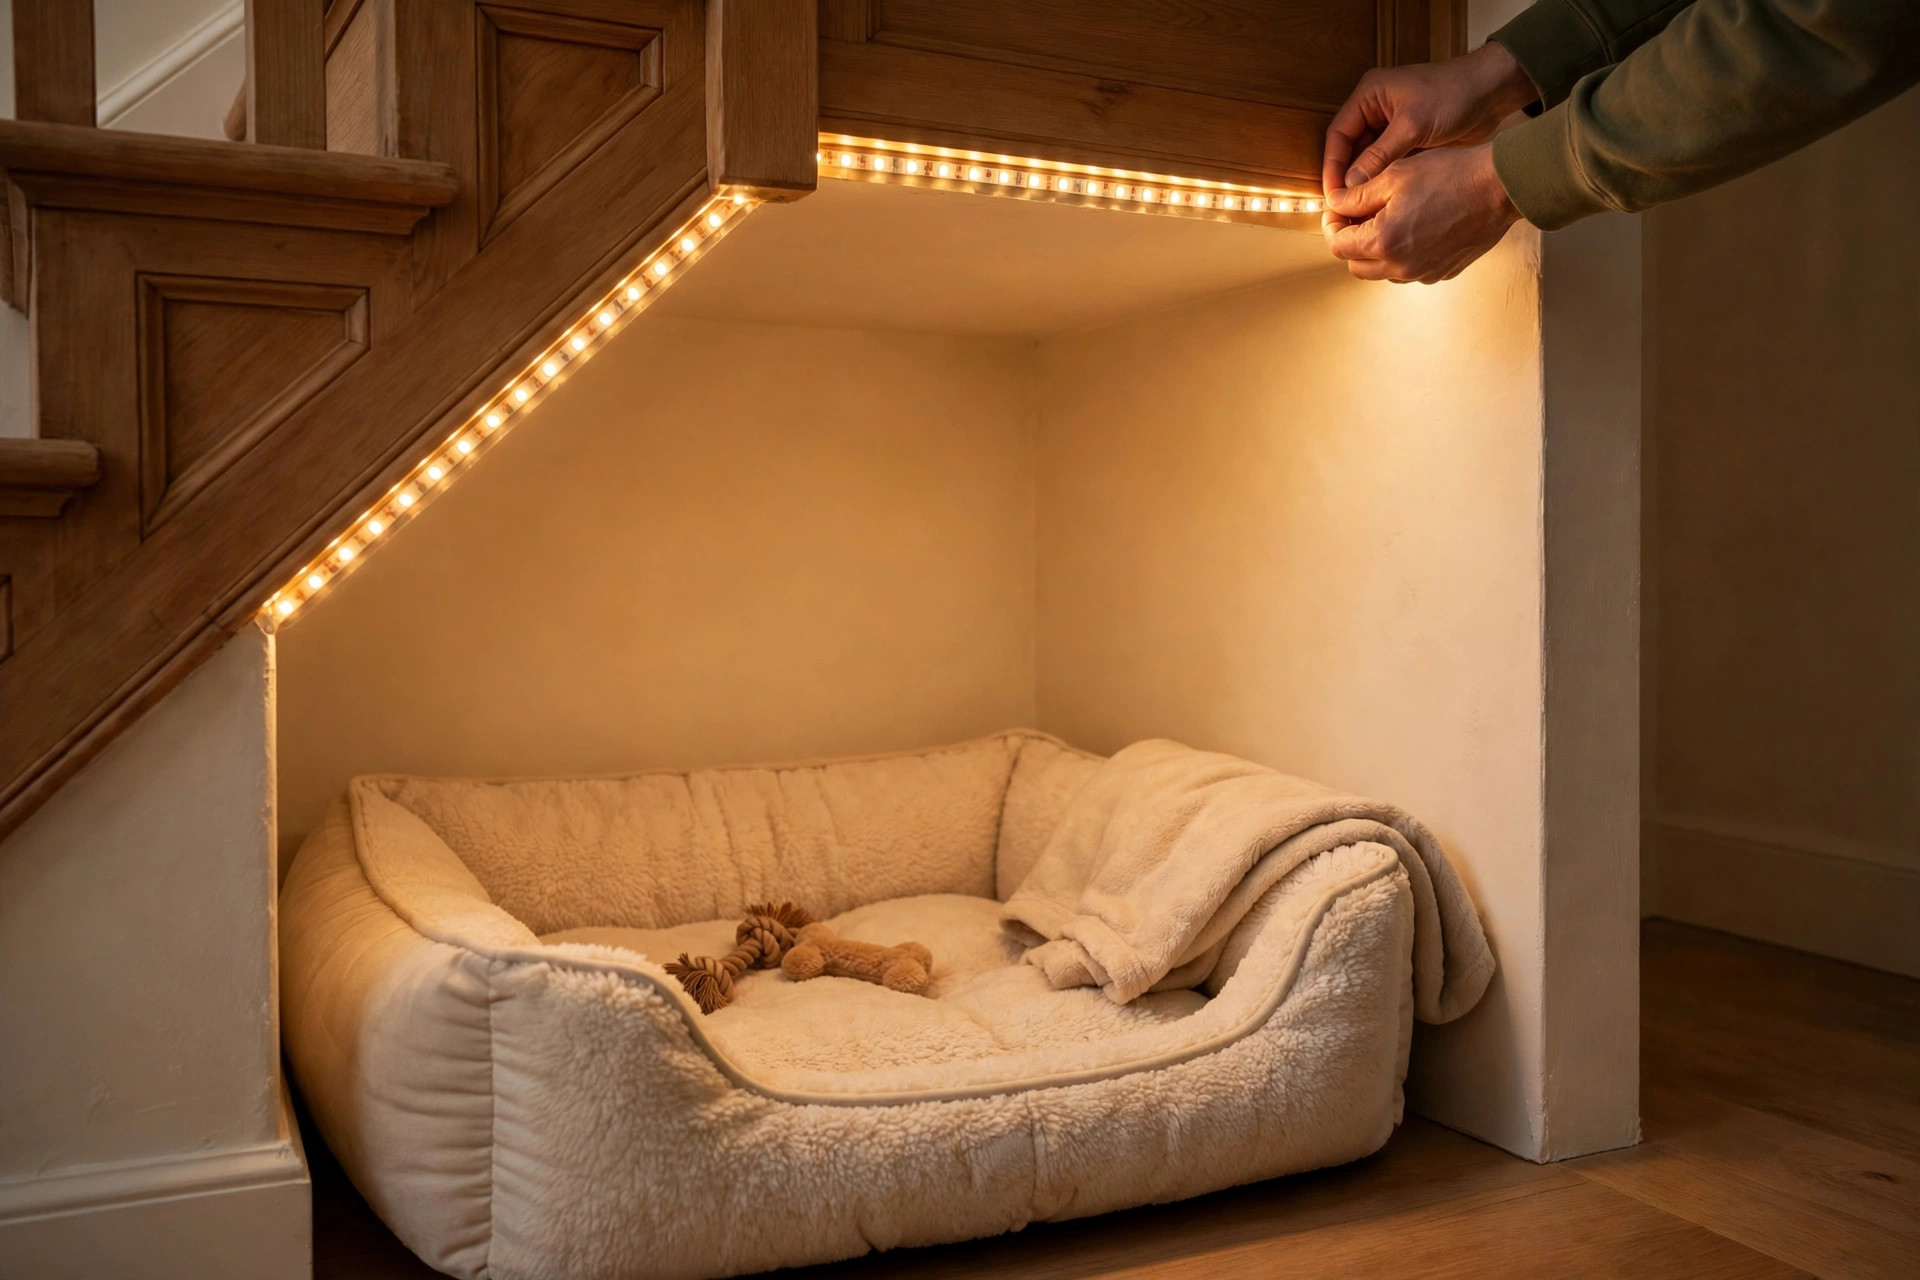
Lighting that actually works
\n
Under-stairs spaces are dark, and a dog that cannot see into their nook will not walk into it. A warm LED strip light along the top of the opening, on a motion sensor or a simple switch by the door, is the single best upgrade you can make — it costs very little and changes the nook from a black hole into an inviting den.
\n
Use warm white (2,700–3,000K), never cold blue-white, which looks harsh and clinical. Keep all cables hidden inside trunking or behind the panelling — a chewing dog and an exposed cable are a dangerous combination — and never use a plug-in night light with a trailing lead inside the nook. Battery-powered, motion-sensor puck lights are a good no-wiring option for renters.
\n
Airflow and ventilation
\n
A nook with no airflow gets damp, and damp nooks smell. Staircases are often against outside walls, so check the back wall for cold spots and condensation before you build anything. Leave a 2 cm gap at the top of any solid door or panel so air can move, and do not seal the nook up completely — a dog sleeping in a sealed box breathes out moisture all night.
\n
If the nook feels stuffy, a small, quiet fan on the opposite wall, pointed away from the bed, is enough. And if you ever find mould or a musty smell, stop using the nook until you have found the cause — dogs with breathing problems should never sleep in a damp space.
\n
Safety notes — read before you build
\n
- \n
- Never lock a dog in. An under-stairs nook is a retreat, not a cage. If you use a crate inside the nook, leave the door open unless you are actively crate training with a proper routine.
- Hide every cable. Lights, chargers, and extension leads have no place within chewing reach. Use trunking or route cables behind panelling.
- Use dog-safe paint and finishes. Choose low-VOC, water-based paint and let it dry and air for at least 48 hours before the dog moves in. Avoid varnishes and wood stains inside the sleeping area.
- No small or chewable fittings. Hooks, handles, and trim should be fixed firmly and too big to swallow. Puppies will test everything with their teeth.
- Check for pipes and wiring first. The space under the stairs often hides central-heating pipes, the fuse box, or the gas meter. Never box in a fuse box or meter — they need access — and never build a bed against a hot pipe.
- Mind the escape route. The dog must always be able to get out quickly. Never block the entrance with furniture, and never put the nook behind a door that could swing shut.
\n
\n
\n
\n
\n
\n
\n
What not to do
\n
- \n
- Do not build for a dog that does not fit. If the headroom is too low for your dog to stand and turn, use the space for storage, not sleeping.
- Do not use the nook as a timeout corner. A nook the dog associates with punishment is a nook the dog will avoid.
- Do not seal it up airtight. A nook needs airflow, or it will go damp and musty.
- Do not put a bed against a cold outside wall without insulation. A thin layer of foam board behind the panelling keeps the back of the nook warm and dry.
- Do not forget the cleaning. A nook that cannot be hoovered and wiped will smell within a month. Build it so the bed slides out and the floor is easy to reach.
\n
\n
\n
\n
\n
\n
FAQs
\n
Is the space under the stairs big enough for my dog?\nMeasure the dog lying flat, nose to tail base, and add 15 cm for the bed length; measure shoulder height and add 10 cm for the front clearance. If both numbers fit your space, it works. Large and extra-large dogs often need the full width of the staircase — check the table above.
\n
Will my dog actually use it, or will they sleep on the sofa anyway?\nMost dogs take to a nook within a week if the bed is comfortable, the light is warm, and nobody forces them in. Put a worn T-shirt of yours on the bed for the first few days — your smell makes it theirs faster than any amount of coaxing.
\n
Can I build a dog nook under the stairs if I rent?\nYes — use a freestanding crate and a bed, with battery puck lights instead of wired lighting, and nothing fixed to the walls. A tension rod and a curtain across the opening makes a den without a single screw hole.
\n
How do I keep the nook clean?\nChoose a washable bed and a wipe-clean floor — vinyl offcuts or a washable mat work well. Hoover the nook weekly and wash the bed cover every fortnight; our how to wash a dog bed guide covers machine-washable beds by type.
\n
Is an under-stairs nook safe for puppies?\nYes, with puppy-proofing: hide cables, remove anything chewable, use a washable bed, and keep a night light on for the first month. Never shut a puppy in the nook with the crate door closed for longer than their age allows.
\n
What if the space under my stairs has the fuse box in it?\nDo not box the fuse box in. Build the nook in the clear part of the space and leave the fuse box accessible, or use the whole space for storage and build the nook elsewhere. Safety comes before the project.
\n
The bottom line
\n
The space under your stairs is already shaped like a dog den — low, enclosed, and quiet — so turning it into a nook is less a build than a tidy-up with a bed in it. Measure the space and the dog first, pick the idea that fits your dog’s age and size, add warm light and a little airflow, and keep every cable hidden and every finish dog-safe. Start with a bed and a light this weekend; the drawers, the panelling, and the framed photo can come later. And if you want more ideas for giving your dog their own corner of the house, our dog spaces in the house and dog bedroom ideas guides cover the rest of the home.
\n
Pin this for later 📌 — and if you are planning a bigger build for the garden as well, our DIY dog house ideas guide shows nine builds to compare before you start.
“,
“source_draft”: “/home/hatch/workspace/goals/pinterest-pin-automation-for-petsmush-com/files/dog-nook-ideas-under-stairs-post-draft.md”,
“status”: “publish”
}