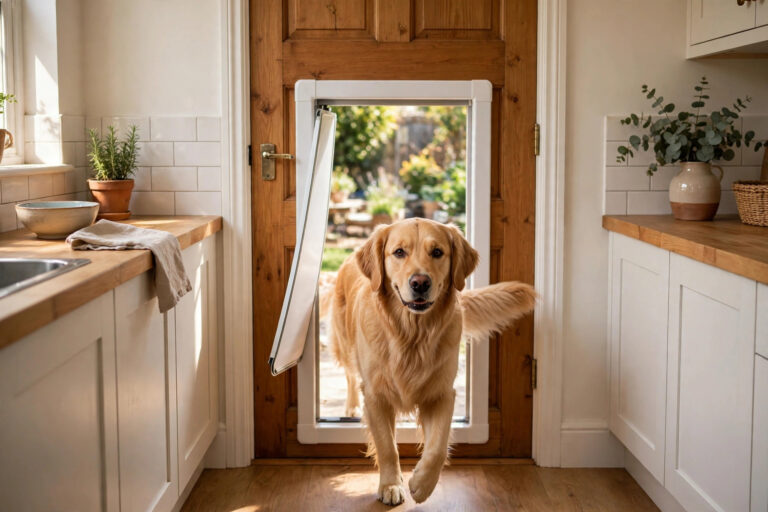
A dog door is one of those small home upgrades that quietly changes
daily life — no more playing doorman at 6am, and the dog gets
freedom on their own terms. The reason most people put it off is
fear of ruining a perfectly good door. Done methodically, though,
fitting a dog door is a straightforward weekend job, and with the
right measurements there’s no visible mess at the end.
The secret is all in the planning: measure the dog (not the guess),
pick the right door type for your home, cut once, seal well, and
train properly. Here’s the full walkthrough.
Step 1: Measure your dog — the flap is everything
A dog door that is too small scares the dog; too big wastes energy
and invites weather in. Measure properly.
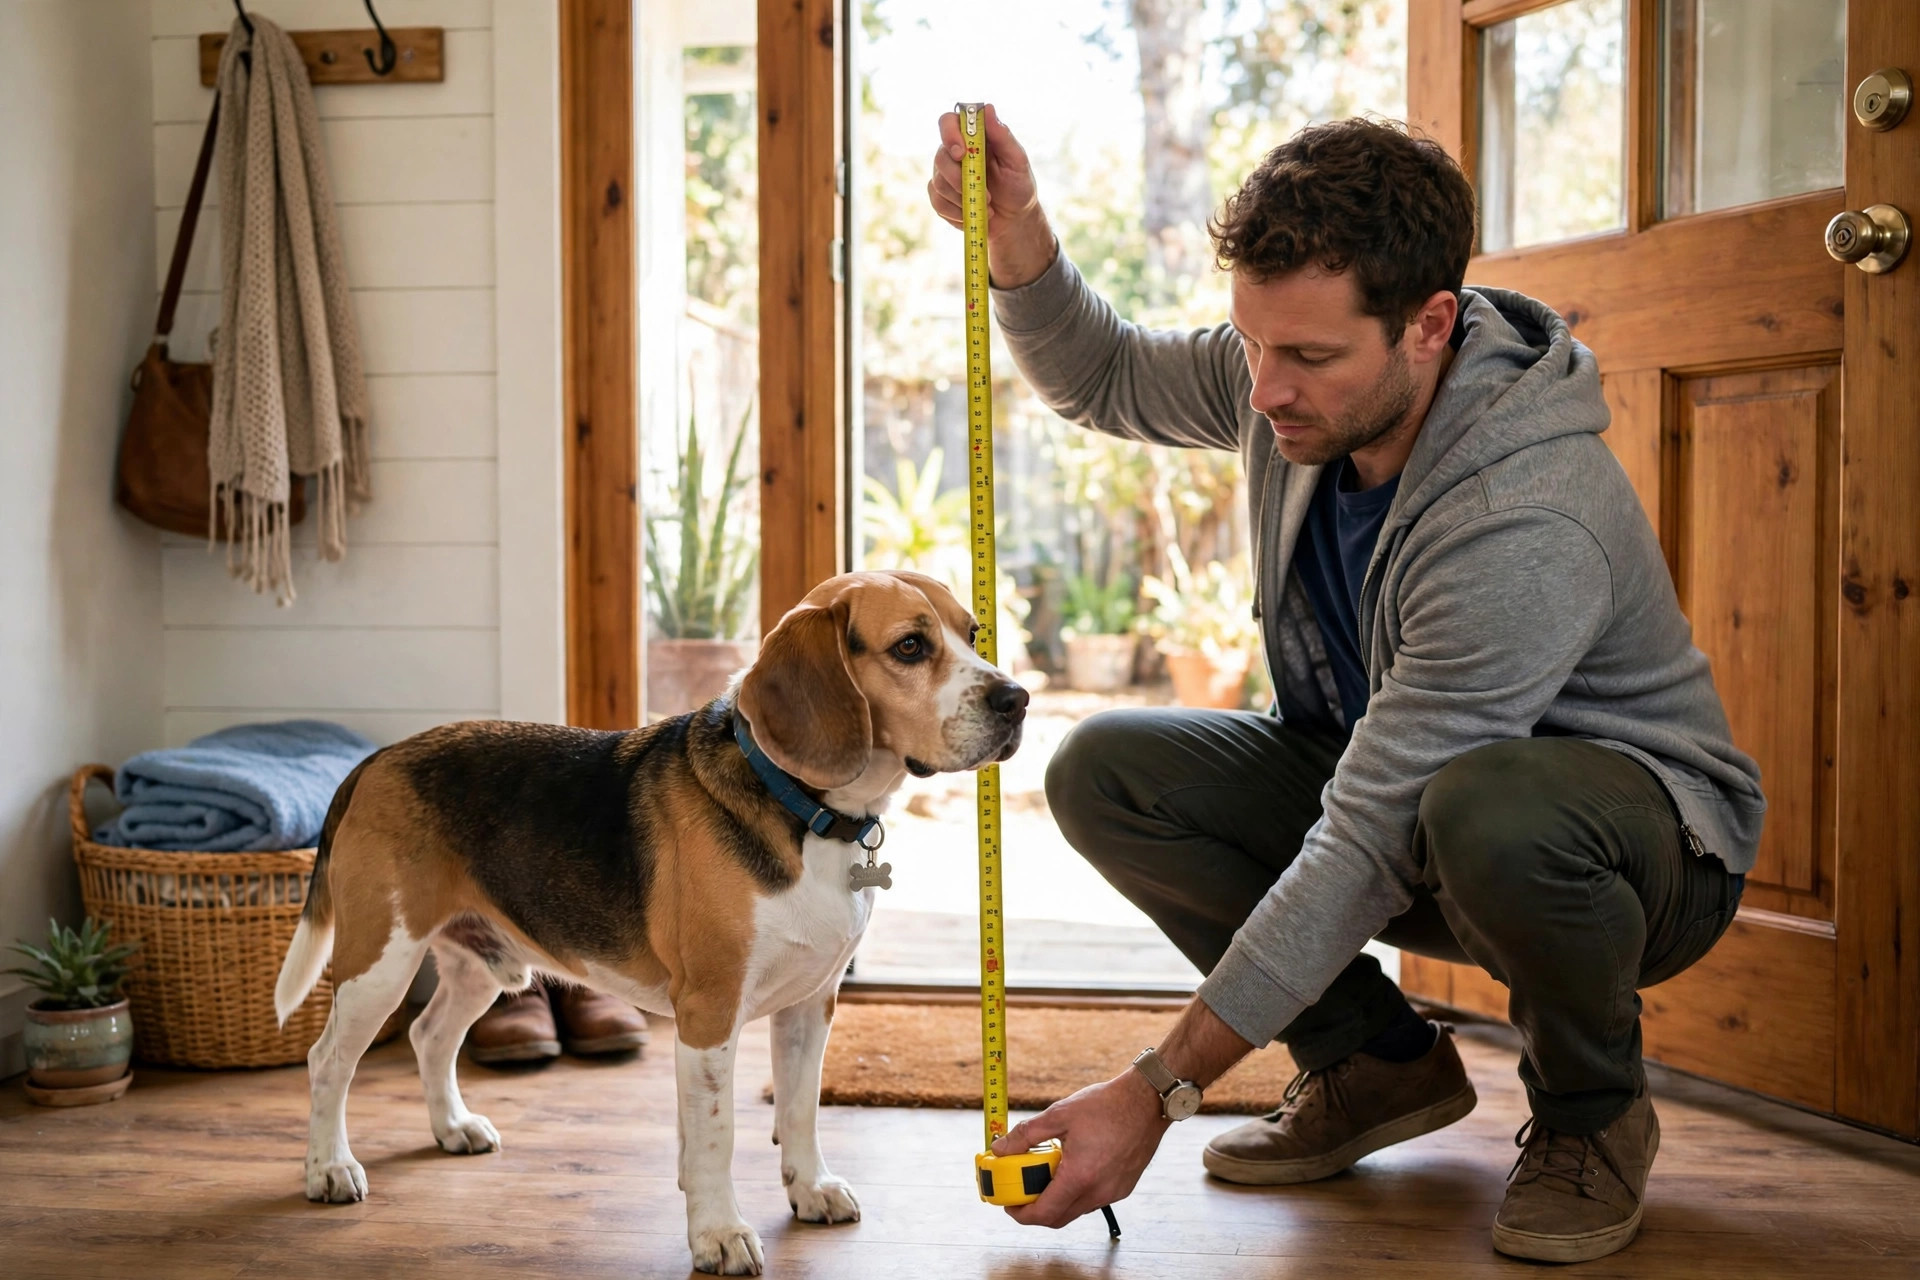
Height: with the dog standing square, measure from the floor to
the top of their shoulders (the withers). Add 5–8 cm — that’s your
flap’s clear opening height.
Width: measure the widest point of the dog’s body (usually the
shoulders or hips), then add 5 cm either side. A lean greyhound and a
barrel-chested bulldog of the same height need very different widths.
Step-over height: the flap should sit low enough that the dog
steps through comfortably — the bottom of the flap ideally clears the
floor by 5–8 cm for most dogs, lower (2–3 cm) for seniors, puppies
and short-legged breeds.
Buy the flap kit after you have numbers, not before. Most kits
cover a size range (small/medium/large/XL), and the right size is
the one your measurements land in the middle of, not at the edge of.
Step 2: Pick the right door type for your home
Door-mounted flaps (easiest). A two-piece frame kit that sandwiches
an existing wooden, PVC or composite door around a cut-out. Best for
most homes, fully removable (replace the panel later if you move),
and the lowest-risk cut you’ll ever make.
Wall-mounted tunnels (most versatile). Used when there’s no
suitable door — typically through a brick or timber-framed wall.
The tunnel kits telescope to your wall’s thickness. The cut is bigger
and you must check for wiring, plumbing and studs first (more on
that below), but it’s the cleanest look for a utility room.
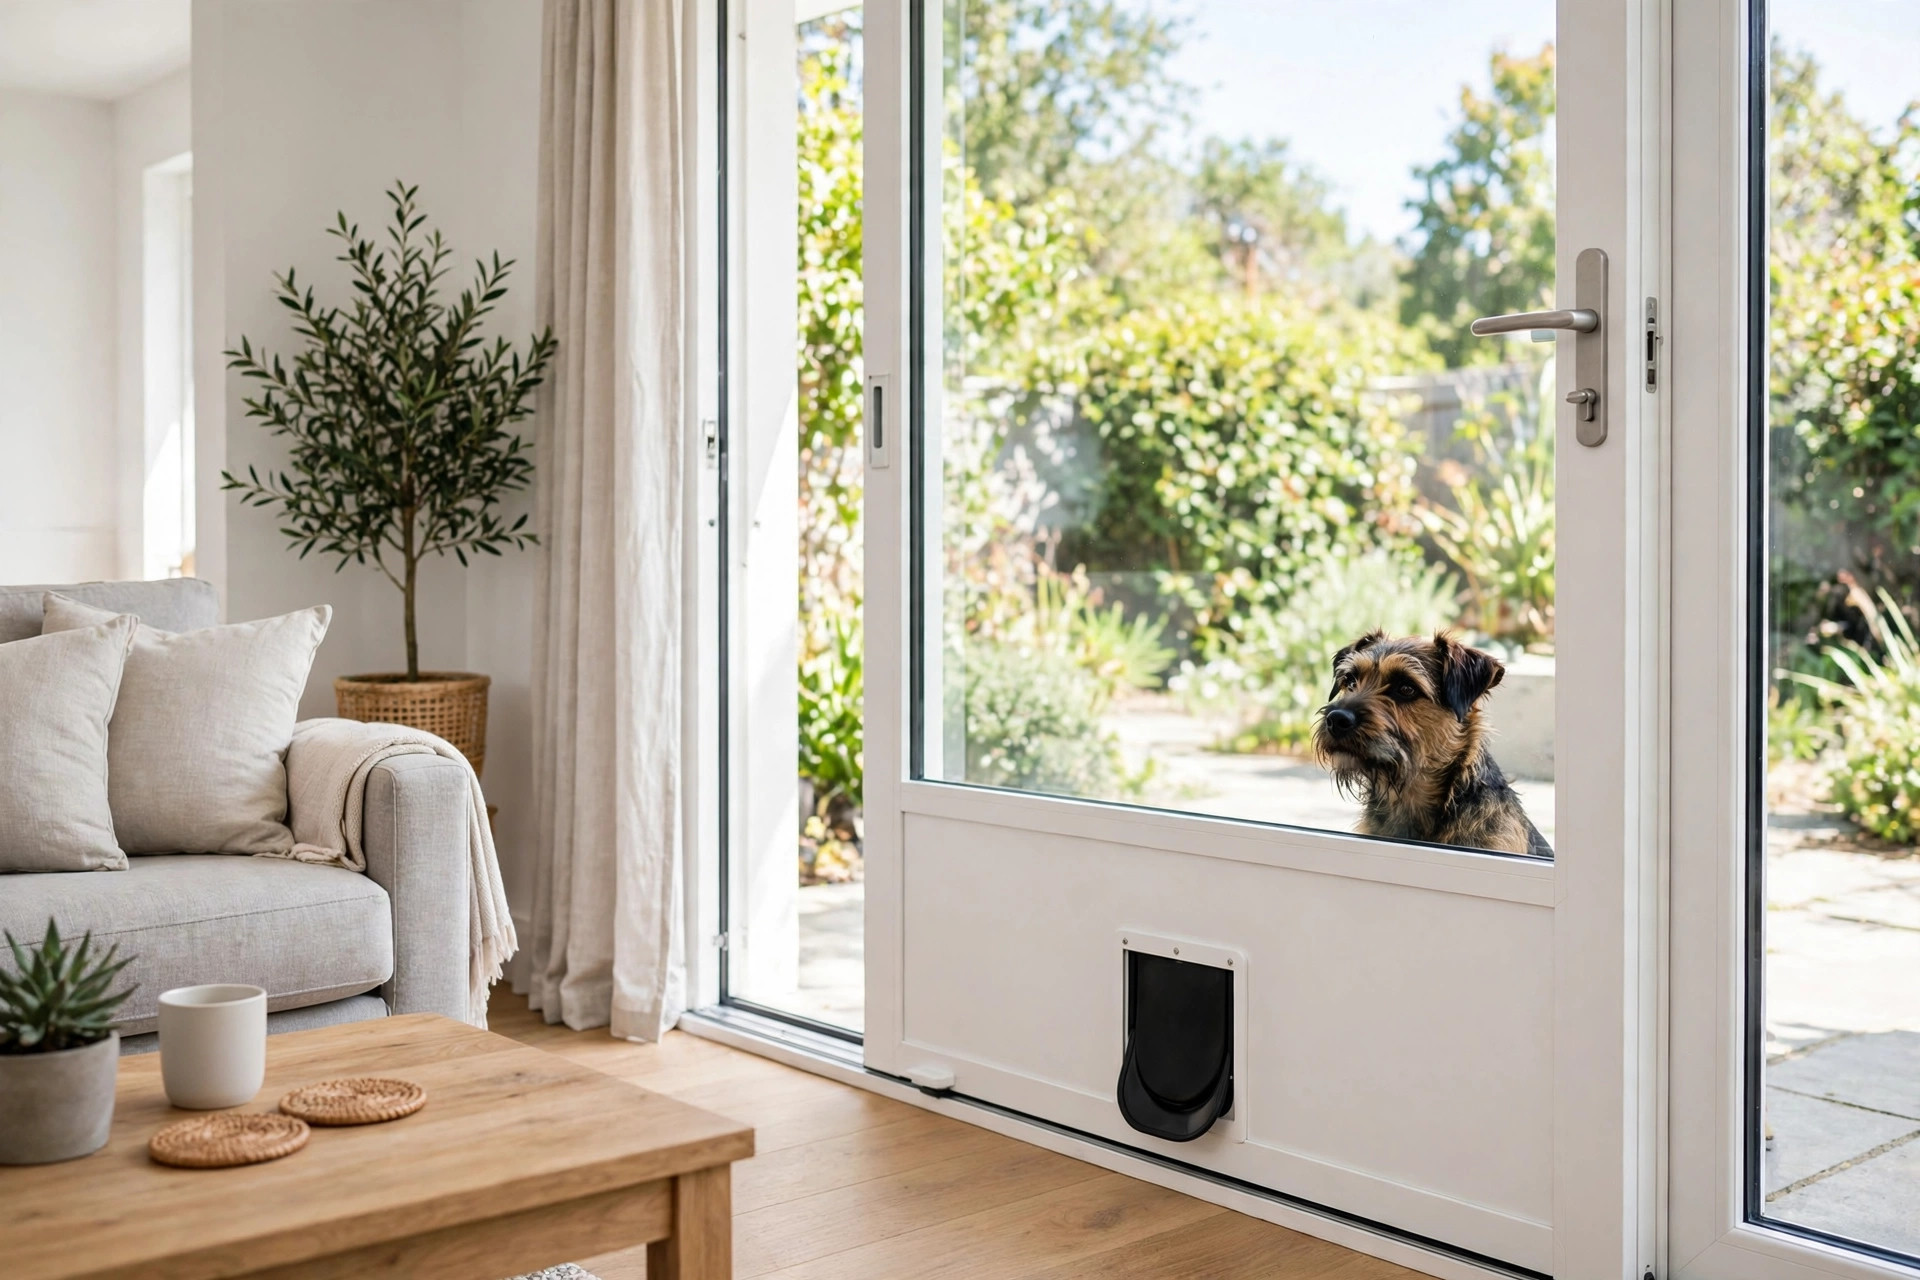
Sliding-door inserts (zero cutting). A panel with a built-in flap
that drops into your sliding patio door track. No permanent changes
at all — ideal for renters. Measure the track height carefully and
buy an adjustable-height panel.
Electronic/smart flaps. Read the dog’s microchip or a collar tag
and lock out neighbourhood visitors. Worth considering if stray cats
or foxes are a local problem — the mechanism is the same to install,
you’re just wiring a battery compartment instead of nothing.
Step 3: Gather the tools
For a standard door-mounted kit you’ll need: the flap kit itself,
a tape measure, pencil, spirit level, drill with a 10 mm bit, a
jigsaw with a fine wood blade, sandpaper (120 grit), masking tape,
silicone sealant, and safety glasses. For wall installs, add a
stud/wire detector, a masonry drill bit set if the wall is brick,
and a dust mask.
Work in daylight, and keep the dog in another room once the tools
come out — curious noses and jigsaws do not mix.
Step 4: Mark it out — measure twice, cut once
Most kits include a paper template. Position it on the door so the
flap’s bottom edge sits at your measured step-over height, and use
the spirit level to keep it square — a tilted flap never seals
properly and always looks amateur.
Trace the template, then stick masking tape along the cut lines.
The tape does two jobs: it stops the saw from chipping the door’s
finish, and it gives you a crisp line to follow.
Drill a 10 mm pilot hole inside each corner of the marked rectangle
(these are the jigsaw’s entry points), then cut slowly along the
lines. Let the blade do the work — forcing it makes the cut wander.
Sand the edges smooth so the frame sits flush.
Step 5: Fit the frame and weatherproof it
Dry-fit the frame halves together through the cut-out. They should
sit flat against both door faces with no rocking — if the door has
panels or mouldings in the way, most frames allow you to pack small
gaps with the supplied screws.
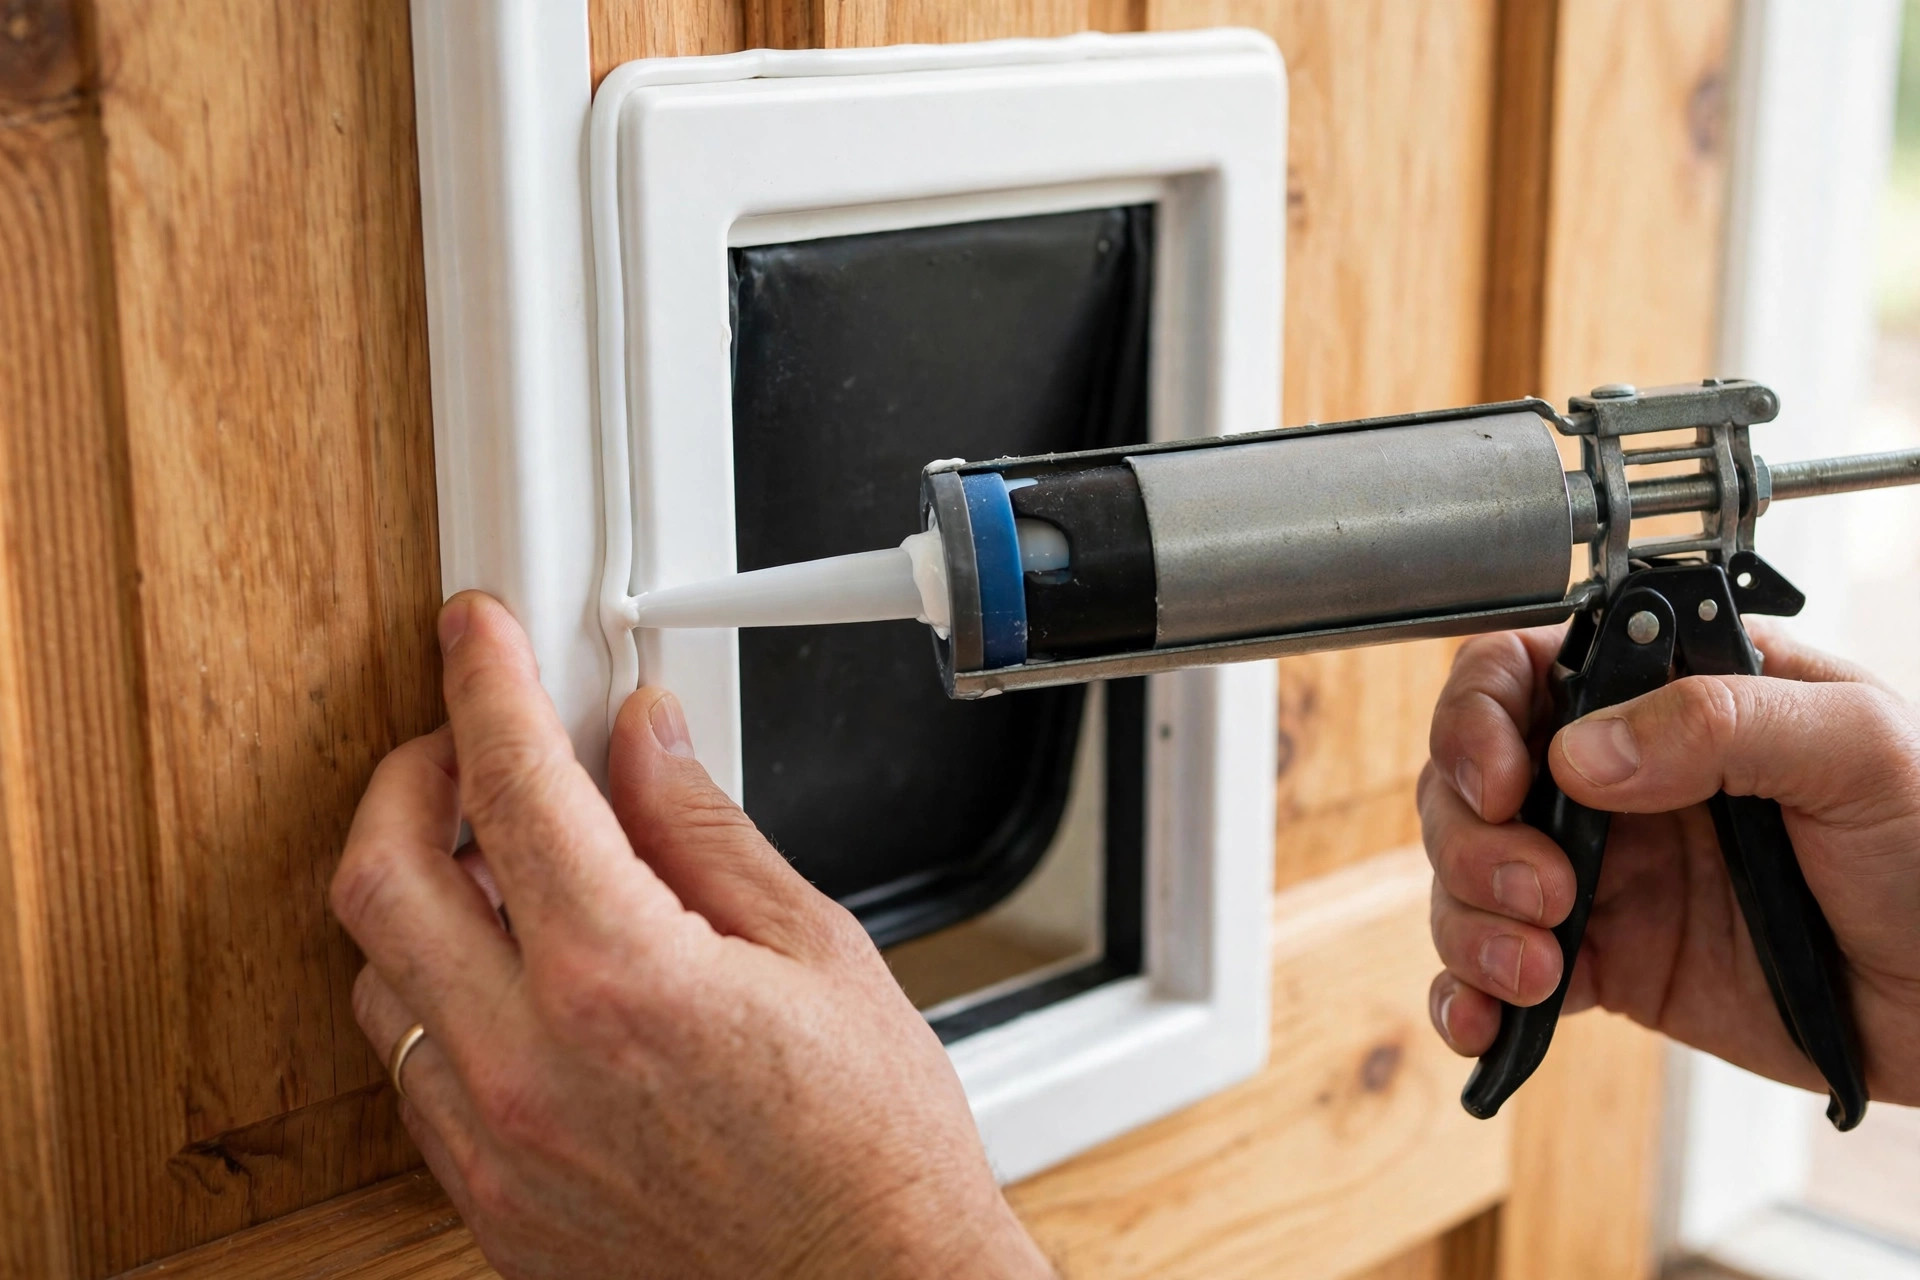
Run a thin bead of silicone sealant around the cut edge before the
final fit (or around the frame’s outer edge after fitting). This is
the step people skip and regret in the first rainstorm. Sealant also
stops the cut edge absorbing moisture, which is what makes door
material swell around cheap installs.
Tighten the frame screws evenly, alternating sides — over-tightening
one corner first warps the frame and the flap binds. Test the flap:
it should swing freely both ways and settle back to closed on its
own, magnetic or gravity-sealed.
Wall installs: the extra checks
Cutting a wall is the same principle with higher stakes. Before the
saw touches anything: scan the area with a wire/pipe detector and
check both faces of the wall for sockets, switches or pipe runs.
Avoid load-bearing timber studs if you can — cutting one means
adding a header, which turns a weekend job into a project.
Brick walls need a masonry bit and a cold chisel or angle grinder
to square the opening; wear a proper dust mask. Insulated walls
need the tunnel lined so cavity insulation doesn’t spill into the
mechanism. None of this is beyond a confident DIYer, but if any of
it makes you nervous, that’s exactly what a handyman is for — a
one-hour call-out is cheaper than a botched wall.
Security and energy: the two worries, answered
Security. A flap big enough for a large dog is big enough for a
determined intruder’s arm — that’s the honest trade-off. Mitigate
it: fit the door to a utility room or kitchen rather than the front
hall; use a kit with a rigid locking cover and slide it in at night;
and electronic flaps keep animal intruders out even when you can’t
be there to slide the cover. Never fit a dog flap in a door that
carries your home’s main lock.
Energy. A well-fitted double flap with a magnetic seal loses
surprisingly little heat — far less than the open-back-door routine
it replaces. The draughts people blame on dog doors almost always
come from poor sealing at install. Seal it like the instructions say
and check the flap’s bottom sweep each autumn.
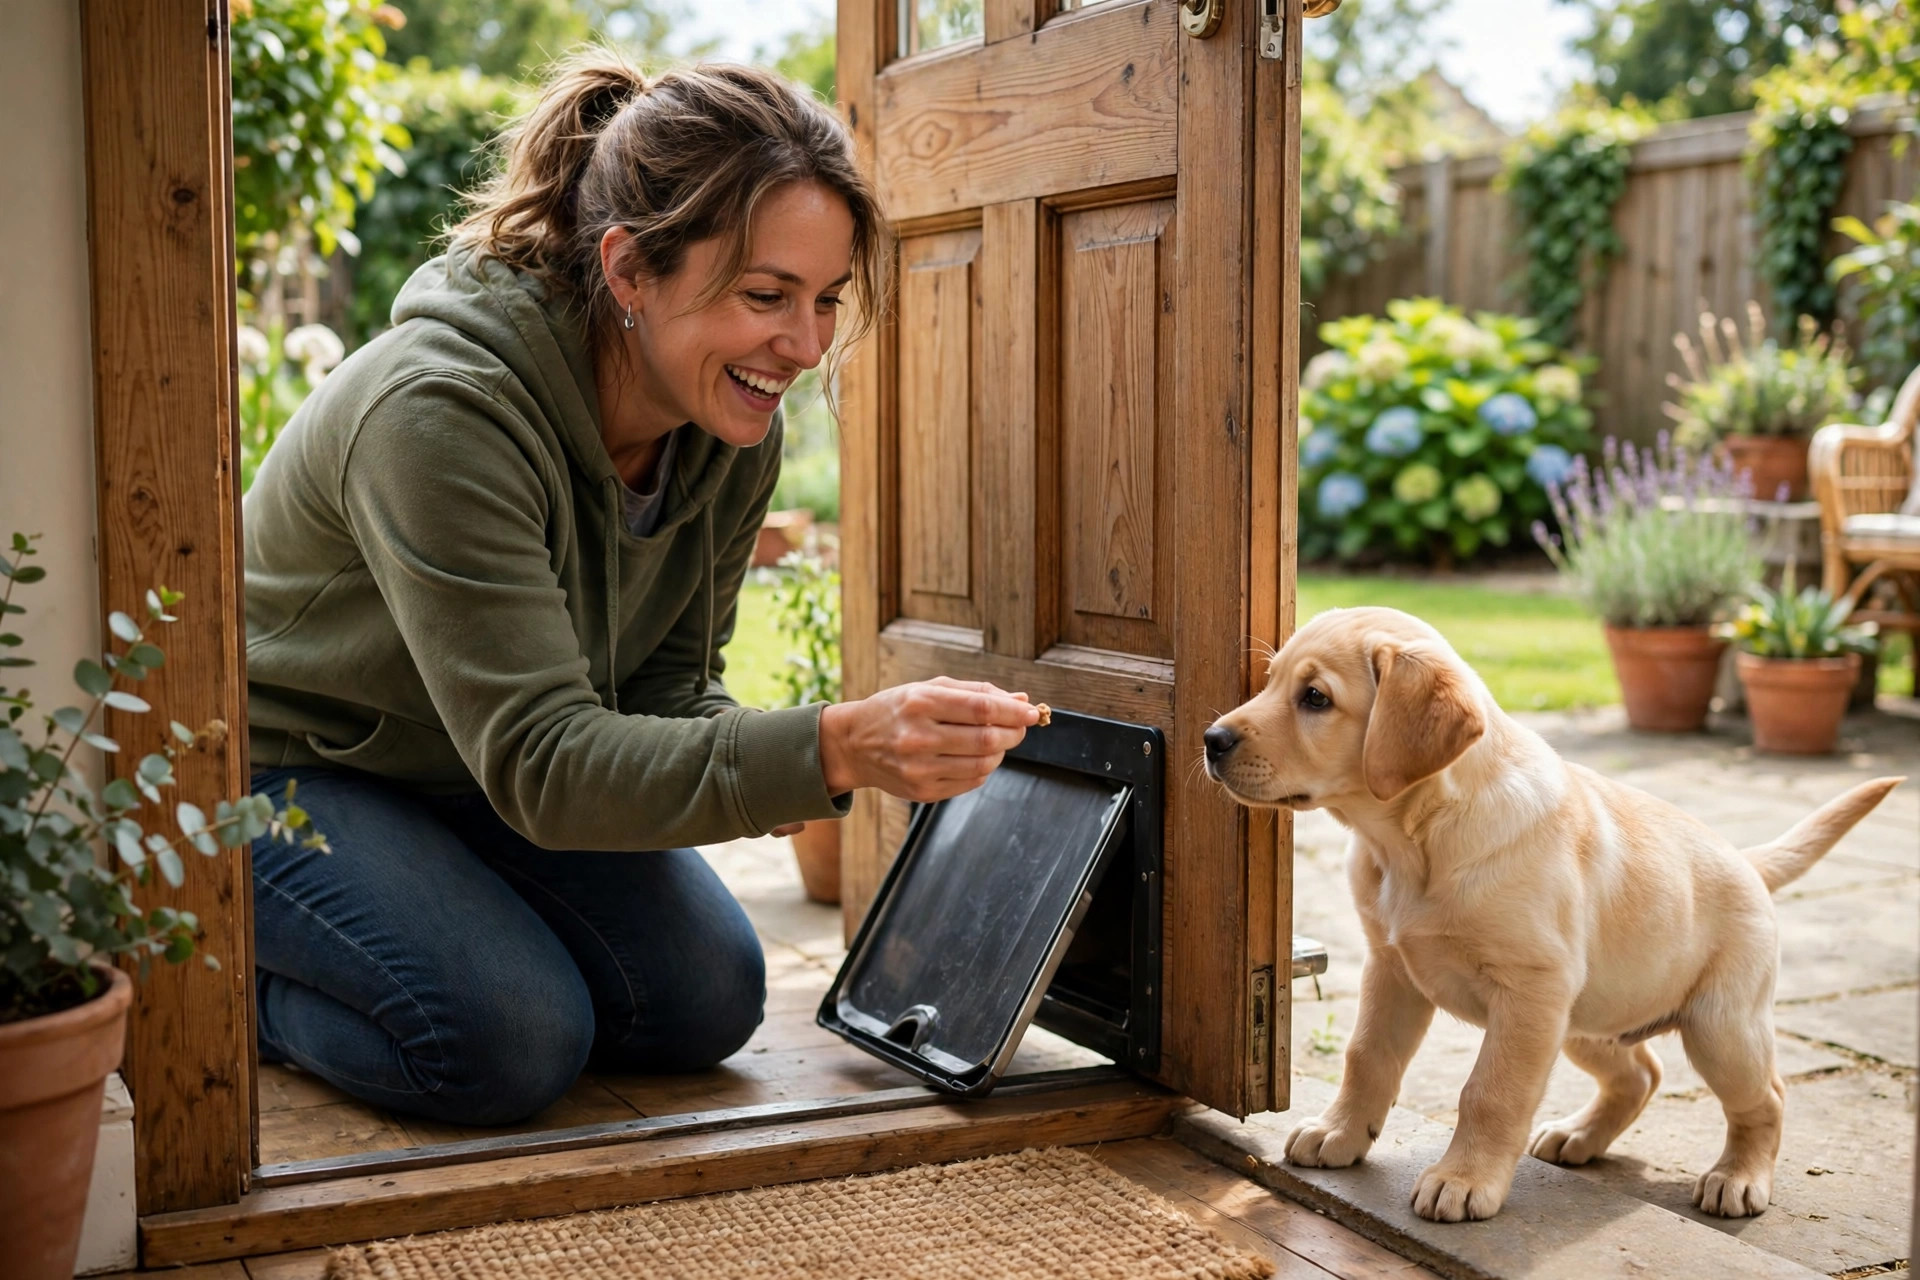
Training: teach the dog to actually use it
Some dogs charge through on day one; cautious dogs need a week.
Either way, don’t force them.
-
Prop the flap fully open and let the dog walk through for treats
for a day or two — the goal is “doorway equals good things”. -
Lower the flap so it rests lightly on their back as they pass.
Reward every crossing. -
Let it swing closed. Most dogs push through within a session or
two once the treat trail is established. -
Practise from both sides, and don’t lock the cover until the dog
is fully confident — a scared dog that meets a locked flap
learns to distrust it.
Keep training sessions to five minutes, end on a win, and never
push a nervous dog through by hand. Seniors and puppies may need
a ramp or a lower step-over — adapt the setup, not the dog.
The bottom line
A dog door is a measure-twice job with a one-week payoff: morning
lie-ins, a dog with genuine independence, and a home that quietly
works better. Pick the flap for the dog’s real measurements, cut
cleanly, seal thoroughly, and train patiently. Do those four things
and nobody — including the door — will know it wasn’t always there.
FAQs
What size dog door do I need?
Measure your dog standing: floor to top of shoulders plus 5–8 cm
for flap height, widest body point plus 10 cm for width. Buy the kit
whose range puts your measurements in the middle, not at the edge.
Can you put a dog door in a rented home?
Use a sliding-door insert panel — it needs no cutting and removes
without a trace. Door-mounted kits are also reversible if you keep
the cut-out piece and fill it later, but get the landlord’s written
okay first.
Are dog doors safe from burglars?
Large flaps are a genuine weak point. Fit the door to a secondary
room (not the front entrance), use the rigid locking cover at night,
and consider an electronic flap that only opens for your dog.
How do I stop draughts around a dog door?
Choose a double-flap or magnetic-seal kit, fit the frame square so
the flap hangs true, and run silicone sealant around the cut edge at
install. Check the seal each autumn.
My dog is scared of the flap — what now?
Go back a step: prop it open, reward crossings, then lower it
gradually. Never force the dog through. Most dogs crack it within a
week of short, treat-led sessions.