{
“title”: “Dog Training Treats Recipe: 6 Easy Recipes Your Dog Will Work For”,
“slug”: “dog-training-treats-recipe”,
“excerpt”: “The best dog training treats are small, soft and smelly — 6 easy homemade recipes, the 3 rules of a good training treat, and how many to use per session.”,
“meta_description”: “The best dog training treats are small, soft and smelly — 6 easy homemade recipes, the 3 rules of a good training treat, and how many to use per session.”,
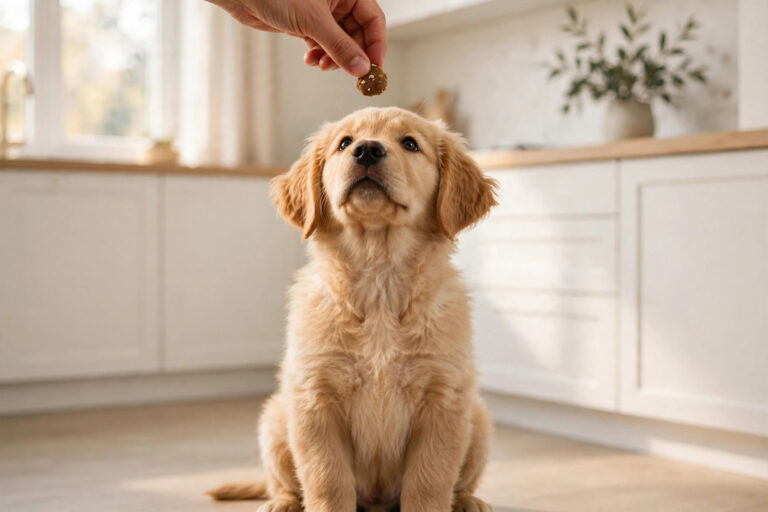
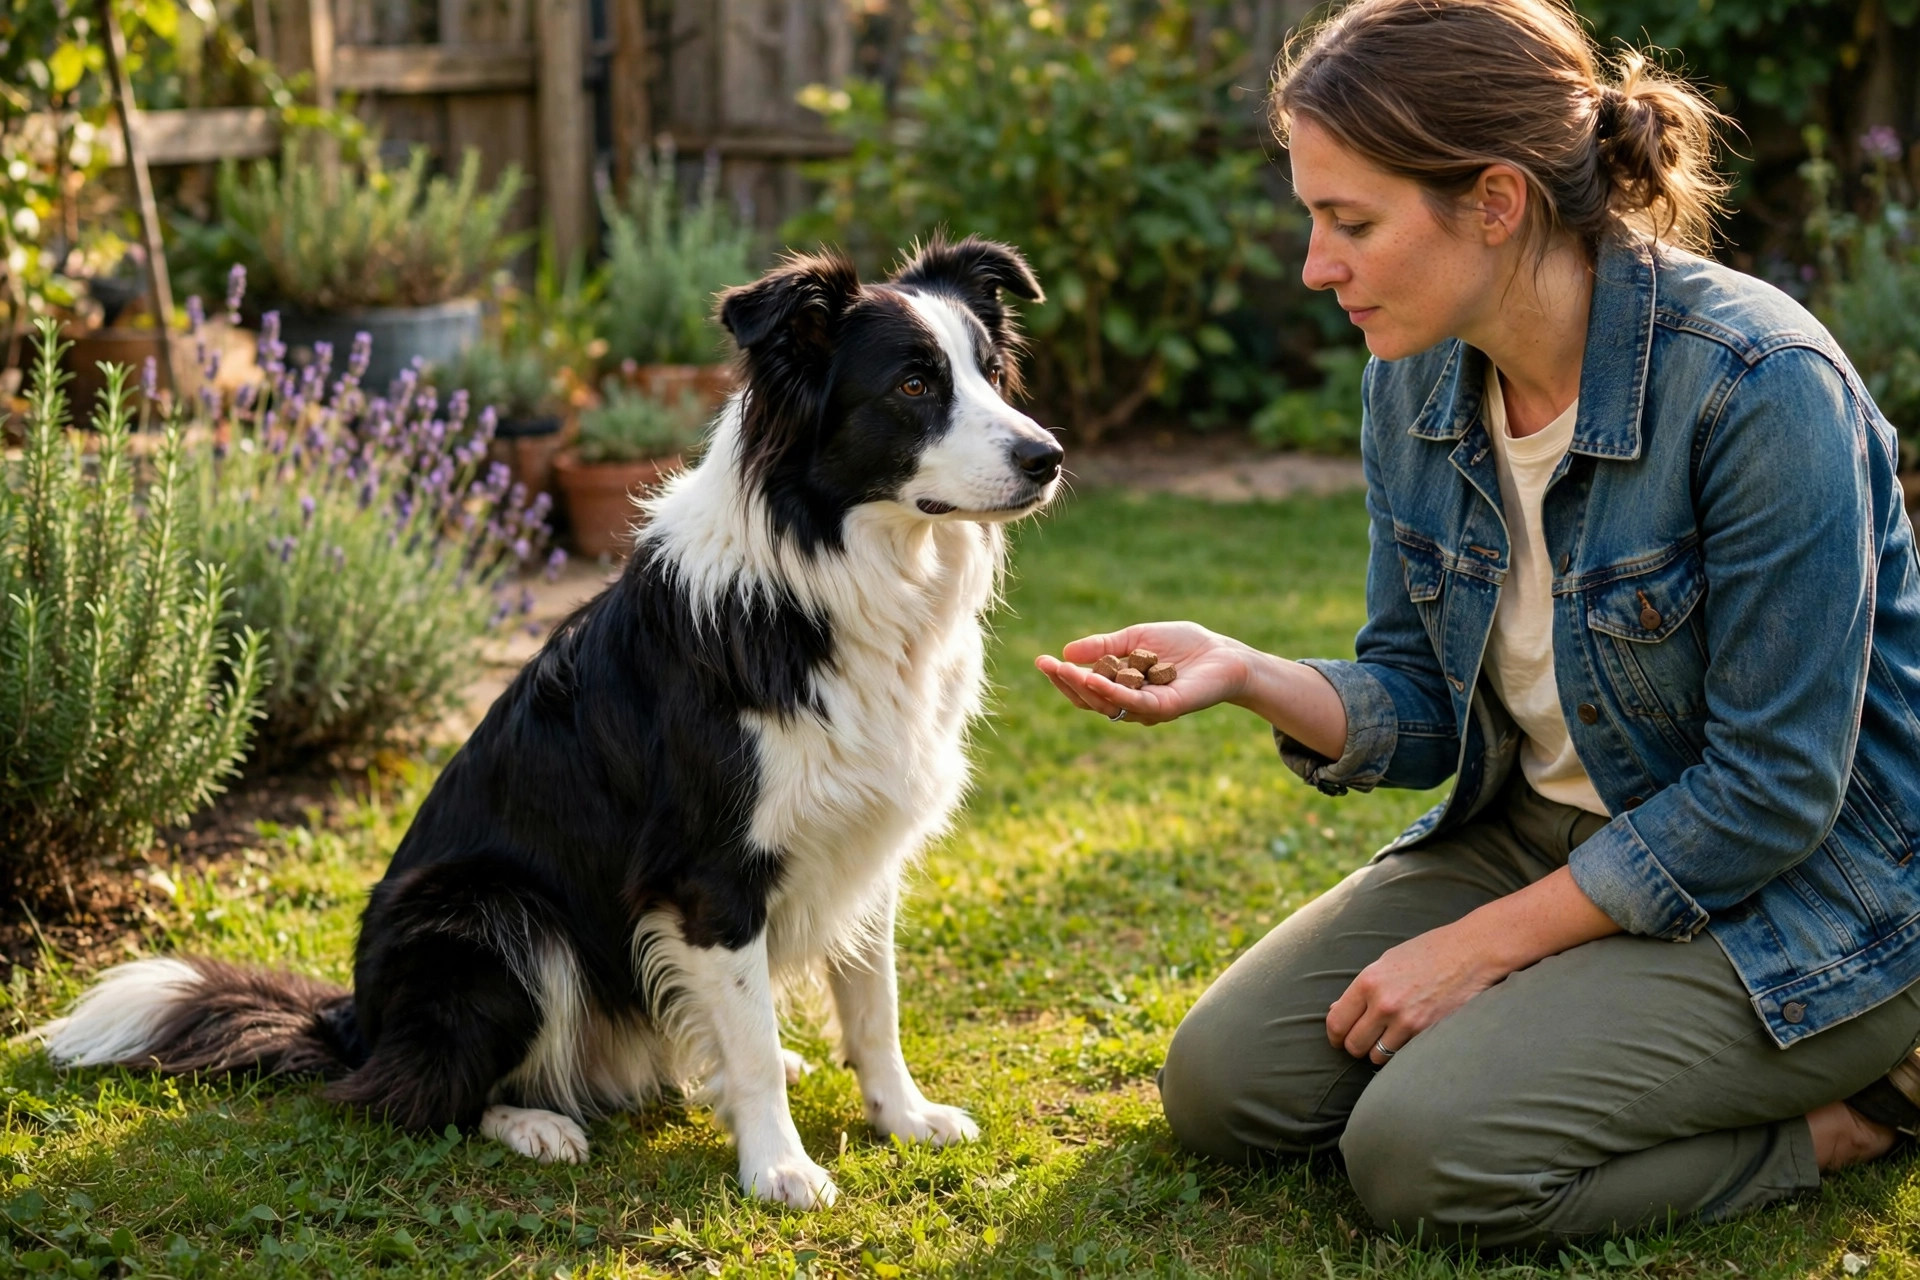
“featured_image_alt”: “A golden retriever puppy sitting attentively while its owner holds a small homemade training treat.”,
“content_html”: “
Every dog trainer will tell you the same thing: the treat is the paycheque. Get it right and your dog will happily repeat a behaviour a hundred times. Get it wrong — too big, too hard, too boring — and your training sessions stall, your dog loses interest, and you end up with a pocket full of crumbs and a dog who has wandered off to sniff the fence.
\n
The good news is that the best training treats are not the expensive ones in the pet shop. They are small, soft, smelly, and cheap to make at home — and the recipes below take under half an hour each. This guide covers what makes a treat work for training, six recipes your dog will actually work for, how to use them in a session without overfeeding, and the mistakes that turn a good training treat into a bad one.
\n
What makes a good training treat
\n
A training treat is not a chew, a biscuit, or a meal. It is a tiny, instant reward, and it has to pass three tests.
\n
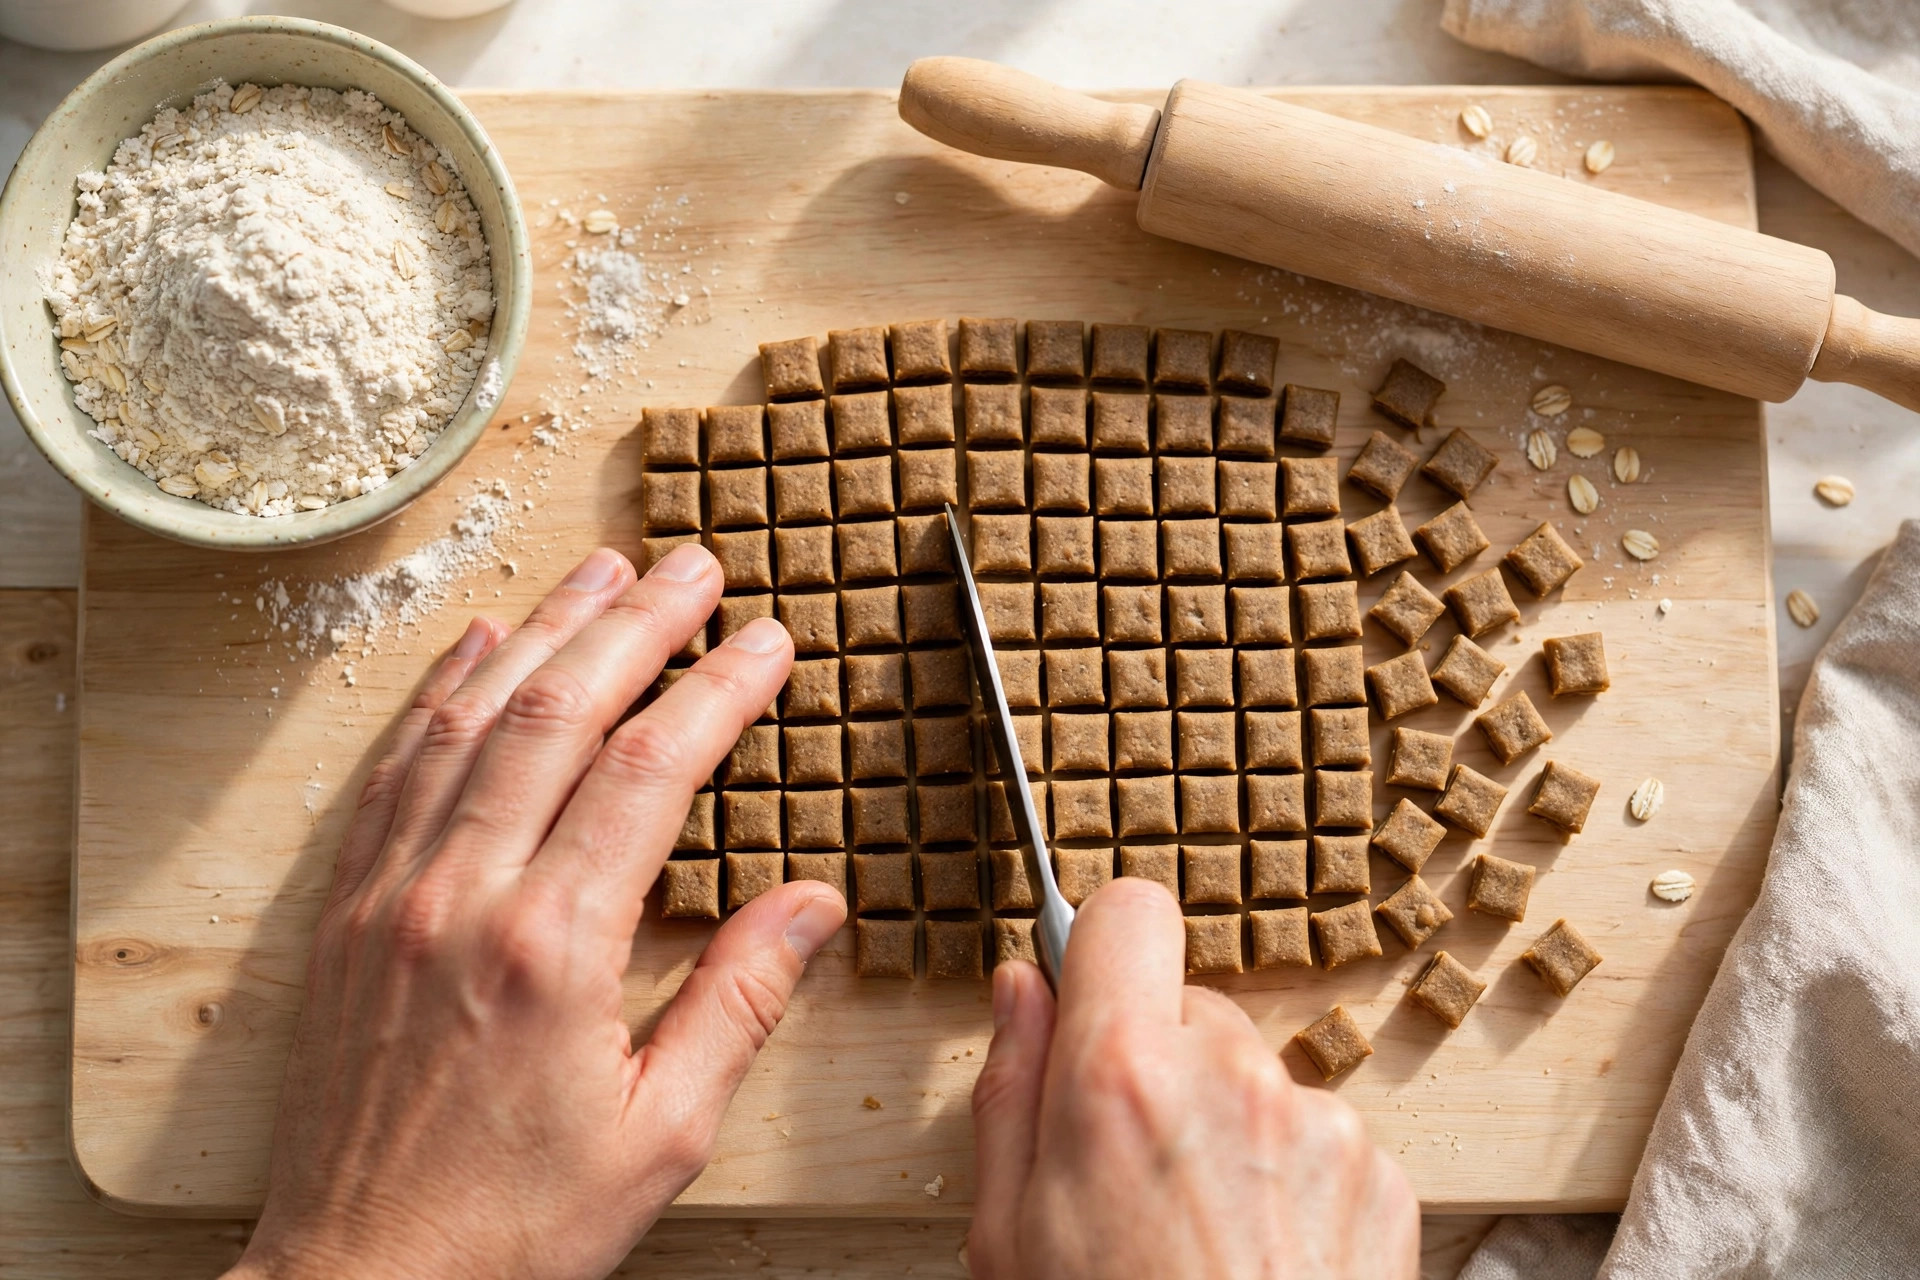
Small. A training treat should be about the size of a pea — no bigger than your little fingernail. Your dog needs to swallow it in a second and be ready for the next repetition. A treat that takes ten seconds to chew breaks the rhythm of the session, and a large treat means your dog is full after a dozen repetitions. If you can cut a normal biscuit into four pieces, you have four training treats.
\n
Soft. Hard, crunchy biscuits slow a dog down. A good training treat is soft enough to be swallowed almost without chewing: cooked chicken, soft baked bites, cheese, or anything with a moist, bendable texture. Soft treats also work for puppies, older dogs with worn teeth, and any dog who gets distracted by the sound of their own crunching.
\n
Smelly. Dogs choose with their noses first. A treat that smells strongly — liver, tuna, cheese, peanut butter, bacon — is worth far more to a dog than a plain biscuit, especially outside where there are competing smells. This is why the highest-value treats in this guide use fish, liver, and cheese: the smell alone keeps your dog’s attention on you.
\n
If a treat passes all three tests, it will work for training. If it fails even one, save it for another time — a crunchy biscuit is fine as an occasional snack, but it is a poor training tool.
\n
The treat hierarchy: low, medium and high value
\n
Not every behaviour deserves the same pay. Smart trainers use a hierarchy, and it saves you money and keeps your dog keen.
\n
Low value treats are your everyday currency: pieces of your dog’s normal kibble, or plain baked oat bites. Use them for easy, well-known behaviours at home, where your dog is calm and there is nothing competing for their attention.
\n
Medium value treats are for new behaviours and mild distractions: soft chicken bites, cheese cubes, or the peanut butter and banana chews below. Use them when you are teaching something new, or when you are training in the garden rather than the kitchen.
\n
High value treats are the big guns: liver brownies, tuna treats, anything with a strong smell. Use them for the hard stuff — recall outside, training around other dogs, or the first week of a brand-new behaviour. High-value treats are also the ones to keep in your pocket on walks, for the moments that really matter.
\n
Rotate the levels. If you pay with high-value treats for every single repetition, they stop being special — and you will have nothing left to offer when you really need your dog’s attention. If you only ever use kibble, your dog will check out the moment something more interesting appears. The hierarchy keeps every treat working.
\n
How many treats can I use in a session?
\n
This is the question every owner asks, and the answer is simpler than most people expect: treats should make up no more than 10% of your dog’s daily calories. For a medium dog eating 400 grams of food a day, that is roughly 40 grams of treats — which sounds like a lot until you realise a single large shop-bought biscuit can weigh 15 grams on its own.
\n
The trick is to keep treats tiny. A ten-minute training session with 30 repetitions should use about 30 pea-sized treats — roughly 15 to 20 grams of soft baked treats, or a few slices of cooked chicken cut small. Count them into a pouch before you start, and when the pouch is empty, the session is over. That rule alone stops most overfeeding.
\n
If your dog is on a weight-loss plan, or has a sensitive stomach, cut the day’s meals back slightly on training days, or use part of the daily food allowance as the low-value treats. Our best dog food for sensitive stomachs guide covers how to keep a sensitive dog’s diet steady when treats are part of the routine.
\n
Recipe 1 — Chicken and oat training bites
\n
This is the workhorse recipe: the one to make in a big batch on Sunday and use all week. The chicken makes it smelly enough for medium-value work, the oats hold it together, and it stays soft for days.
\n
Ingredients: 200 g cooked chicken breast (or thigh, skin removed), 100 g rolled oats, 1 egg, 1 tablespoon plain yoghurt.
\n
Method: Preheat the oven to 180°C. Blitz the oats in a food processor until they look like coarse flour. Add the chicken and egg, and blend until you have a thick, sticky dough — add the yoghurt a spoon at a time if it looks dry. Press the dough into a lined baking tray about 1 cm thick. Bake for 18 to 20 minutes, until firm at the edges but still soft in the middle. Cool, then cut into pea-sized squares.
\n
Storage: 5 days in the fridge in a sealed tub, or 3 months in the freezer. Cut before freezing, so you can grab a handful straight from the bag.
\n
Why it works: chicken is the most reliable training smell there is, and the oat base keeps the calorie count low — about 4 calories a bite. Use these for everyday training at home and in the garden.
\n
Recipe 2 — Peanut butter and banana soft chews
\n
For dogs who go mad for peanut butter, this is the recipe. The banana keeps them soft and sweet-smelling, and the dough is soft enough to pinch into pieces by hand — no knife needed.
\n
Ingredients: 1 ripe banana, mashed, 3 tablespoons peanut butter (xylitol-free — check the label every time), 120 g oat flour, 1 egg.
\n
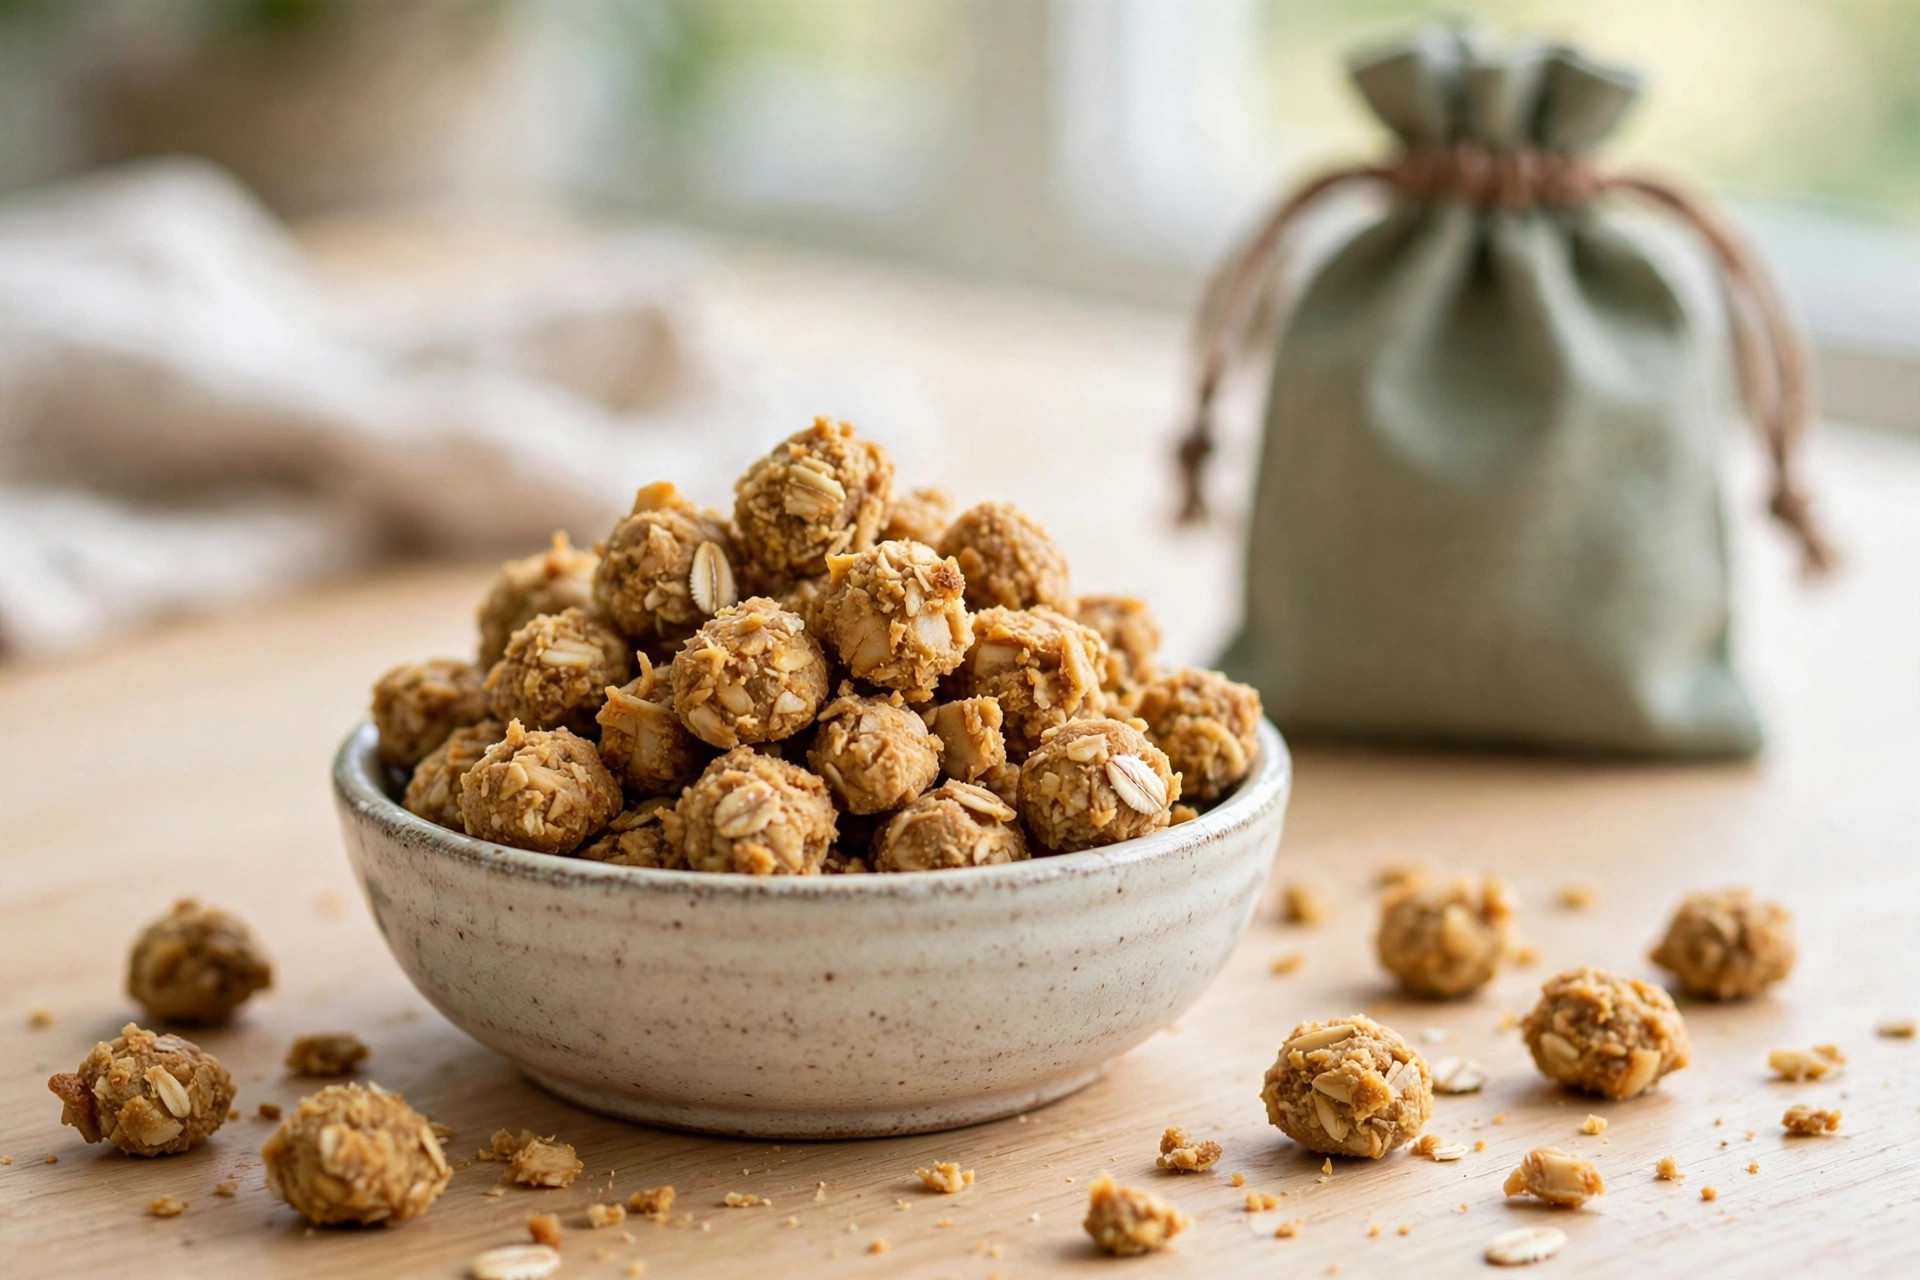
Method: Mash the banana in a bowl, stir in the peanut butter and egg, then fold in the oat flour until you have a soft dough. Roll into a log about 2 cm thick, then slice into pea-sized rounds. Bake at 170°C for 12 to 14 minutes — they should be set on the outside and soft inside. Cool completely before using.
\n
Storage: 4 days in the fridge, or freeze in small bags for up to 2 months.
\n
Why it works: the peanut butter smell carries well outdoors, which makes these a good medium-to-high-value treat for garden training. If your dog has never had peanut butter before, offer a tiny piece first and watch for any reaction. For more peanut butter ideas, our homemade peanut butter oat dog treats guide has a firmer, longer-lasting version.
\n
Recipe 3 — Tuna training treats
\n
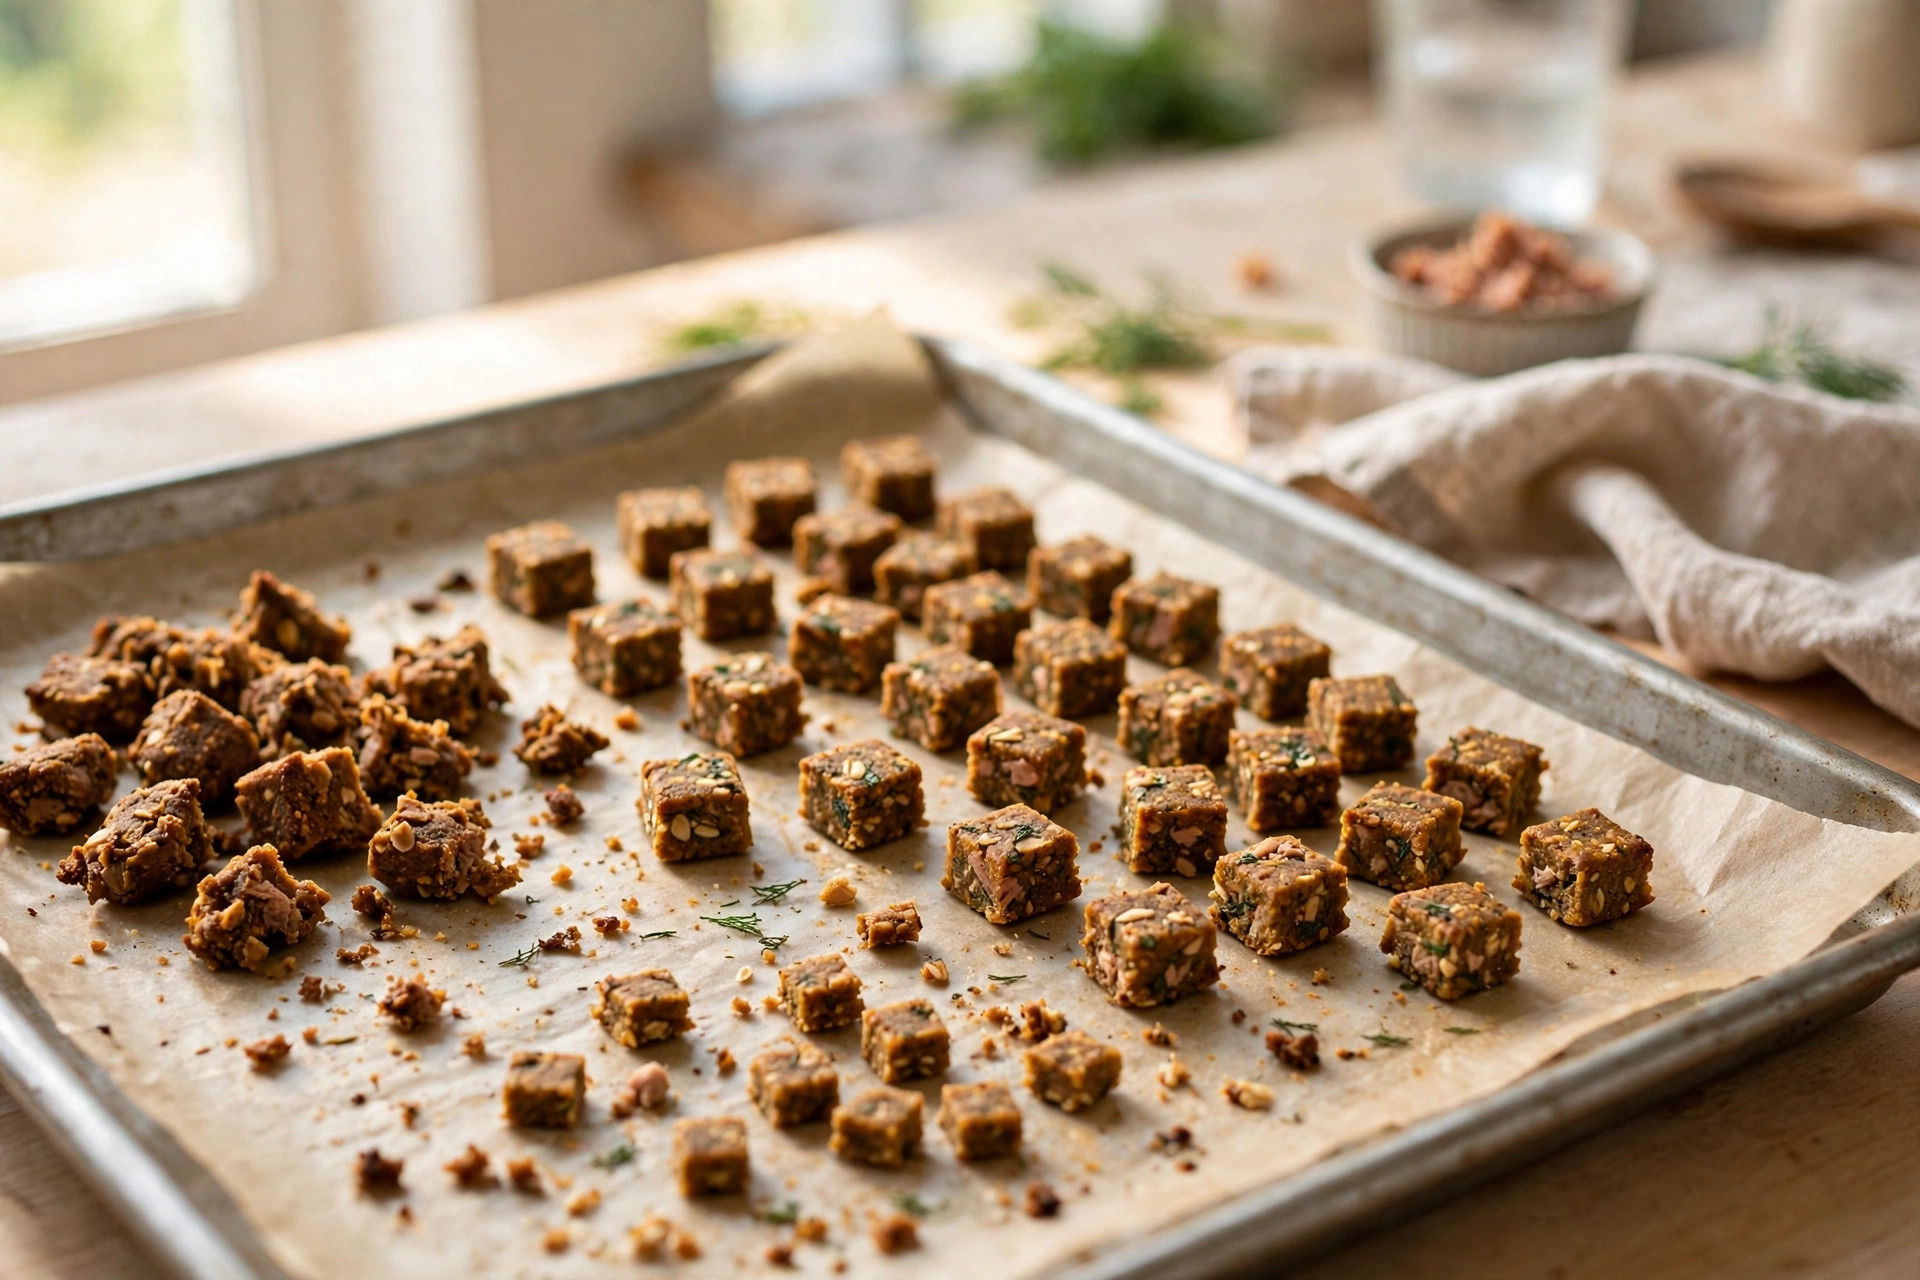
Tuna is the secret weapon of trainers who work with distracted dogs. The smell is so strong that most dogs will ignore a squirrel for a piece of tuna. These bake into a firm, sliceable slab that cuts into hundreds of tiny treats.
\n
Ingredients: 1 tin of tuna in spring water (drained), 1 egg, 60 g plain flour, 1 tablespoon grated carrot.
\n
Method: Preheat the oven to 180°C. Blend the tuna, egg, flour and carrot into a smooth paste. Spread thinly — about 5 mm — on a lined baking tray. Bake for 15 minutes, until the edges are golden and the centre is firm. Cool, then cut into pea-sized squares with a pizza cutter.
\n
Storage: 3 days in the fridge, or freeze flat in bags for up to 2 months. These are best used within a day or two of baking, while the smell is strongest.
\n
Why it works: tuna is high value, full stop. Use these for recall training, training around other dogs, and any session where you need your dog’s full attention. A little goes a long way — you will not need many.
\n
Recipe 4 — Liver brownies
\n
Ask a trainer what their highest-value treat is and most will say liver. These brownies are dense, dark, and smellier than anything else in this guide — and dogs will do almost anything for them. The name is a joke; there is no chocolate in them, and there never should be.
\n
Ingredients: 250 g chicken livers, 1 egg, 60 g oat flour, 1 tablespoon parsley (optional, for the smell).
\n
Method: Preheat the oven to 180°C. Blend the livers and egg into a smooth liquid, then stir in the oat flour. Pour into a lined tray, about 1 cm thick. Bake for 20 minutes, until set. Cool, then cut into pea-sized cubes. They will feel soft and slightly sticky — that is exactly right.
\n
Storage: 4 days in the fridge, or freeze in small portions for up to 3 months.
\n
Why it works: liver is the highest-value treat most dogs ever meet, which makes these perfect for the hardest training jobs — recall from a distance, settling around visitors, and the first week of any new behaviour. Use them sparingly, because rich food in large amounts can upset a sensitive stomach.
\n
Recipe 5 — Pumpkin and carrot soft bites
\n
The gentle option: the one for puppies, older dogs, and any dog with a delicate stomach. Pumpkin is famously kind to digestion, and the carrot adds a little sweetness without any strong smell — so these sit at the low-to-medium end of the hierarchy.
\n
Ingredients: 120 g pumpkin purée (plain, not pie filling), 1 grated carrot, 100 g oat flour, 1 egg, 1 teaspoon ground flaxseed (optional).
\n
Method: Mix the pumpkin, carrot, egg and flaxseed in a bowl, then stir in the oat flour until you have a soft dough. Roll into small balls the size of a pea, flatten slightly, and bake at 175°C for 15 minutes. They should be soft and bendable when cool.
\n
Storage: 5 days in the fridge, or 2 months in the freezer.
\n
Why it works: these are the training treats you reach for with a new puppy, a dog with a sensitive stomach, or a long session where you will use a lot of treats. They are low in fat and easy to digest, so you can afford to be generous with them. If you are working with a young puppy, our puppy training first 12 weeks guide covers which behaviours to teach first — and these bites are gentle enough to use from the very first session.
\n
Recipe 6 — Cheese and sweet potato training squares
\n
Cheese is the other great training smell, and sweet potato gives these squares a soft, chewy texture that holds together in a pocket without crumbling. They are the best all-rounder in this guide: medium value, easy to make, and popular with almost every dog.
\n
Ingredients: 100 g cooked sweet potato, mashed, 80 g grated cheddar, 100 g oat flour, 1 egg.
\n
Method: Mash the sweet potato, stir in the cheese and egg, then fold in the oat flour. Press into a lined tray about 1 cm thick and bake at 180°C for 16 to 18 minutes, until the edges are lightly golden. Cool, then cut into pea-sized squares.
\n
Storage: 4 days in the fridge, or 2 months in the freezer. Bring them to room temperature before training — cold cheese is less smelly.
\n
Why it works: cheese and sweet potato together hit the sweet spot between smell and softness, and the squares hold their shape in a treat pouch without turning to crumbs. If your dog is a cheese fan, our cheesy bacon dog training rewards recipe is another good one to try — it uses the same cheese base with a bacon twist.
\n
How to use treats in a training session
\n
The recipes are only half the job. How you deliver the treat matters as much as what is in it.
\n
Time it right. Reward within one second of the behaviour you want. If your dog sits and you fumble in your pocket for five seconds, you have rewarded whatever they did five seconds later — probably standing up again. Keep the treats in a pouch on your hip, not in a sealed bag in your pocket.
\n
Mark it, then pay it. Use a marker word (\”yes\”) or a clicker the instant the behaviour happens, then follow with the treat. The marker tells the dog exactly which moment earned the pay, and it buys you the second you need to reach for the treat.
\n
Fade the treats gradually. Treats are a teaching tool, not a permanent wage. Once your dog knows a behaviour well, start rewarding every second or third repetition, then every fifth, then randomly. If you pay every time forever, the behaviour stops when the treats stop. A random reward schedule is actually stronger than a constant one — it is the same reason a slot machine keeps people playing.
\n
End on a win. Always finish a session with something your dog can do easily, and pay well for it. The last repetition is the one they remember.
\n
What to avoid in training treats
\n
- \n
- Chocolate, xylitol, grapes, raisins, onions and garlic. All are toxic to dogs, and xylitol hides in some peanut butters and sugar-free products — always read the label. Our single-ingredient dog treats guide explains how to read treat labels properly.
- Cooked bones and hard chews. They are a choking risk and far too slow for training.
- Treats bigger than a pea. If it takes more than a second to eat, it is too big. Cut it in half — then in half again.
- Shop-bought treats with a long ingredient list. If you cannot pronounce half the ingredients, your dog probably should not be eating them.
- Overfeeding. Treats are part of the day’s food, not extra. Count them, use the pouch rule, and cut the next meal back if a session was long.
- Training on a full stomach. A dog who has just eaten has no reason to work for food. Train before meals, not after them — a slightly hungry dog is a motivated dog.
\n
\n
\n
\n
\n
\n
\n
Storage and batch prep
\n
Training treats are a weekly habit, not a daily chore. Make one batch on a Sunday, cut it into pea-sized pieces, and freeze it in small bags of about 30 treats each. Take one bag out the night before a training day and keep it in the fridge. A frozen bag is ready in an hour, and you never have to bake mid-week.
\n
Keep three bags in rotation: one low-value (pumpkin bites), one medium (chicken and oat), and one high-value (tuna or liver). That way you always have the right pay for the job, and your dog never knows which pocket holds the good stuff — which keeps them guessing, and guessing keeps them watching you.
\n
Label every bag with the recipe and the date. Frozen treats keep for two to three months, but a bag that has been in the freezer since spring is a bag you should throw away.
\n
FAQs
\n
How small should a training treat be?\nAbout the size of a pea, or your little fingernail. Your dog should swallow it in under a second and be ready for the next repetition. If you are cutting treats by hand, cut them smaller than you think — most people cut them twice as big as they need to.
\n
Can I just use kibble as a training treat?\nYes, for low-value work at home. Kibble is free (it comes out of the daily food allowance), it is already the right size for most dogs, and it works well for easy behaviours in a quiet room. It will not hold your dog’s attention outdoors, though — save the smelly treats for that.
\n
How many treats can my dog have in a day?\nTreats should stay under 10% of daily calories. For a medium dog, that is roughly 40 grams of soft treats a day, or about 30 to 40 pea-sized pieces. If you are doing two training sessions a day, split the allowance between them and cut the next meal back a little.
\n
Are homemade training treats safe for puppies?\nYes — and they are often better than shop-bought ones, because you control the ingredients. Start with the pumpkin and carrot bites (Recipe 5), which are the gentlest, and introduce new proteins one at a time. Teething puppies do well with softer treats; our homemade teething treats guide has recipes designed for sore gums.
\n
Can I use these treats for a dog with a sensitive stomach?\nStick to the pumpkin and carrot bites and the chicken and oat bites, introduce them slowly, and watch the stool for a day or two. Avoid the liver brownies and tuna treats for sensitive dogs until you know they tolerate richer food.
\n
Do I have to bake, or can I use shop-bought treats?\nYou can buy good training treats — look for small, soft, smelly ones with a short ingredient list. But homemade costs a fraction of the price, you know exactly what is in them, and a single batch gives you hundreds of treats. If you want a no-oven option, our no-bake dog treats guide has eight recipes that need no baking at all, and our 3-ingredient dog treats guide is the fastest starting point of all.
\n
The bottom line
\n
A training treat is a tool, not a snack — and the best ones are small, soft, and smelly. Keep your treats pea-sized, keep them in a pouch on your hip, match the value of the treat to the difficulty of the job, and never let treats pass 10% of the day’s food. Bake one batch on a Sunday, freeze it in small bags, and you will have a week’s worth of pay in the freezer for less than the price of one bag of shop-bought treats. Start with the chicken and oat bites for everyday work, keep the tuna treats and liver brownies for the moments that really matter, and your dog will be watching you — waiting for the next one — for the whole session.
\n
Pin this for later 📌 — and if you want to keep building your dog’s skills, our puppy training first 12 weeks guide shows what to teach first, and in which order.
“,
“source_draft”: “/home/hatch/workspace/goals/pinterest-pin-automation-for-petsmush-com/files/dog-training-treats-recipe-post-draft.md”,
“status”: “publish”
}