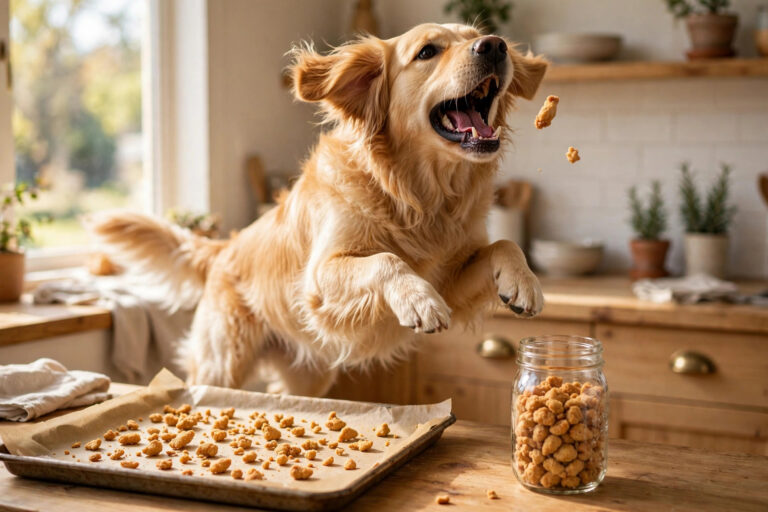
Freeze-dried treats are the darlings of the 2026 treat aisle:
single-ingredient, shelf-stable for months, and often sold as
“micro meals” rather than mere snacks. The freeze-dried and
gently-cooked formats are among the fastest-growing segments in pet
food right now — and the premium price tags show it. A small bag of
commercial freeze-dried liver can cost more than a whole chicken
breast at the grocery store.
Here’s the good news: the freeze-drying effect is reproducible at
home with gear you already own. No, you can’t replicate a true
commercial freeze-dryer on your kitchen counter — but you can make
crisp, nutrient-dense, single-ingredient dog treats with a freezer
method or a low oven, for a fraction of the store price. This guide
covers what freeze-drying actually is, the two no-dehydrator
methods, the proteins that work best, how to store them so they
stay crisp, and the safety rules that matter.
What “freeze-dried” actually means
True freeze-drying (lyophilisation) freezes the food solid, then
removes the ice through sublimation — the ice turns straight into
vapour without melting — under vacuum. The result keeps its shape,
most of its nutrients, and almost all of its flavour, and it
re-hydrates readily. Dehydrating, by contrast, uses heat to drive
off moisture, which cooks the food lightly and changes its texture
and some nutrients.
The home methods below aren’t true freeze-drying either. They’re
“freeze-dried style” — slow moisture removal at very low
temperatures that lands you treats with the same practical
qualities: crisp, lightweight, concentrated in flavour, and
shelf-stable when stored right. For a dog, the distinction is
meaningless. For your wallet, the distinction is enormous.
Why make freeze-dried treats at home
Cost. A chicken breast costs a few pounds or dollars; the same
weight of commercial freeze-dried chicken treats can run ten times
that. Home methods use one ingredient and zero packaging.
Ingredient control. Commercial “freeze-dried” bags sometimes
include flavourings, glycerin for softness, or preservatives you
wouldn’t choose. At home the label is exactly one line long.
Training gold. Freeze-dried pieces are aromatic, crumbly, and
easy to break into training-size bits — which is why trainers have
always loved them. Homemade batches mean you never ration the good
stuff on a training day.
Allergy-friendly. Dogs with protein allergies or sensitivities
often do best on single, novel proteins. Making your own means you
control the exact protein with zero cross-contamination from a
factory line.
Method 1: The freezer method (no special gear at all)
This is the closest to real freeze-drying you can get at home, and
it’s almost entirely hands-off. It works because a frost-free
freezer is constantly cycling dry air past your food — slowly
pulling moisture out over days.
-
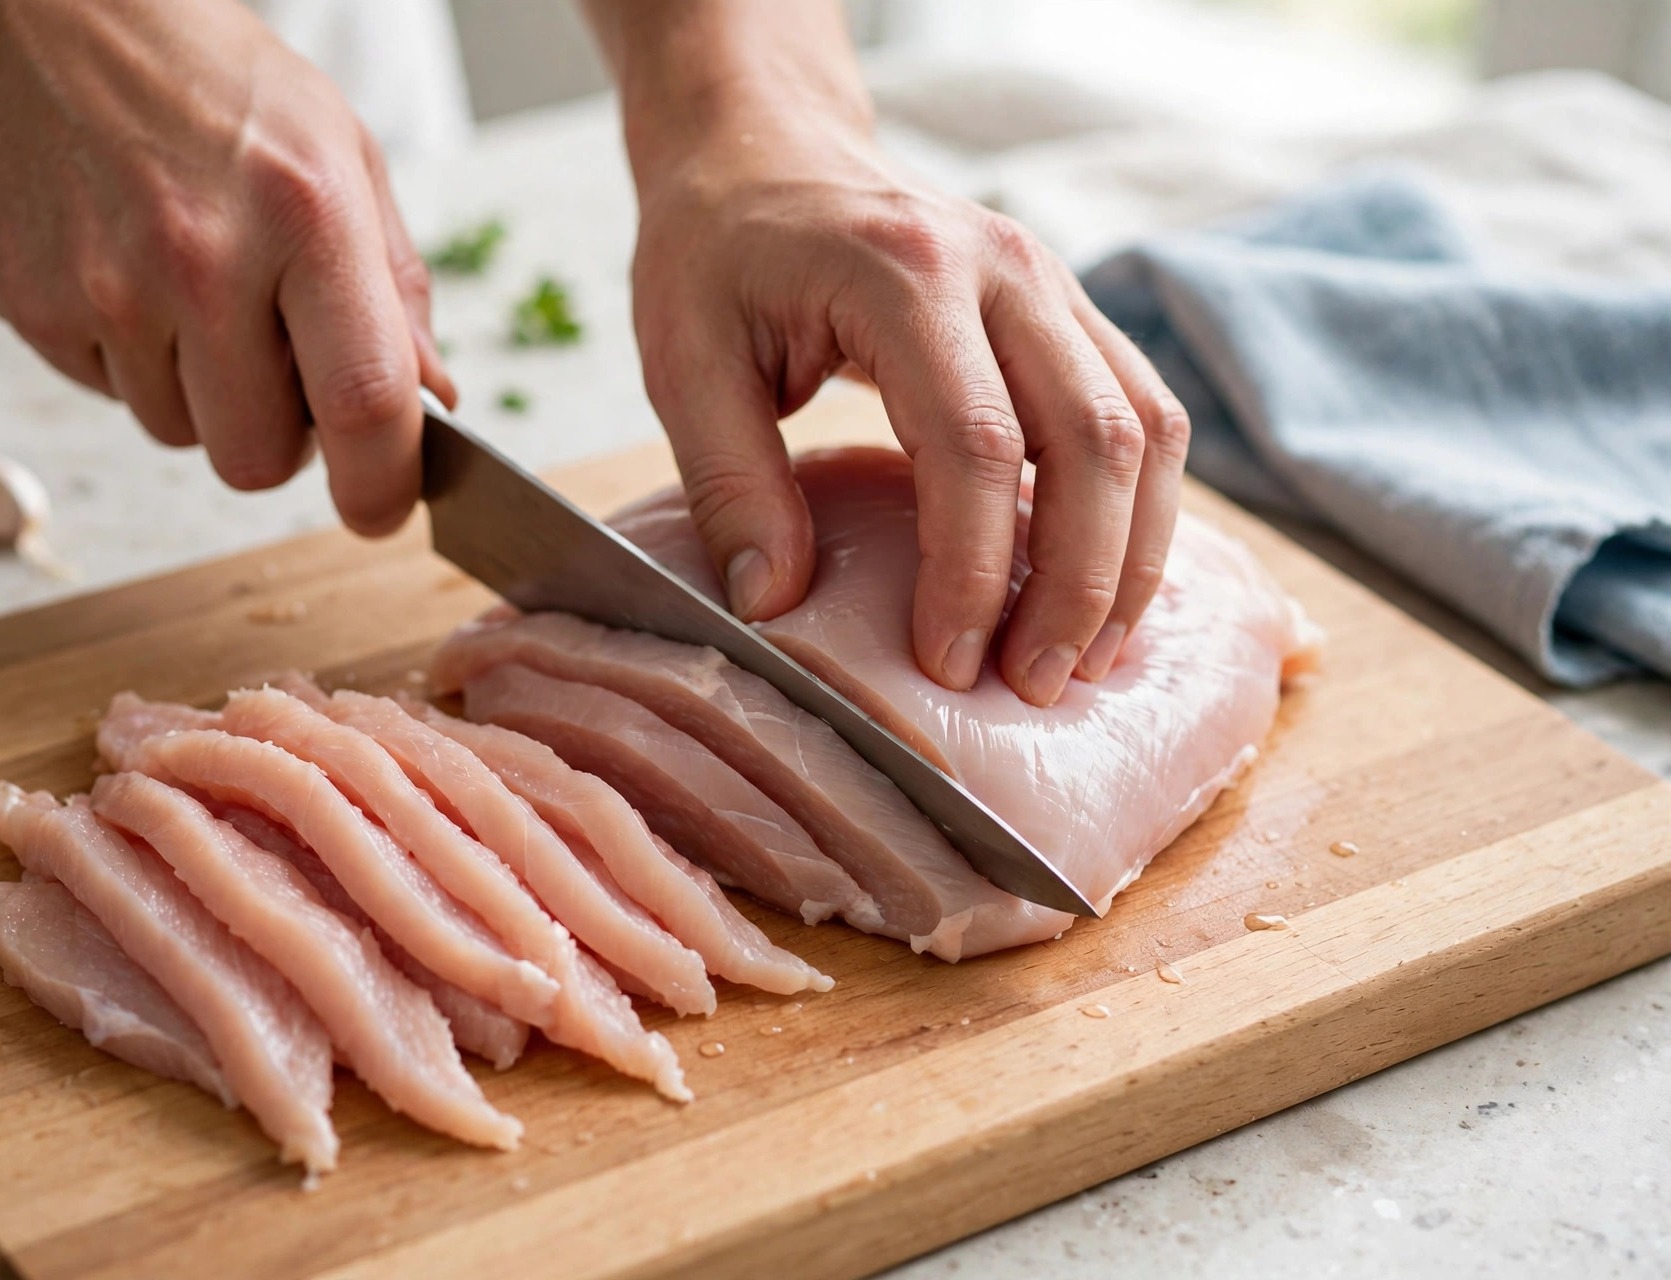
Prep the protein. Trim all visible fat (fat doesn’t dry, it
goes rancid — this is the single biggest cause of failed
batches). Slice lean chicken breast, turkey breast or beef liver
into thin, even pieces — about 3–5 mm thick. Thin and even is
everything: thick centres stay chewy and won’t keep. -
Flash-freeze on a tray. Lay the slices in a single layer on a
parchment-lined tray, not touching. Freeze solid, at least 4–6
hours, ideally overnight. -
Transfer to the drying setup. Move the frozen pieces into a
paper bag or onto a rack set over a tray — something breathable
that still protects from freezer smells. Put them back in the
coldest part of the freezer. -
Wait. Leave them undisturbed for 7–14 days. Check by
snapping a piece in half: fully dried treats snap cleanly with
no bend and no cold, damp spot in the middle. Under-dried
pieces go back in for another few days. -
Store immediately. Dried treats start absorbing humidity the
moment they leave the freezer (see storage rules below).
This method is slow but genuinely close to commercial texture —
light, crisp, and intensely flavoured. Chicken breast and turkey
breast give the cleanest results.
Method 2: The low-and-slow oven method (faster, same idea)
No dehydrator needed — a standard oven at its lowest setting does
the job. This is technically dehydrating rather than
freeze-drying, but thin slices dried at very low heat come out
remarkably close to freeze-dried texture: crisp, shattery, and
concentrated.
-
Prep and slice exactly as above — lean protein, 3–5 mm
slices, fat trimmed aggressively. -
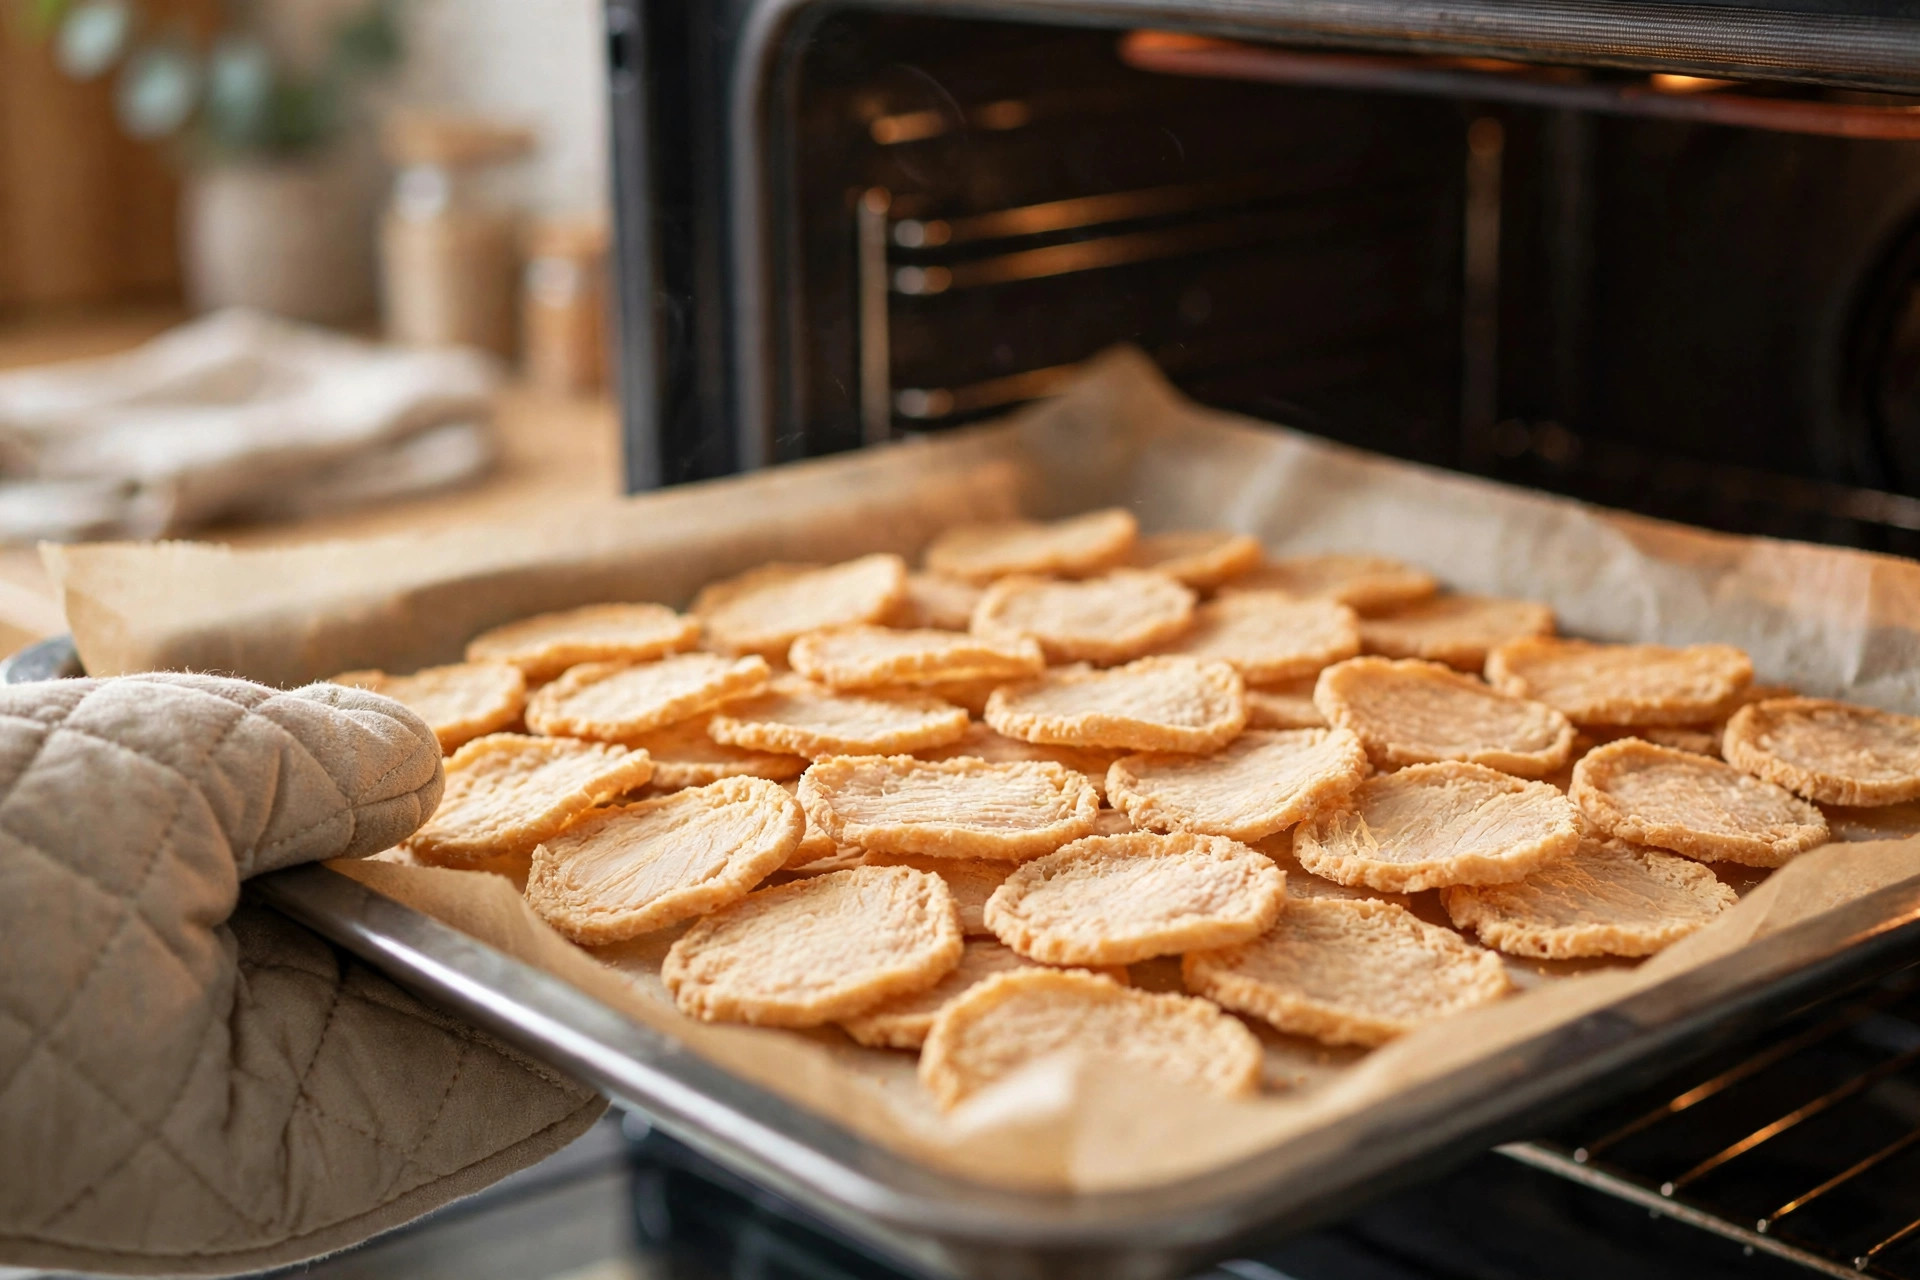
Set up the oven. Preheat to its lowest setting (around
70–80°C / 160–175°F; prop the door ajar with a wooden spoon if
your oven runs hot). Line a tray with parchment or a wire rack. -
Dry for 4–8 hours, flipping the pieces halfway. Chicken
breast slices typically finish in 4–6 hours; denser liver takes
longer. The snap test is your guide, same as above. -
Cool completely before storing — residual warmth means
residual moisture, which means mould.
The oven method is the practical weekday choice: same-day treats
from one chicken breast. The freezer method is the purist’s choice:
slower, but the closest texture to the premium bags.
The best proteins for freeze-dried treats
Not everything dries well. Lean muscle and organ meats are the
winners:
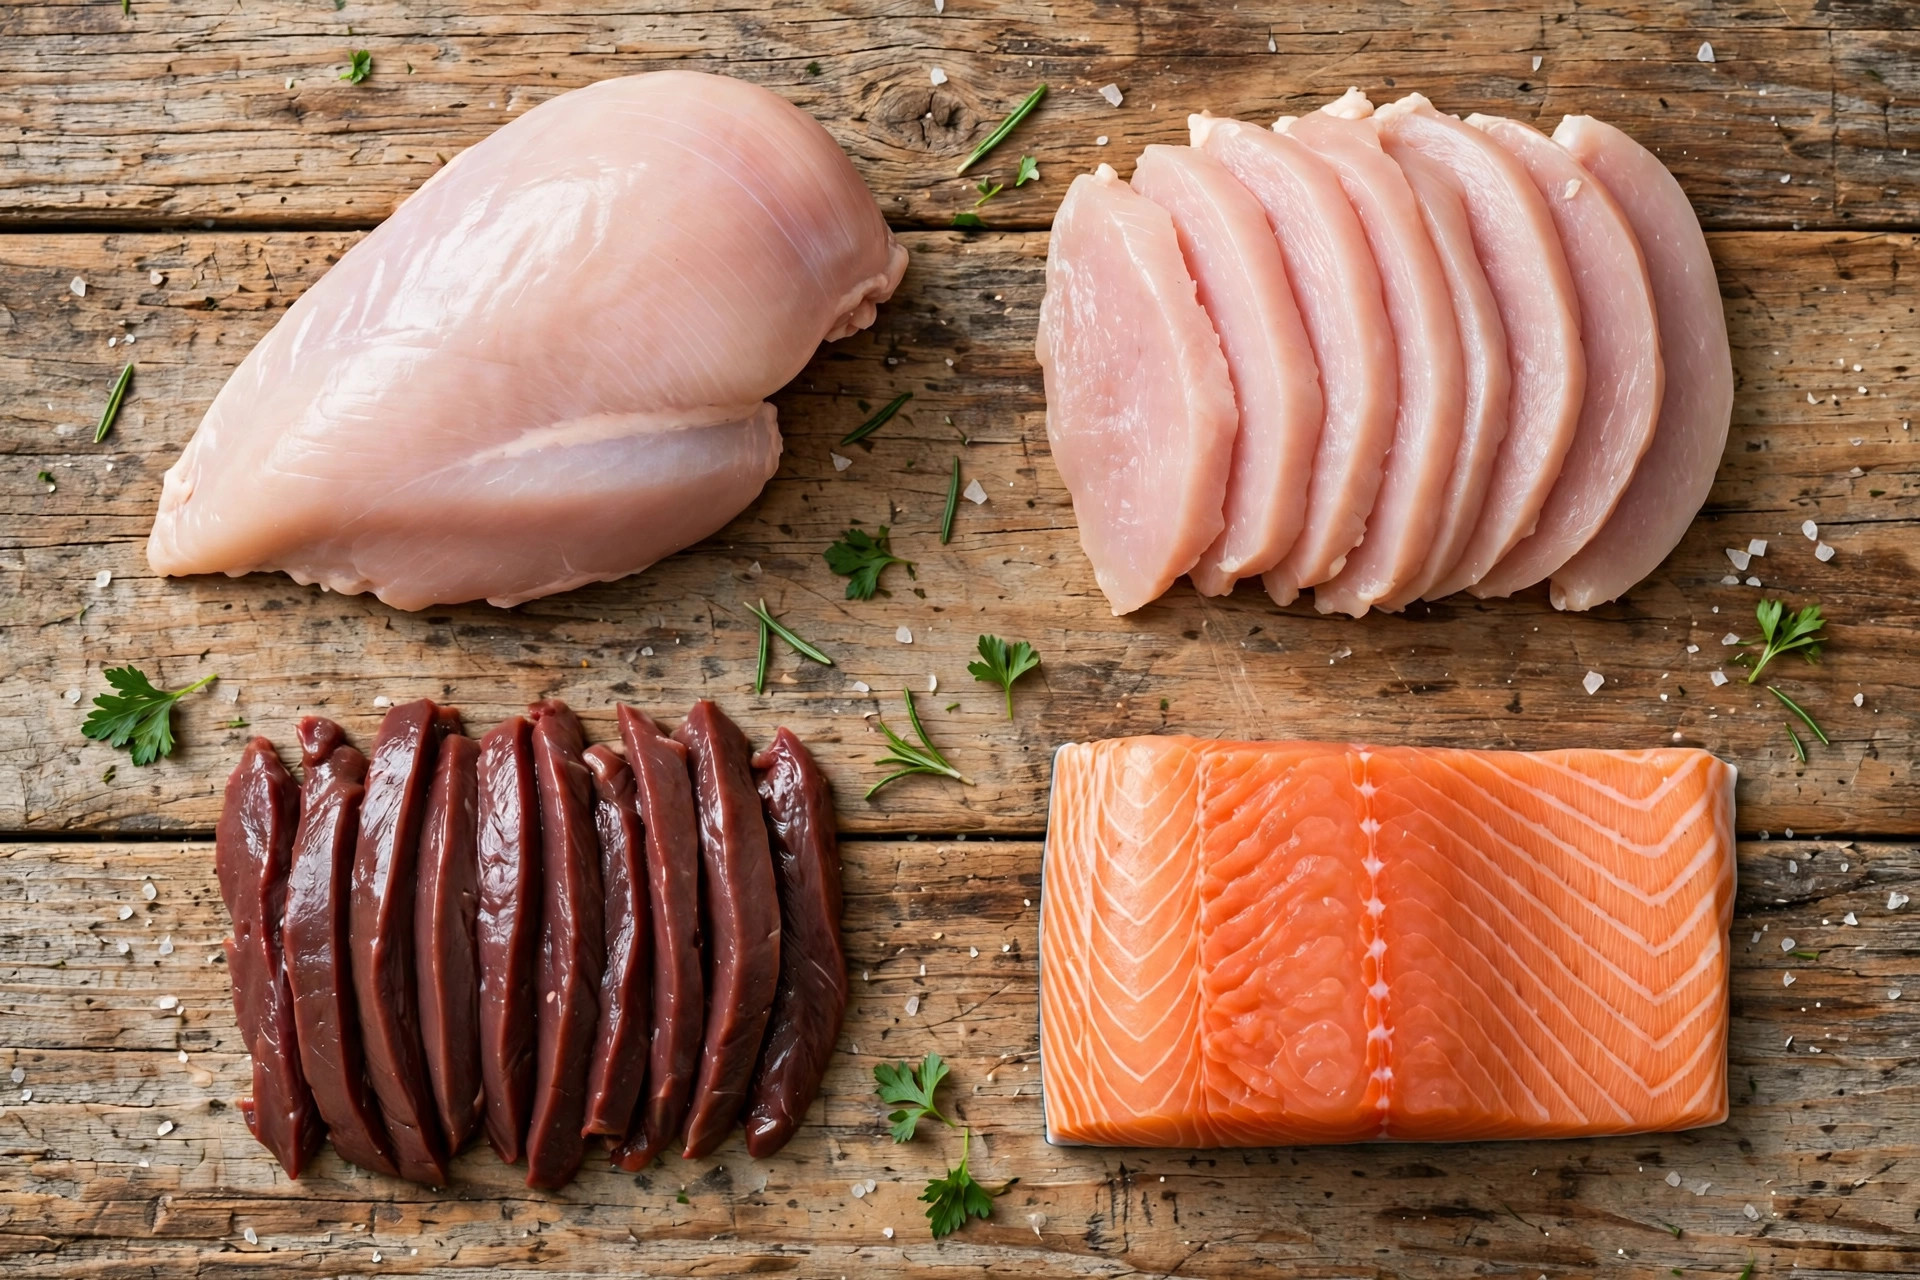
Excellent choices: chicken breast, turkey breast, beef liver
(dry in thin strips — it’s rich, so feed sparingly), chicken hearts,
salmon fillet (skinless), venison, rabbit.
Workable with care: beef round or sirloin (trim hard), pork
loin (very lean cuts only, cooked through to safe temperatures
first if you prefer).
Avoid: fatty cuts, bacon, sausage, anything cured or smoked,
ground meat with high fat content (it goes rancid instead of
drying), and any meat with seasoning, marinades, garlic or onion.
Raw or pre-cooked? Both work. Raw-start treats dry into the
classic freeze-dried chew. If raw handling worries you, lightly
poach the protein first, then slice and dry — you lose a little of
the raw-food appeal but gain peace of mind, and dogs don’t mind
either way. Whichever you choose, the same hygiene rules as any raw
feeding apply: clean boards, clean hands, and treats for healthy
adult dogs rather than puppies or immunocompromised dogs unless
your vet says otherwise.
Never include cooked bones. This bears repeating in a treat
guide: dried or cooked bones splinter. Treats only — no bones, no
exceptions.
A simple starter recipe: freeze-dried chicken treats
- 500 g skinless chicken breast, all fat trimmed
- Parchment paper, a tray, and either a freezer or an oven
-
Slice. Partially freeze the breast for 30–45 minutes so it
firms up, then slice 3–5 mm thick across the grain. -
Dry. Freezer method: freeze solid on the tray, then move to
a paper bag in the freezer for 7–14 days. Oven method: 70–80°C
for 4–6 hours, flipping halfway. -
Snap-test and store. Every piece should snap cleanly. Cool
fully, then jar immediately.
Yield: roughly 150 g of treats — about two weeks of training
rewards for one medium dog.
Storage rules: how to keep them crisp
Freeze-dried treats are moisture magnets. One humid afternoon in
an open bowl and your crisp batch turns leathery — and leathery
means a shorter shelf life.
-
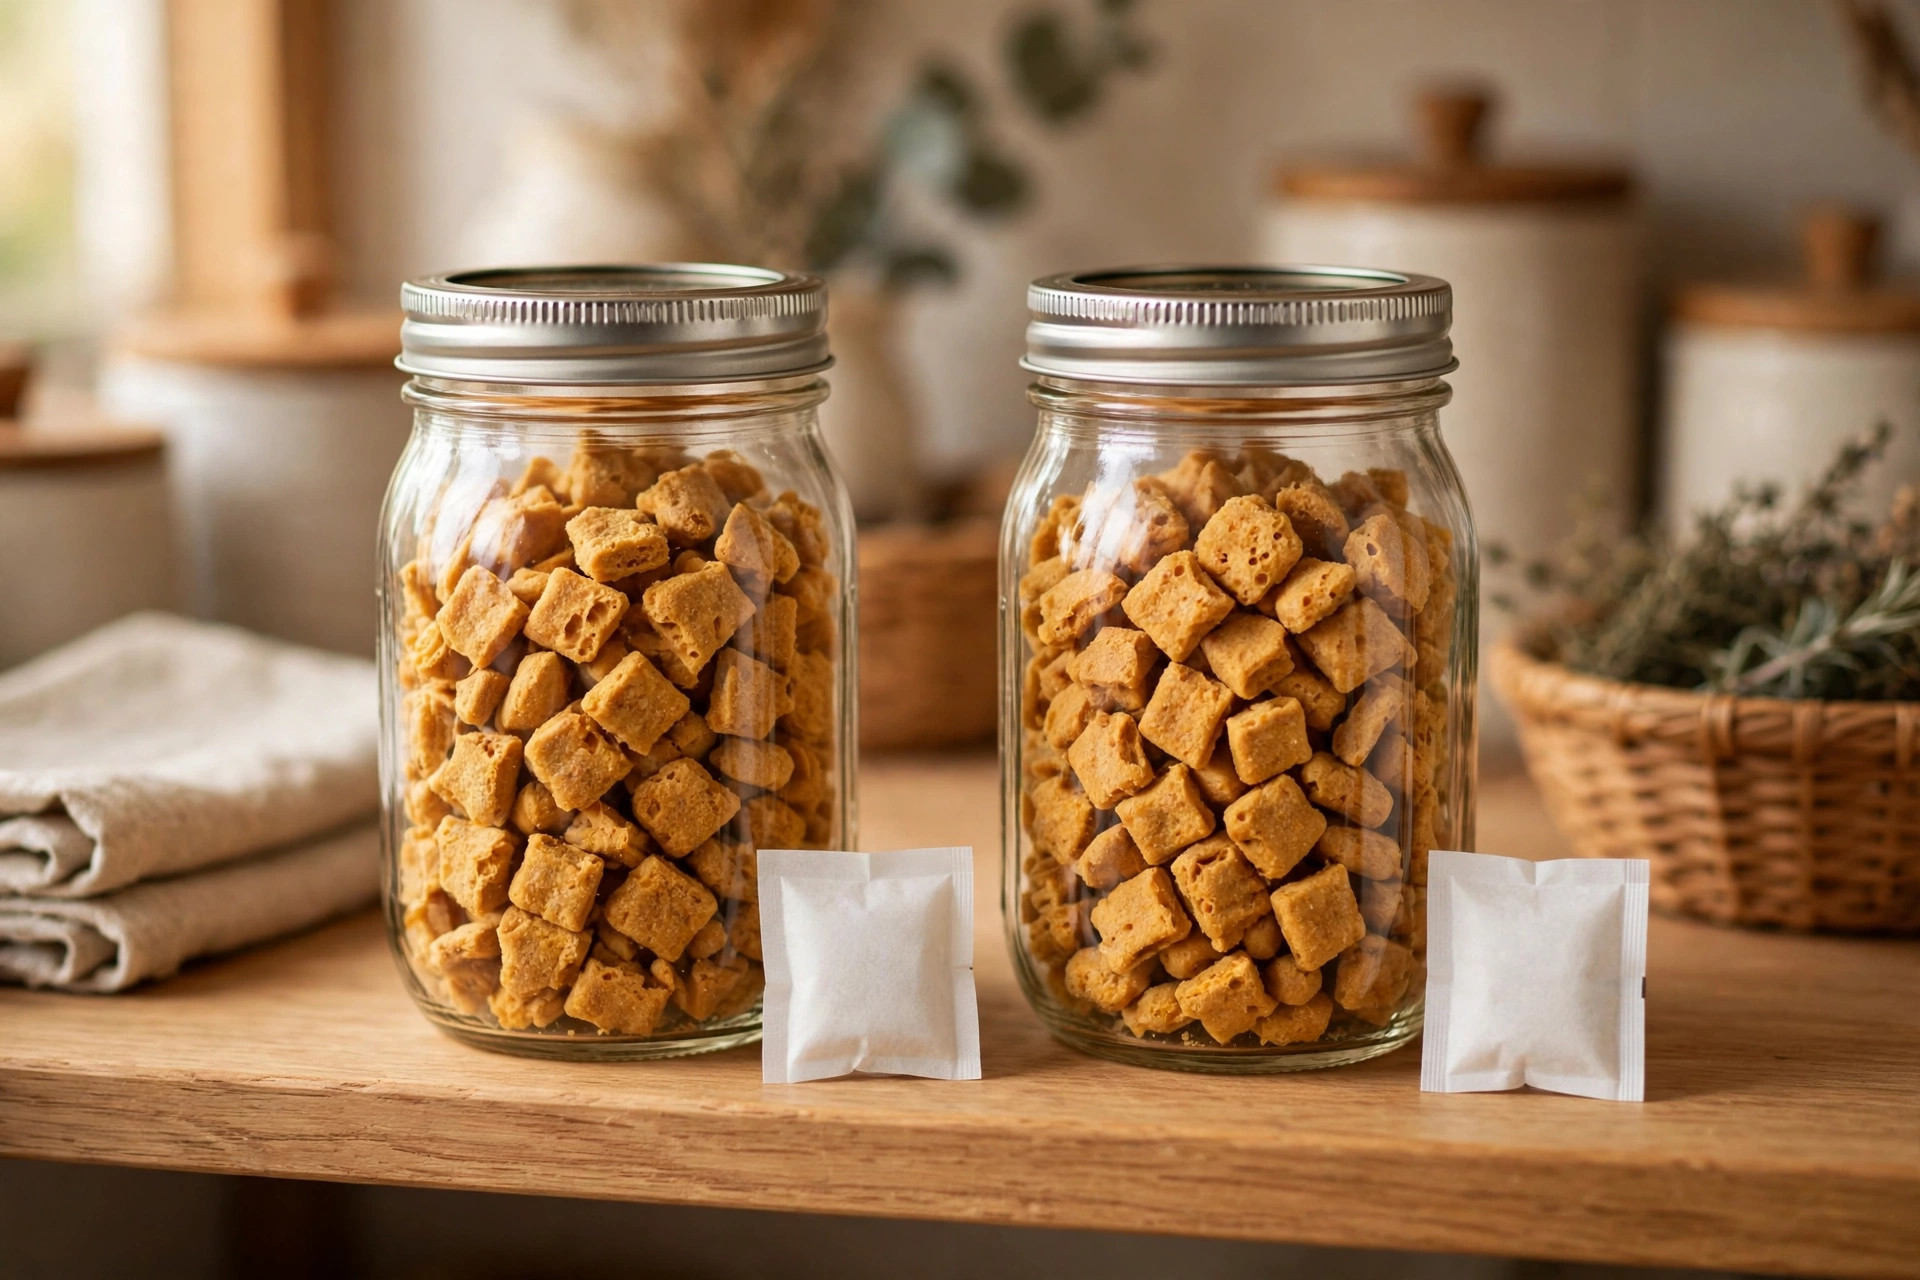
Airtight is non-negotiable. Glass mason jars with tight lids
beat zip bags; vacuum-sealed bags beat both for long storage. -
Add a desiccant. A food-safe silica packet in the jar keeps
batches crisp for months. Don’t skip this if your kitchen is
humid. -
Cool, dark, dry. A pantry shelf is fine; above the stove is
not. Properly dried and stored treats keep 4–6 weeks at room
temperature, 3–4 months in the fridge. -
Watch for trouble. Any soft spots, off smell, or visible
mould means the batch didn’t dry fully — compost it and slice
thinner next time. Fatty or rancid-smelling batches go straight
in the bin.
Safety notes
-
Trim fat aggressively. Undried fat turns rancid and can cause
digestive upset — this is the most common homemade-treat mistake. -
Slice thin and even. Thick or uneven pieces dry on the
outside and stay raw-damp inside, which is a spoilage risk, not
a feature. -
Supervise new treats. Any new treat gets a supervised trial
run, especially for gulpers — break pieces small for fast
eaters. -
Count the calories. Dried treats are concentrated: a little
goes a long way. Treats should stay within about 10% of daily
calories, same as any single-ingredient treats. -
Xylitol check. If you ever buy pre-made “freeze-dried” treats
instead, read the label — xylitol (birch sugar) is toxic to dogs
and occasionally appears in flavoured products. -
Raw-handling hygiene. Wash hands, boards and trays after
handling raw meat, and keep raw-treat prep away from human food
prep surfaces.
The bottom line
Freeze-dried treats earned their premium reputation honestly —
they’re about as close to pure, concentrated meat as a treat gets.
But the premium price is for the commercial equipment, not the
concept. One chicken breast, a sharp knife, and either a week in
the freezer or an afternoon in a low oven gets you the same
crisp, aromatic, single-ingredient rewards for a tenth of the
cost. Start with chicken breast, master the snap test, and store
every batch airtight with a desiccant. Your dog’s training
sessions — and your treat budget — will both improve.
FAQs
Can you really freeze-dry treats without a freeze dryer?
True commercial freeze-drying needs a vacuum chamber, but the
freezer method gets remarkably close: a frost-free freezer slowly
sublimates moisture from thin-sliced lean meat over 7–14 days,
producing crisp, lightweight treats with the same practical
qualities.
Which is better for dog treats: a dehydrator or the freezer method?
A dehydrator (or low oven) is faster — hours instead of days — and
very reliable. The freezer method is slower but needs no extra
equipment and produces a texture closer to commercial freeze-dried
treats. Both beat store-bought on price.
How long do homemade freeze-dried treats last?
Fully dried treats stored airtight with a desiccant keep 4–6 weeks
at room temperature and 3–4 months refrigerated. Any batch that
feels soft, smells off, or shows mould was under-dried — discard it.
What meat is best for homemade freeze-dried dog treats?
Lean chicken breast and turkey breast are the easiest starters.
Beef liver (in thin strips, fed sparingly), chicken hearts, salmon
and venison all dry beautifully. Avoid fatty, cured or seasoned
meats — fat goes rancid instead of drying.
Are freeze-dried treats safe for puppies?
Freeze-dried single-ingredient treats are generally fine for
puppies over about 12 weeks in small, soft pieces — but stick to
pre-cooked-then-dried meat for young puppies rather than raw-start
treats, and check with your vet first.
Why did my treats come out chewy instead of crisp?
Almost always one of three things: slices cut too thick, fat left
on the meat, or the batch pulled before it was fully dry. Slice
3–5 mm, trim all visible fat, and don’t skip the snap test — a
finished treat snaps cleanly with no bend.