{
“title”: “DIY Paracord Dog Collar: 4 Strong Weaves You Can Braid at Home”,
“slug”: “paracord-dog-collar”,
“excerpt”: “Learn how to braid a paracord dog collar at home: 4 strong weaves, cord lengths by neck size, buckles, finishing and safety — a step-by-step DIY guide.”,
“meta_description”: “Learn how to braid a paracord dog collar at home: 4 strong weaves, cord lengths by neck size, buckles, finishing and safety — a step-by-step DIY guide.”,
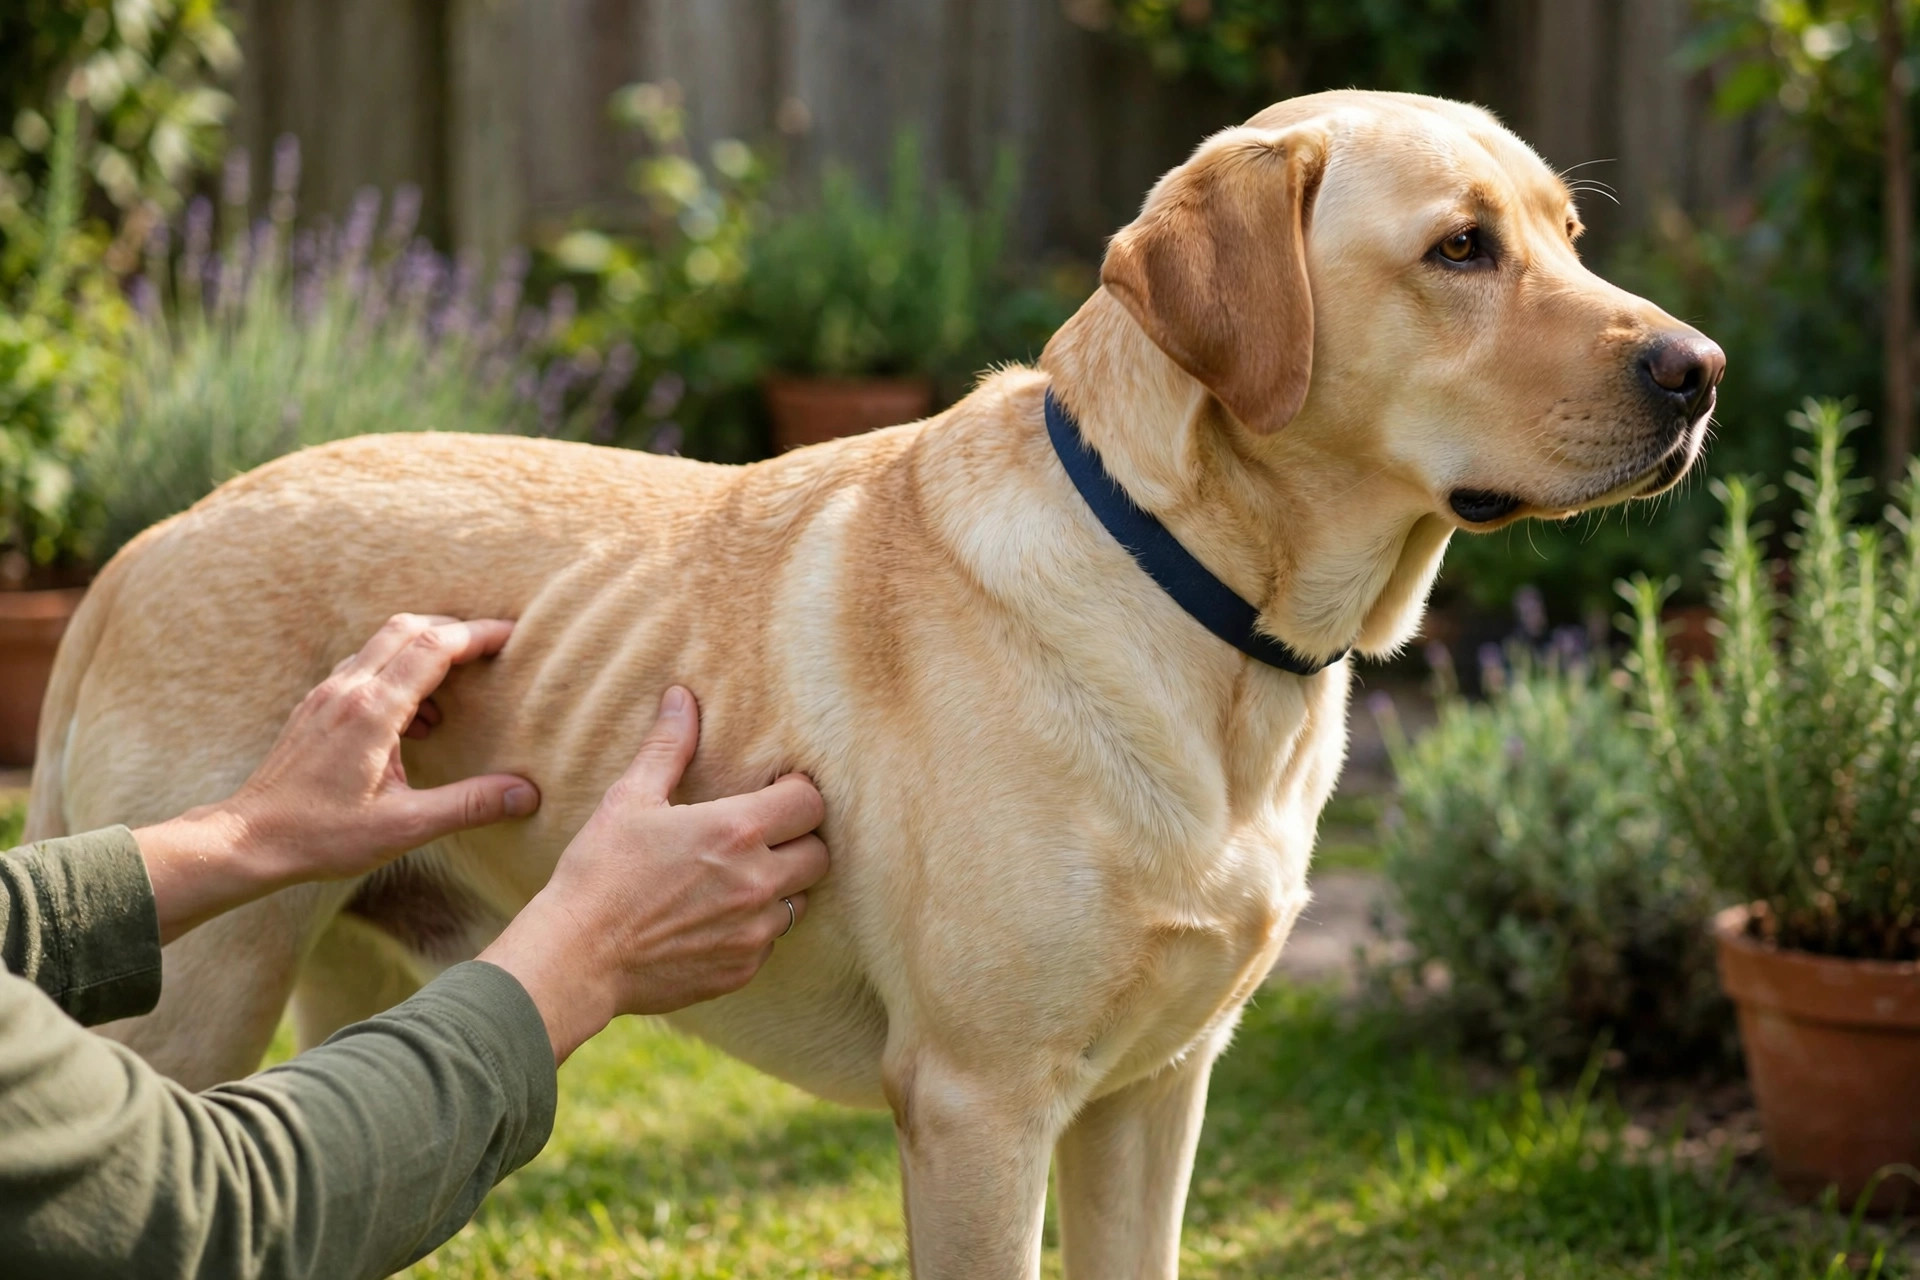
“featured_image_alt”: “Golden retriever wearing a handmade two-tone paracord dog collar in a cobra weave.”,
“content_html”: “
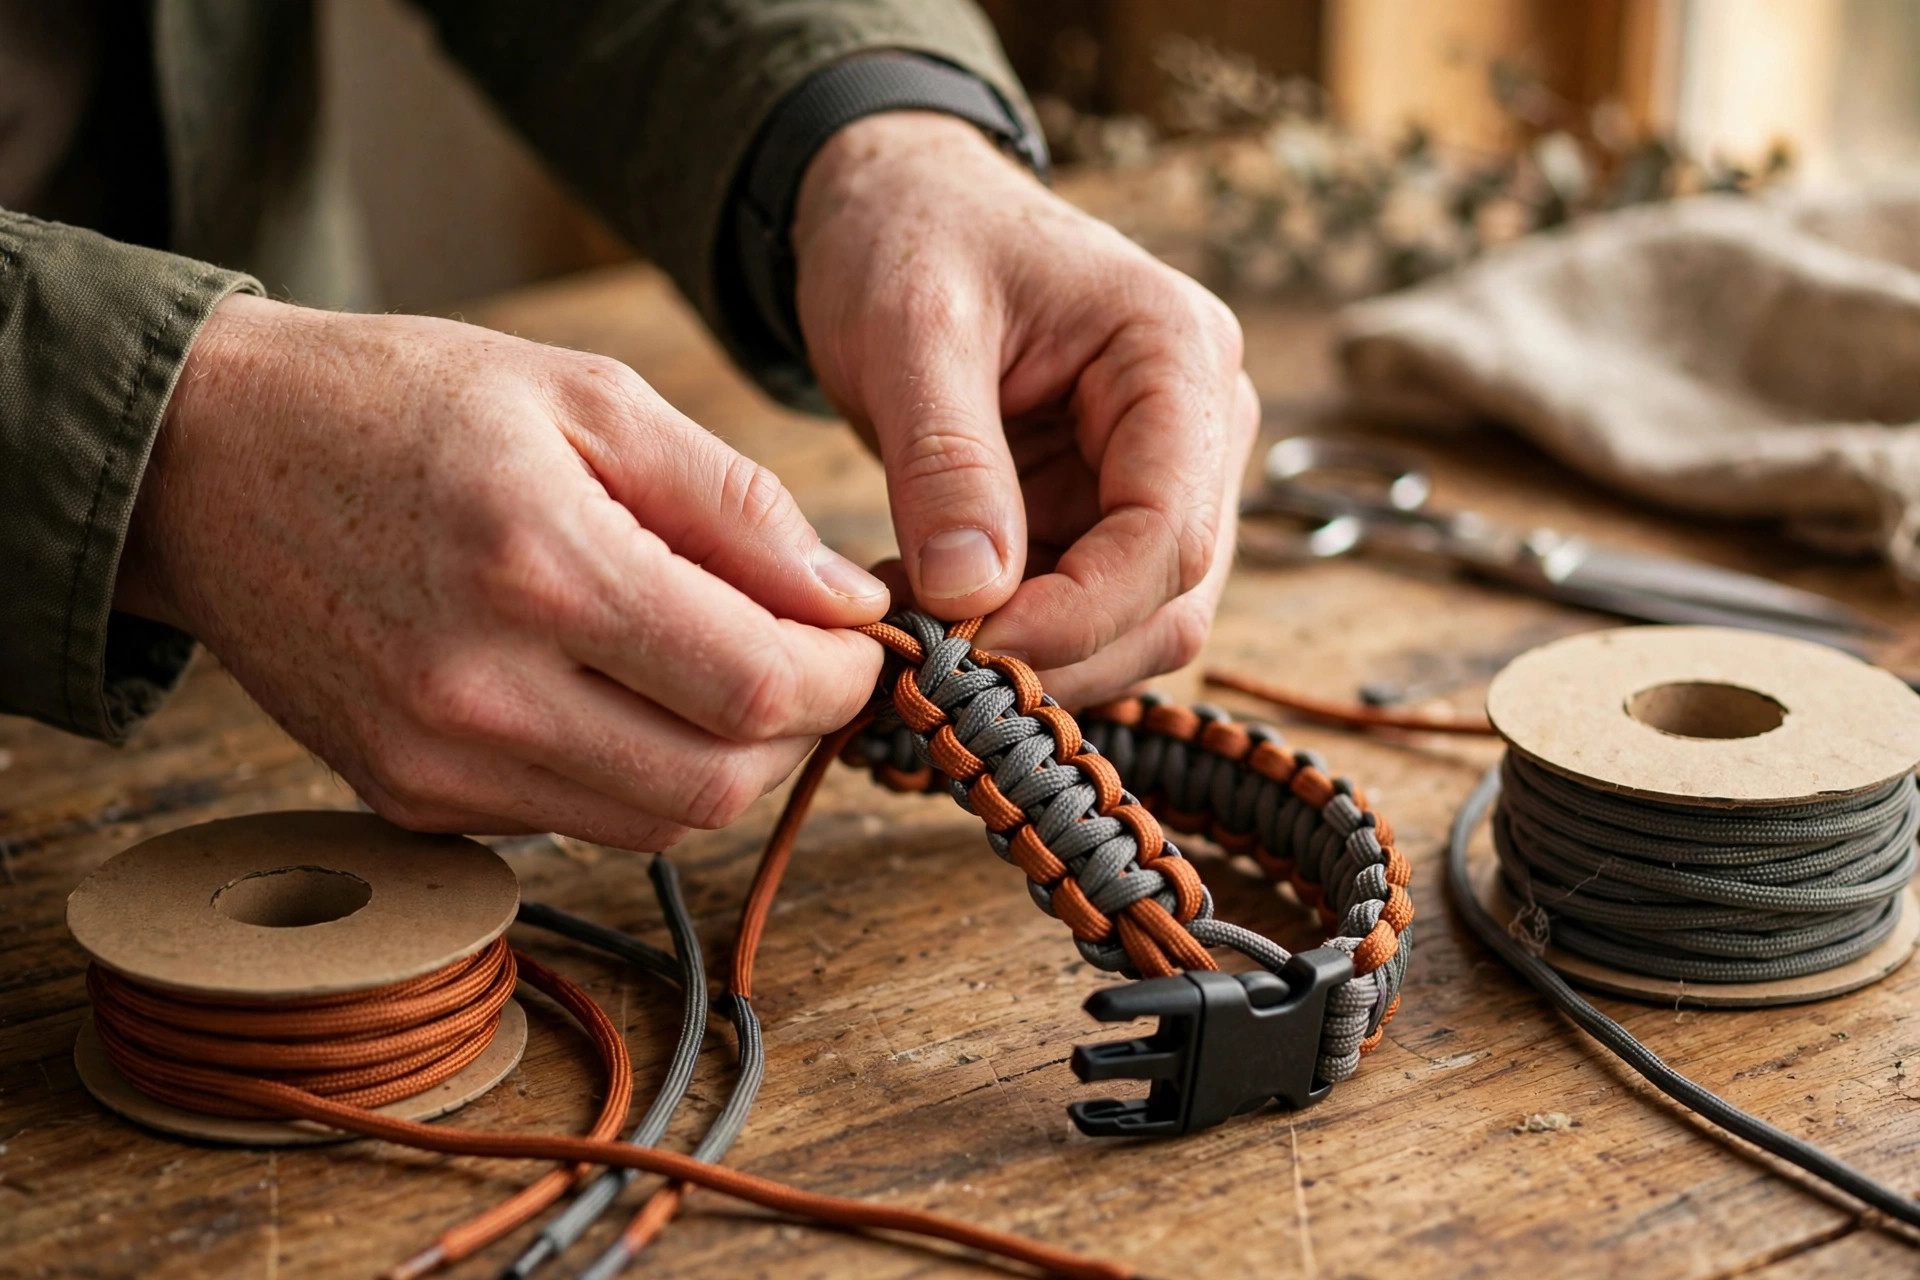
A paracord dog collar looks like it came from a specialist outdoor shop and costs like it did — until you realise it is just a few metres of cord, a plastic buckle and an evening on the sofa. Paracord (short for parachute cord) is the workhorse of the DIY world: tough, water-resistant, washable, and available in every colour combination you can dream up. Braided into a collar it is stronger than most shop-bought nylon collars, it dries in minutes after a muddy walk, and it costs a few pounds in materials.
\n
This guide shows you how to braid a paracord dog collar from scratch: the cord and buckle to buy, how much cord you need for your dog’s neck, four weaves from beginner to confident — cobra, king cobra, fishtail and snake knot — and the finishing and safety rules that turn a craft project into a collar you can actually trust on a real dog. If you want the wider roundup of collar projects first, our DIY dog collar ideas guide covers twelve of them, including one short paracord section; this article is the dedicated step-by-step paracord guide.
\n
Is a paracord dog collar safe?
\n
Yes — with the same common sense that applies to any collar, plus two paracord-specific rules.
\n
First, a paracord collar is a walking collar, not a tie-out. Never leave a dog tied up unattended on a paracord collar, and never use it as the anchor for a long line or a run. Paracord does not stretch and does not break under a sudden lunge, which is exactly why it is strong — and exactly why a dog that bolts to the end of a long line can hurt its neck. For strong pullers, clip the lead to a harness and use the paracord collar for ID tags and everyday wear. Our best training collar for stubborn dogs guide covers the control options for dogs that pull hard.
\n
Second, fit matters more than weave. A collar should sit high on the neck, snug enough that you can fit two fingers flat underneath it, and loose enough that it never presses on the throat when the dog swallows. Check the fit every week — a growing puppy can outgrow a collar in a fortnight, and a wet-then-dried paracord collar can tighten slightly as it dries. Inspect the braid weekly for frayed strands, a cracked buckle or a loose D-ring, and retire the collar the moment any of those appear. A collar that looks perfect but has a hairline crack in the buckle is a collar waiting to fail at the worst moment.
\n
One more safety note for puppies and chewers: paracord is strong, but it is not chew-proof. A puppy left unsupervised with a paracord collar can chew through the outer sheath in a single quiet afternoon, and swallowed cord is a vet emergency. Take the collar off indoors for chewers and puppies, and save it for walks and outings until the chewing phase passes.
\n
What is 550 paracord?
\n
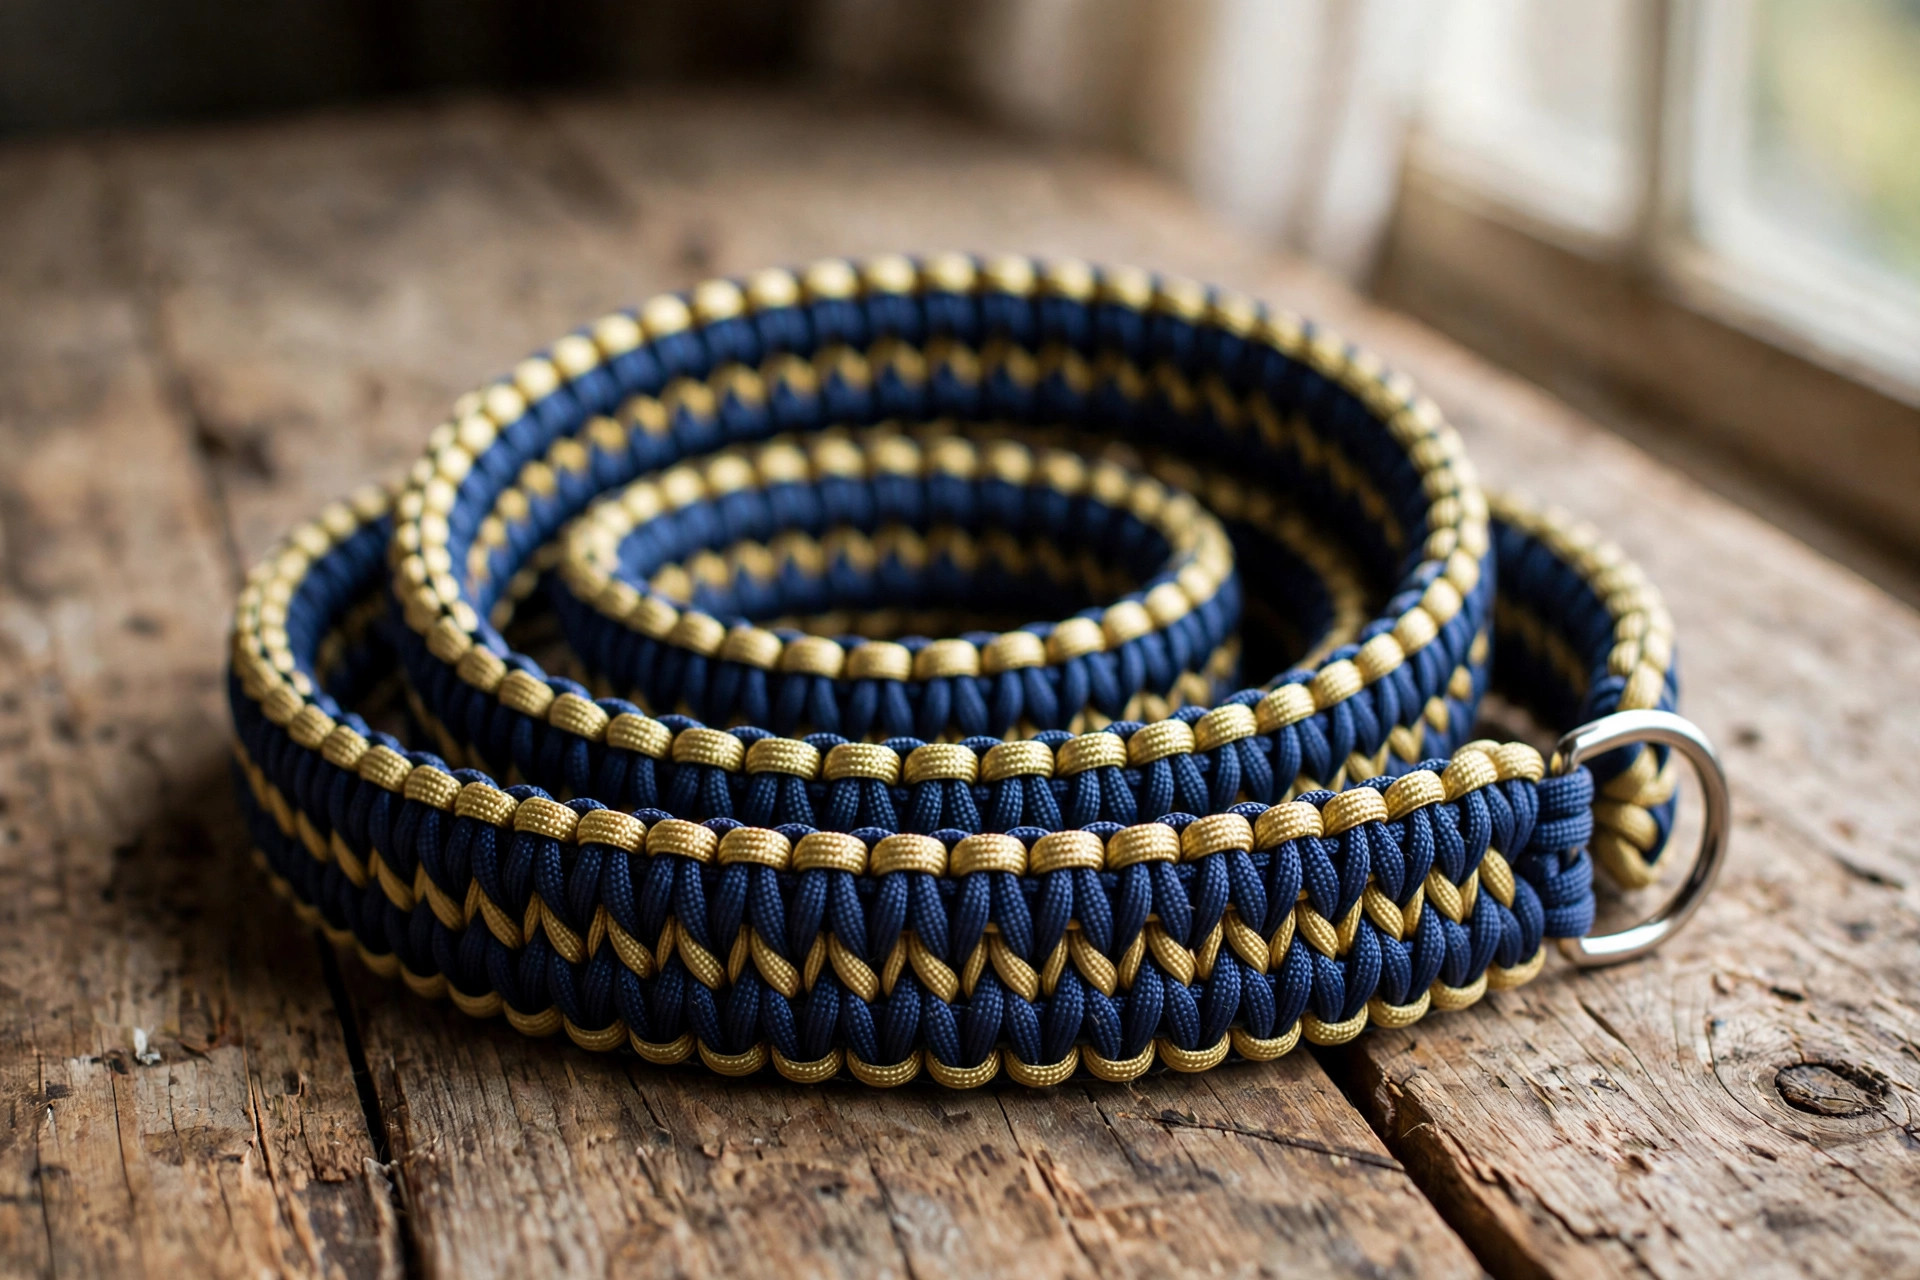
The cord you want is Type III 550 paracord — the military-spec cord with a rated breaking strength of 550 lb (about 250 kg) and seven inner strands inside a woven outer sheath. It is the standard for collars, bracelets and leashes, and it is sold by the metre in craft shops and online. Avoid the thinner \”micro cord\” and the decorative \”paracord\” that has no inner strands: micro cord is too thin to braid a comfortable collar, and strand-less cord has a fraction of the strength and frays badly at the ends.
\n
Real 550 paracord has a slightly stiff, springy feel and a visible woven sheath. Buy it in two colours for a two-tone collar — the classic look is a dark base with a bright accent — and buy more than you think you need. Cord is cheap, and running out halfway through a braid is the most common beginner frustration.
\n
What you need
\n
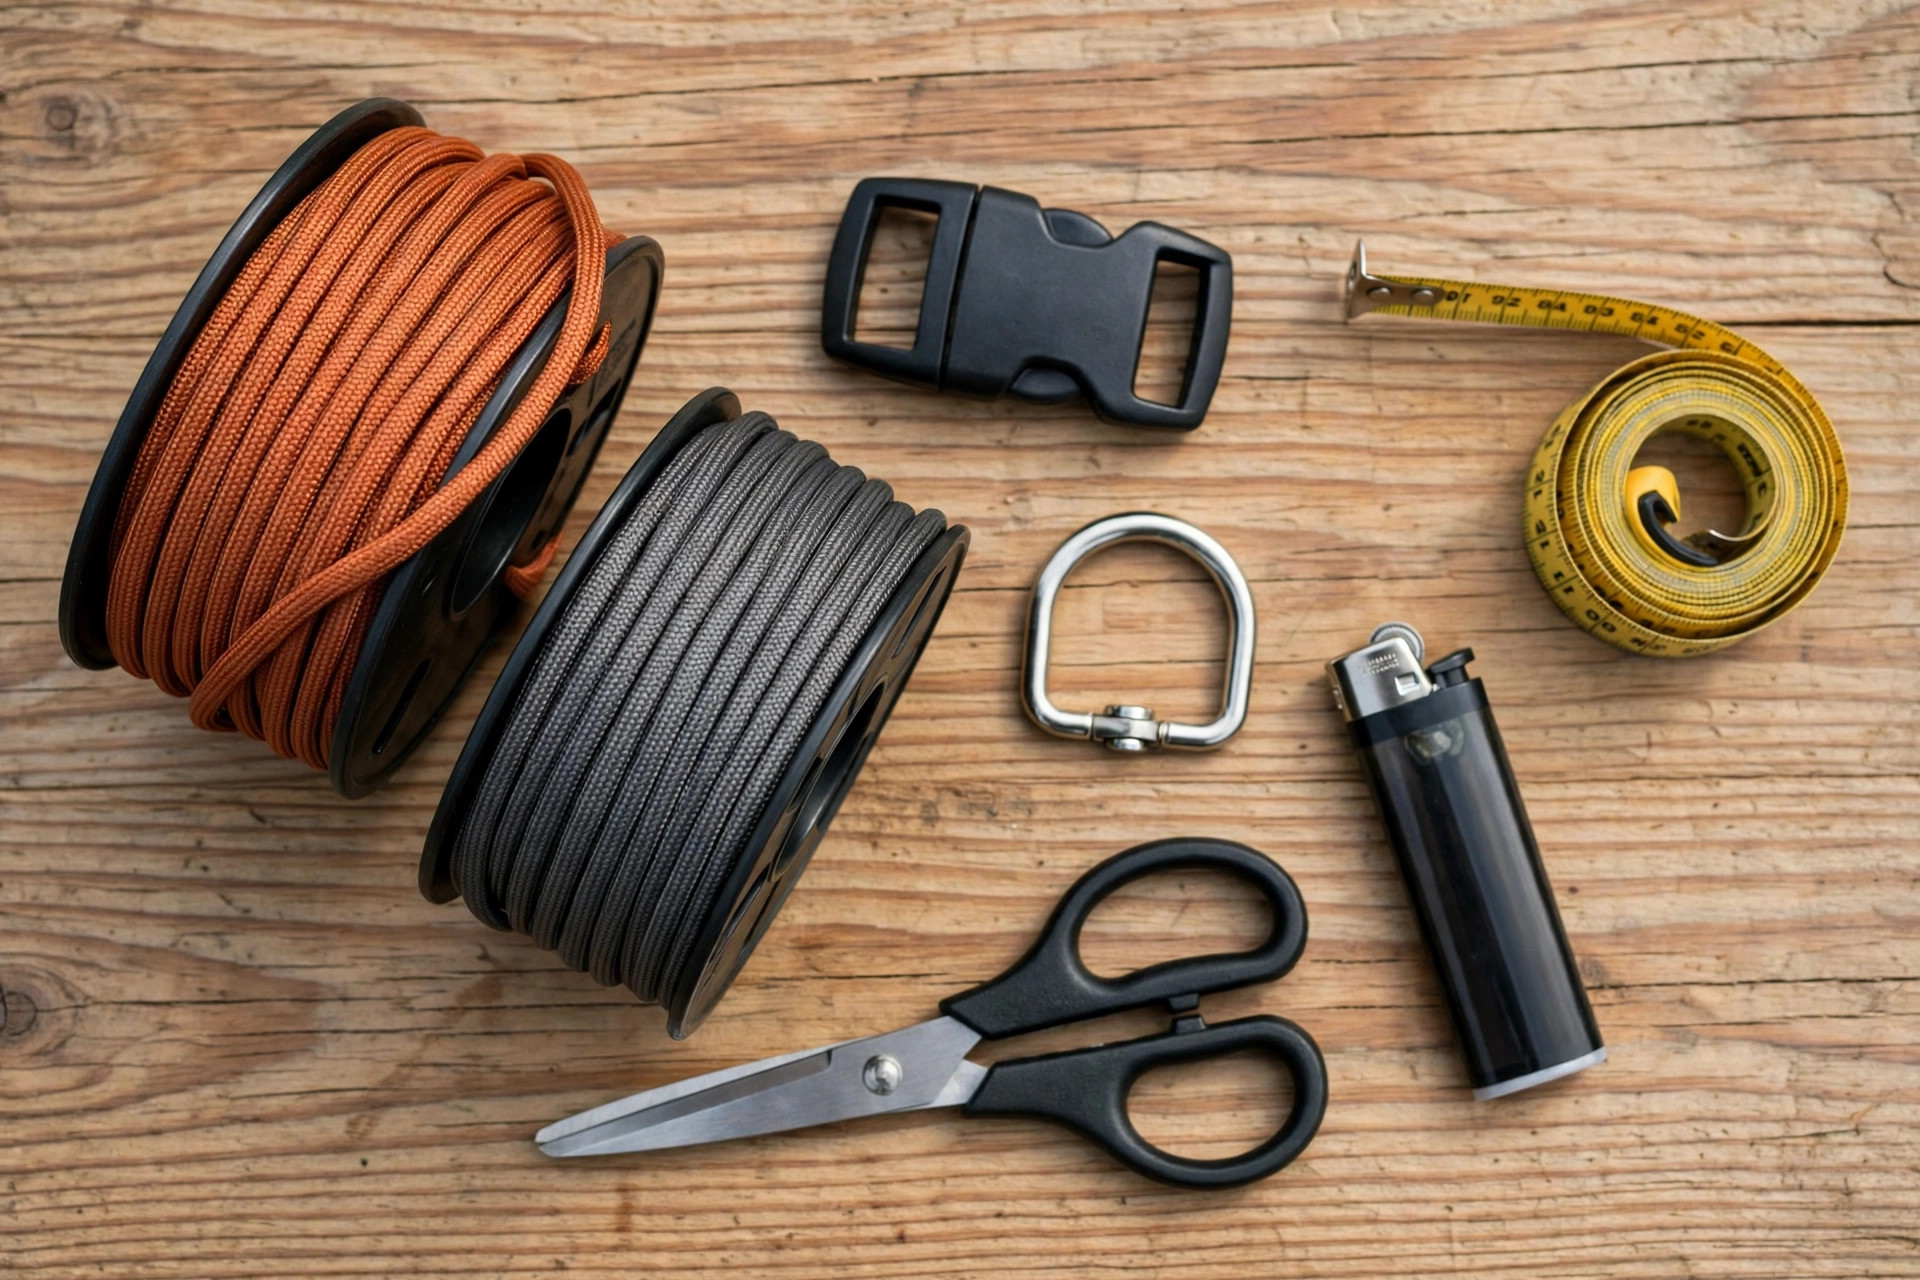
You do not need a workshop. You need six things, and most of them are already in a kitchen drawer.
\n
- \n
- 550 paracord, two colours. See the length table below — a medium dog’s cobra collar takes about 3 metres of each colour.
- A side-release buckle. A curved plastic buckle sized to your collar width (15 mm for small dogs, 20 mm for medium, 25 mm for large). Buy a quality buckle from a craft or outdoor supplier, not the cheapest bulk pack — the buckle is the weakest point of the whole collar, so it is the one place not to save pennies.
- A D-ring (optional but recommended). A welded metal D-ring, sized to the collar width, for the ID tag. Slide it onto the braid before you finish, or attach it with a short loop of cord.
- A lighter. For sealing the cut ends so they never fray. A standard cigarette lighter works; a small kitchen torch is easier on thicker cord.
- Scissors or a sharp craft knife. For cutting the cord cleanly.
- A tape measure, a clipboard or a small jig, and a pen. The tape measure sizes the neck; the clipboard or jig holds the buckle steady while you braid; the pen marks your cord lengths.
\n
\n
\n
\n
\n
\n
\n
That is the whole kit. A paracord jig — two pegs on a board — makes braiding easier, but a clipboard with the buckle clipped to it works just as well for a first collar.
\n
How much paracord do you need?
\n
The rule of thumb for a cobra weave is about 30 cm of cord per 2.5 cm (1 inch) of finished collar length, per colour — and you are braiding with two colours, so double it. A king cobra uses roughly 1.5 times as much again, because the second layer sits on top of the first. A fishtail uses slightly less than a cobra; a snake knot uses about the same as a cobra.
\n
| Dog’s neck | Finished collar | Cobra (each colour) | King cobra (each colour) |
|---|---|---|---|
| 25 cm (10 in) | 30 cm | 3.0 m | 4.5 m |
| 35 cm (14 in) | 40 cm | 4.0 m | 6.0 m |
| 45 cm (18 in) | 50 cm | 5.0 m | 7.5 m |
| 55 cm (22 in) | 60 cm | 6.0 m | 9.0 m |
\n
Add 30 cm to each colour for your first attempt — beginners use more cord than the table says, and a little spare cord is far better than a braid that runs out two knots from the end. If you would rather skip the maths, our dog collar size calculator works out the finished collar length from your dog’s measurements.
\n
How to measure your dog for a paracord collar
\n
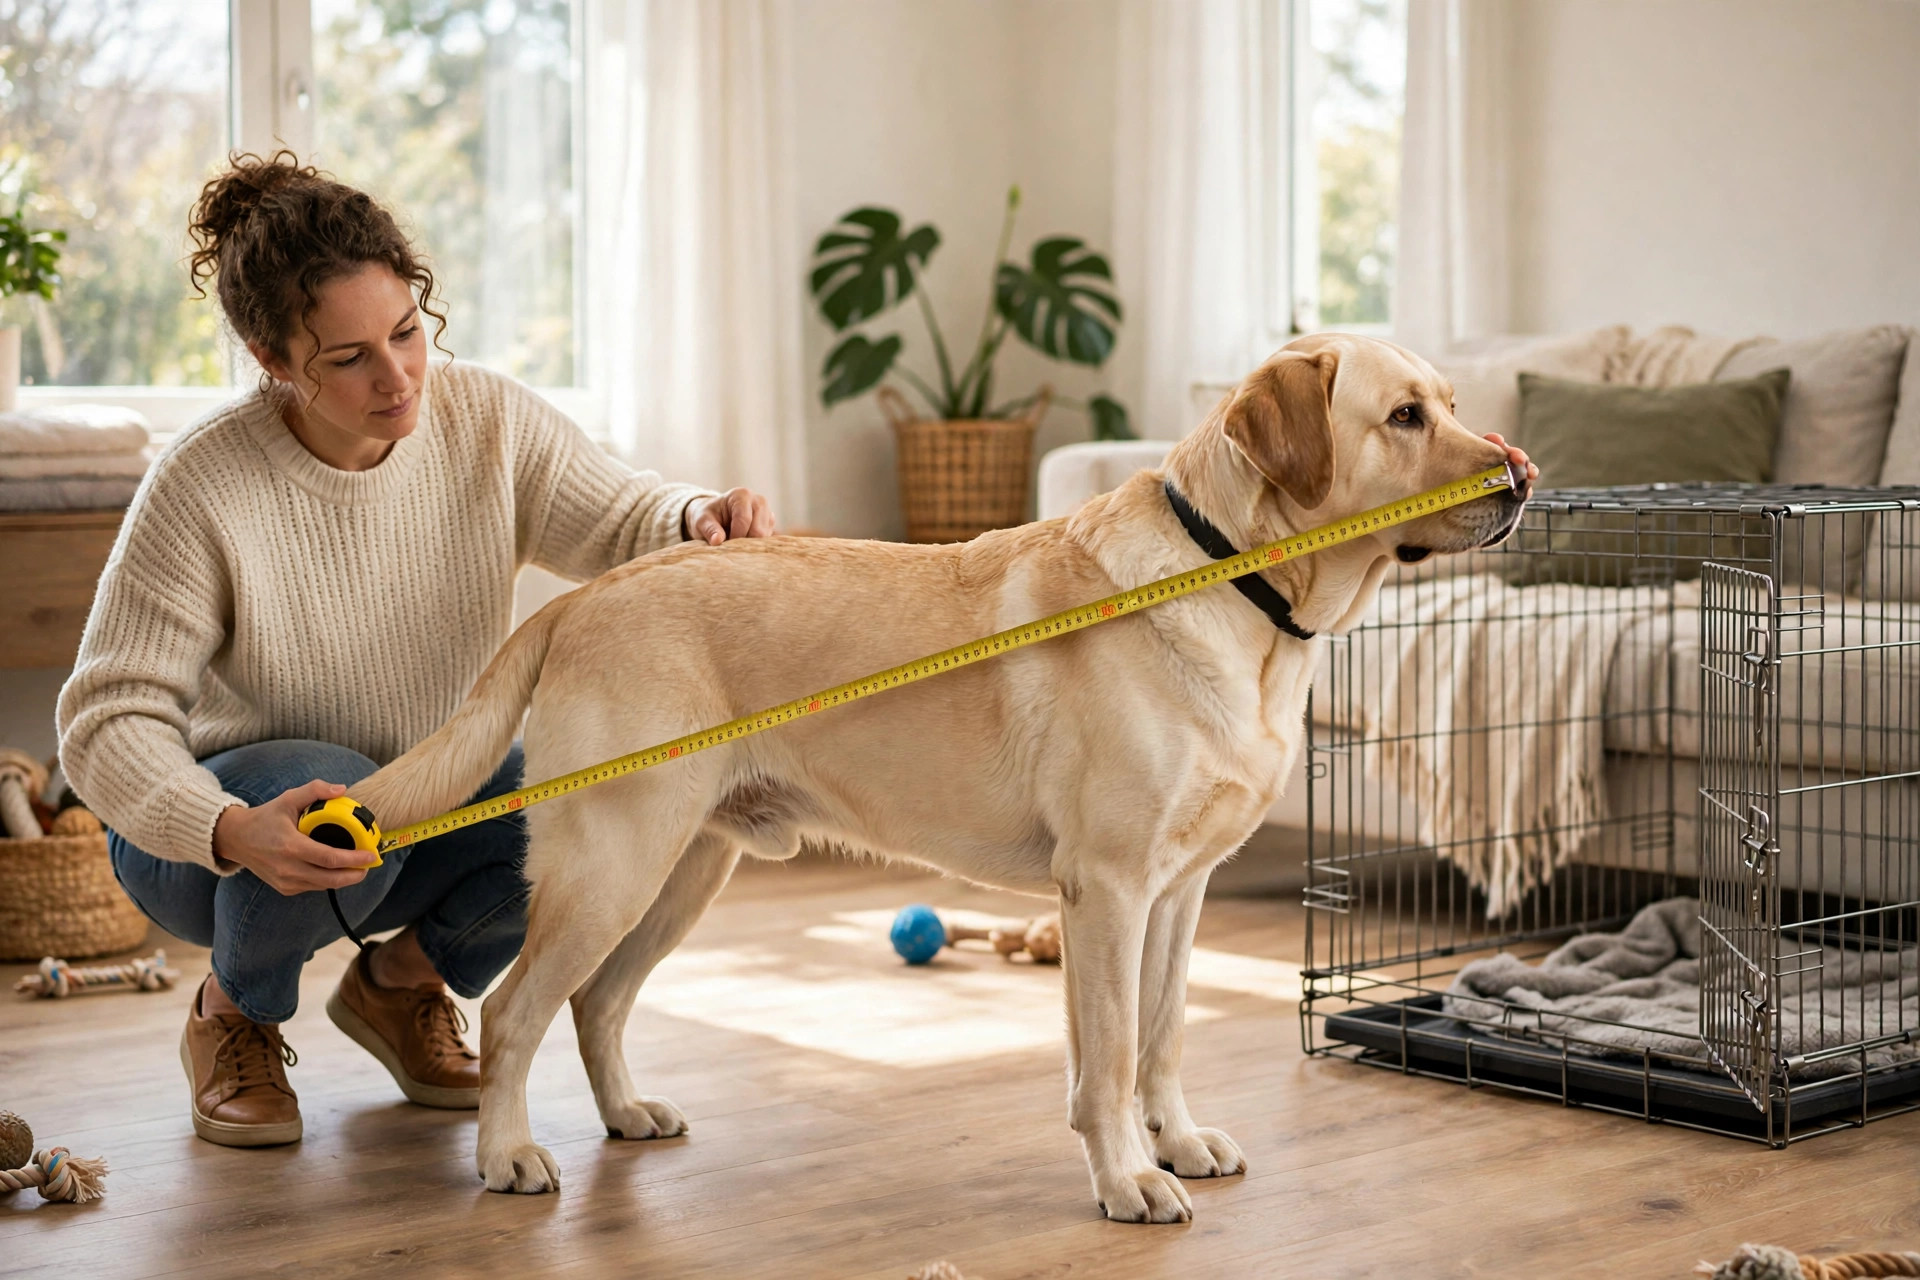
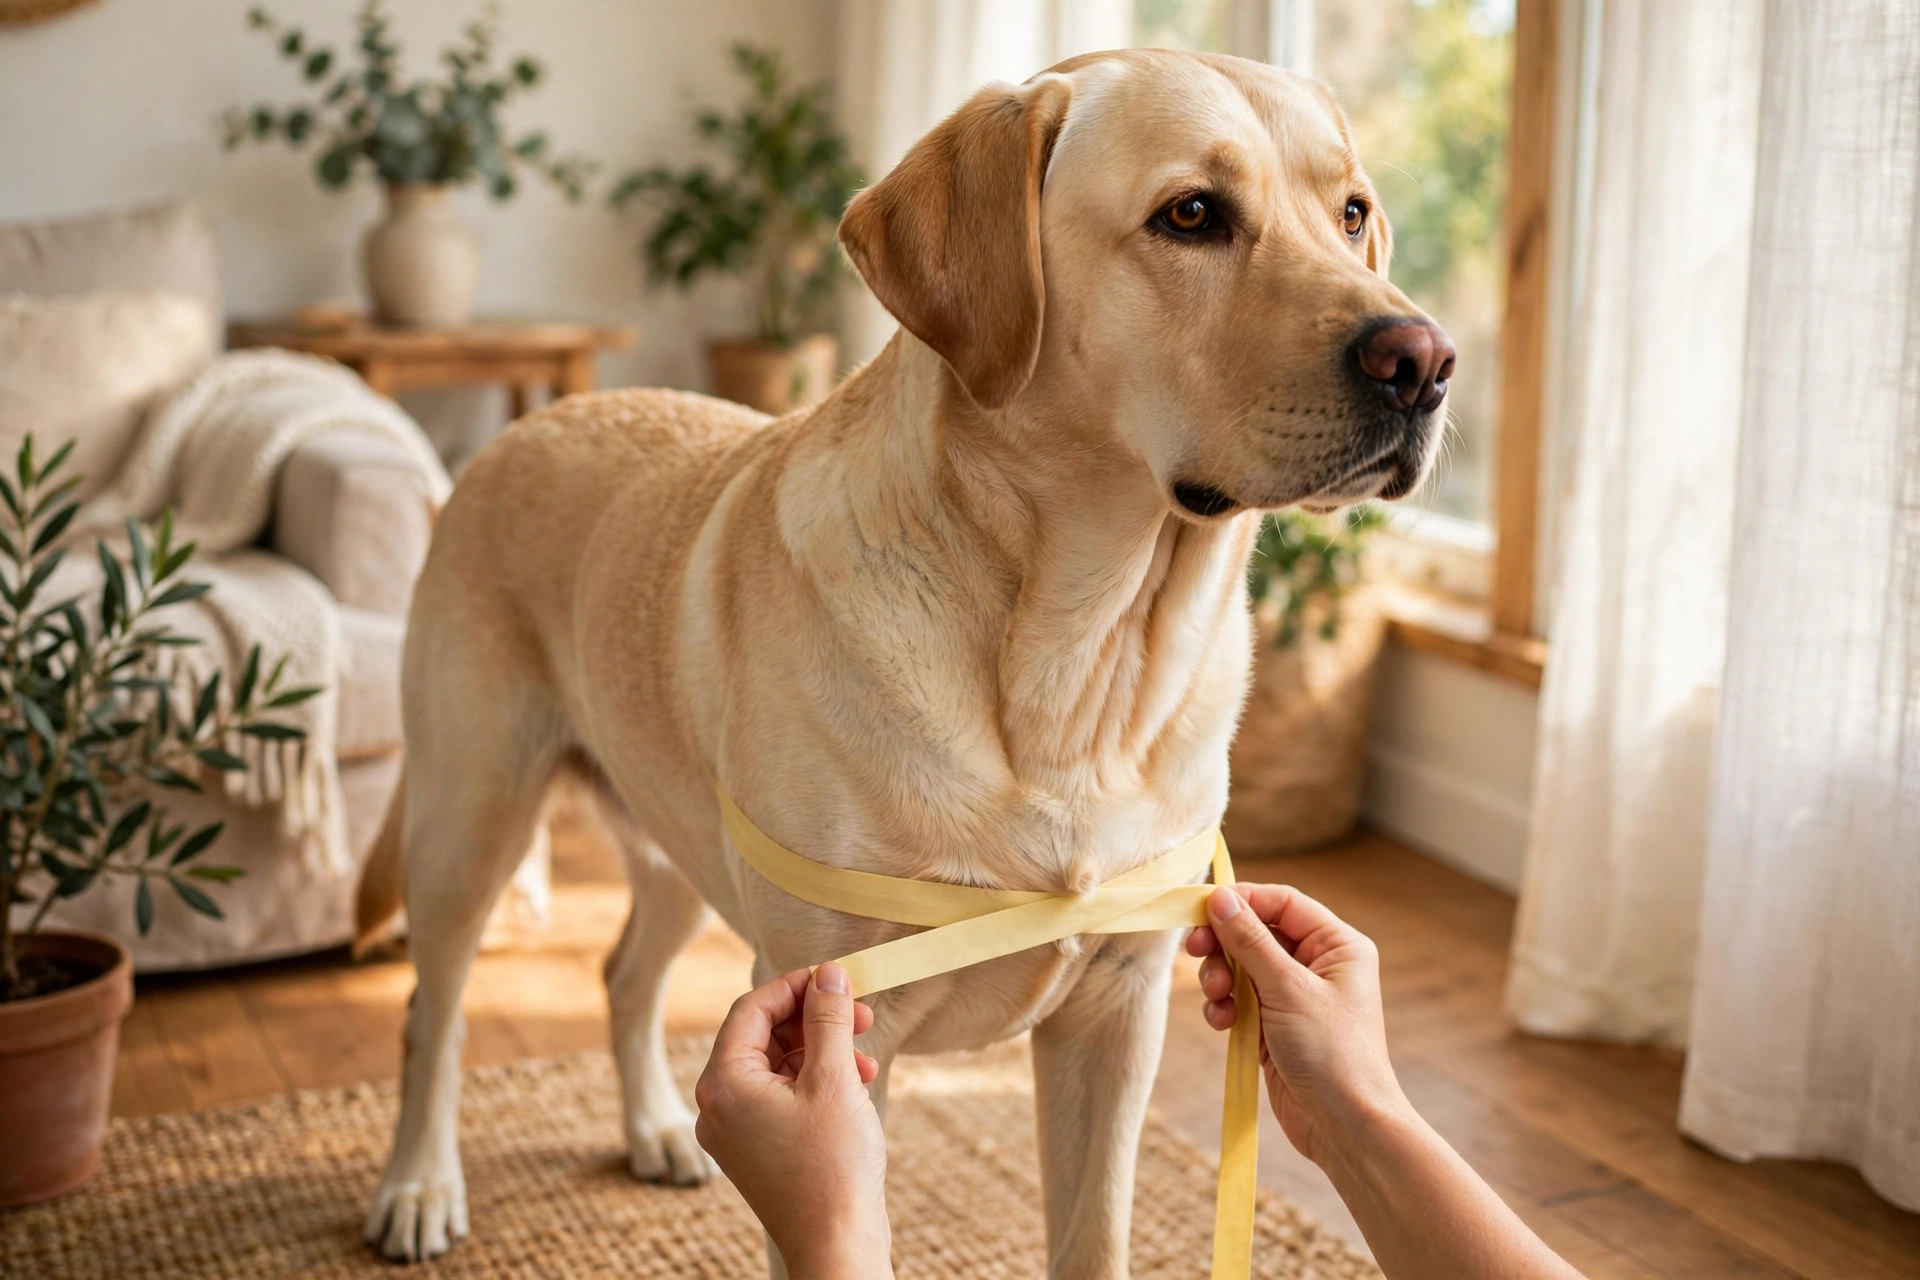
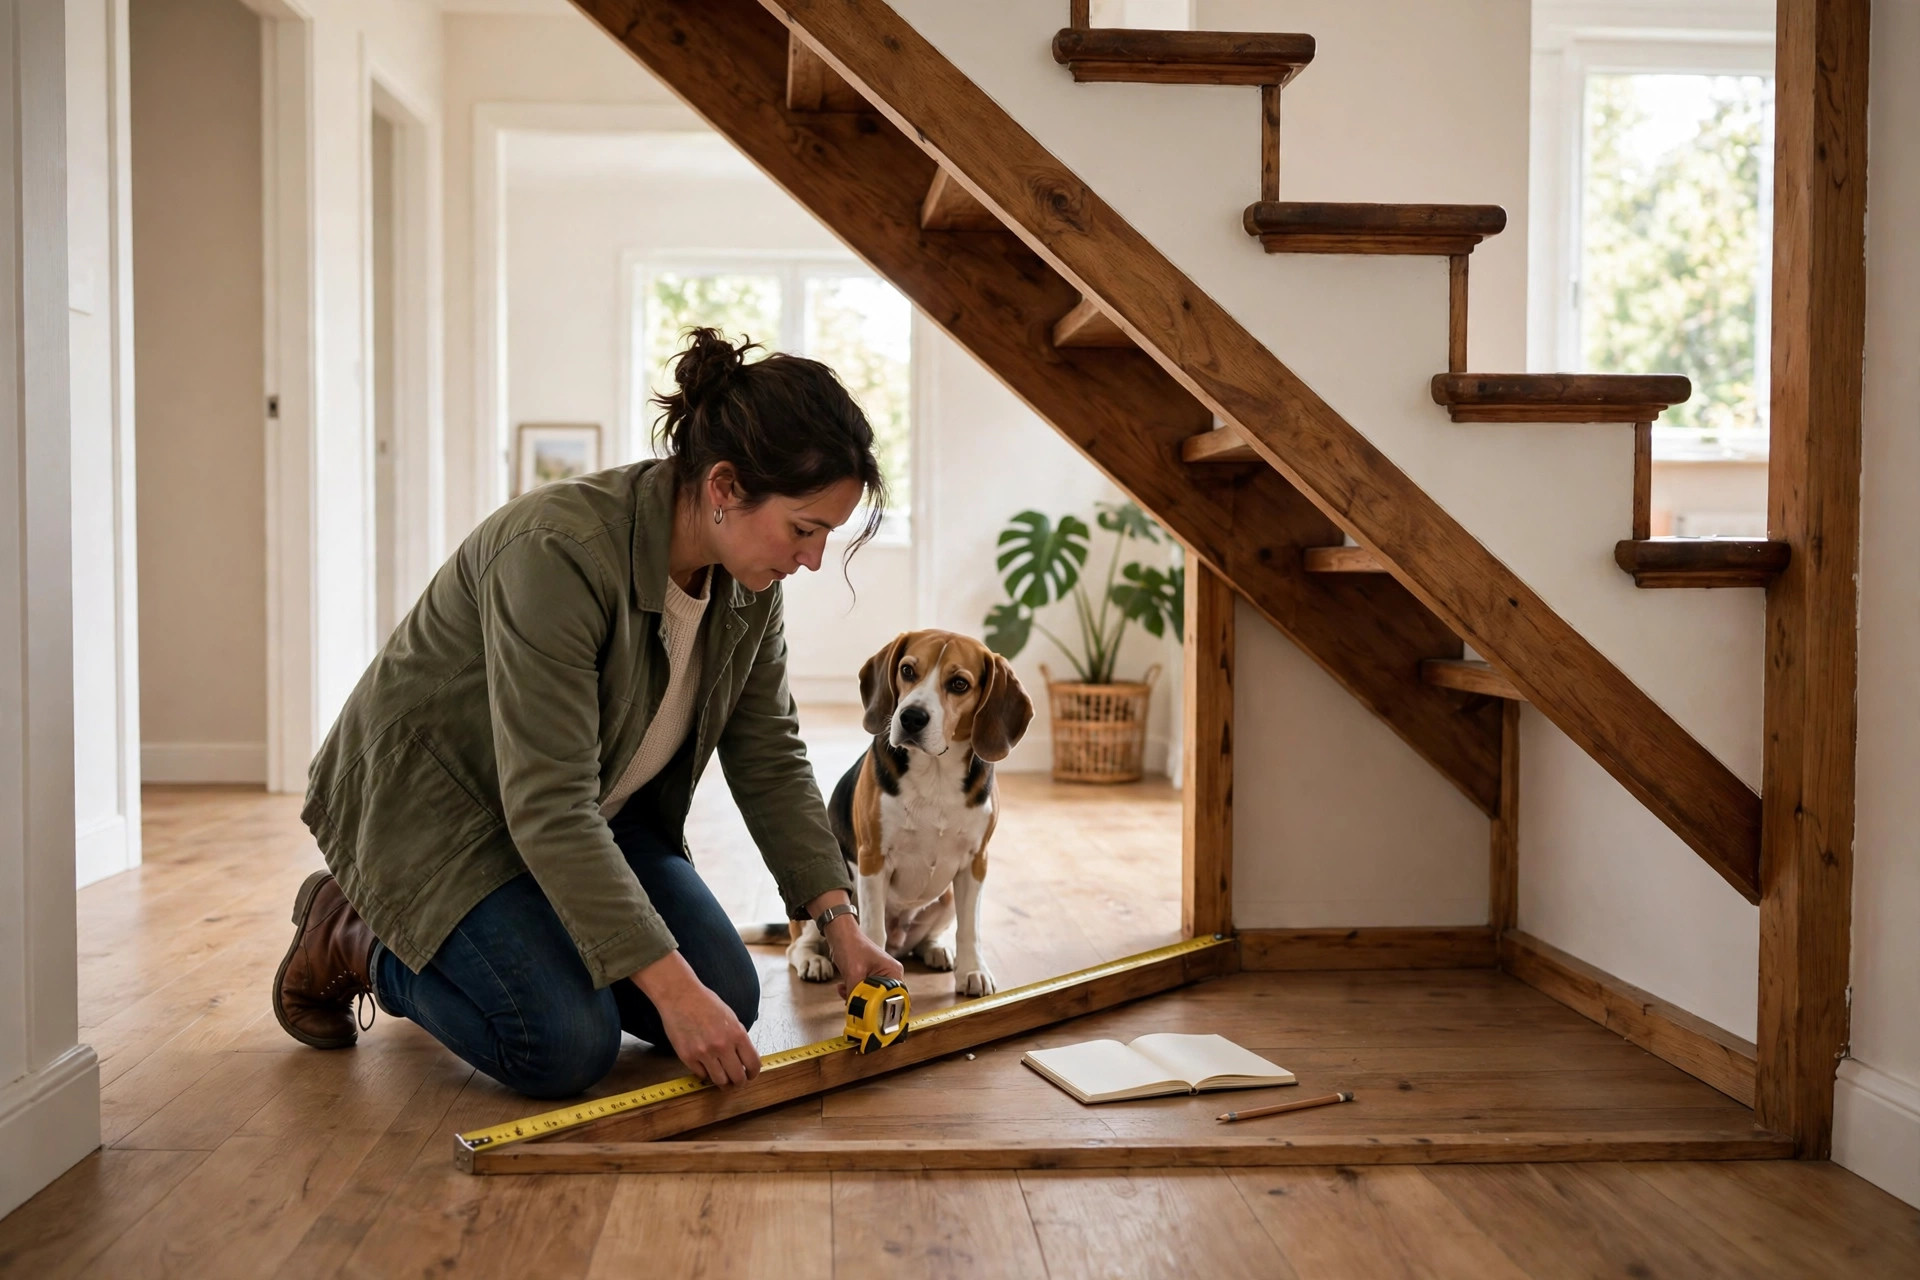
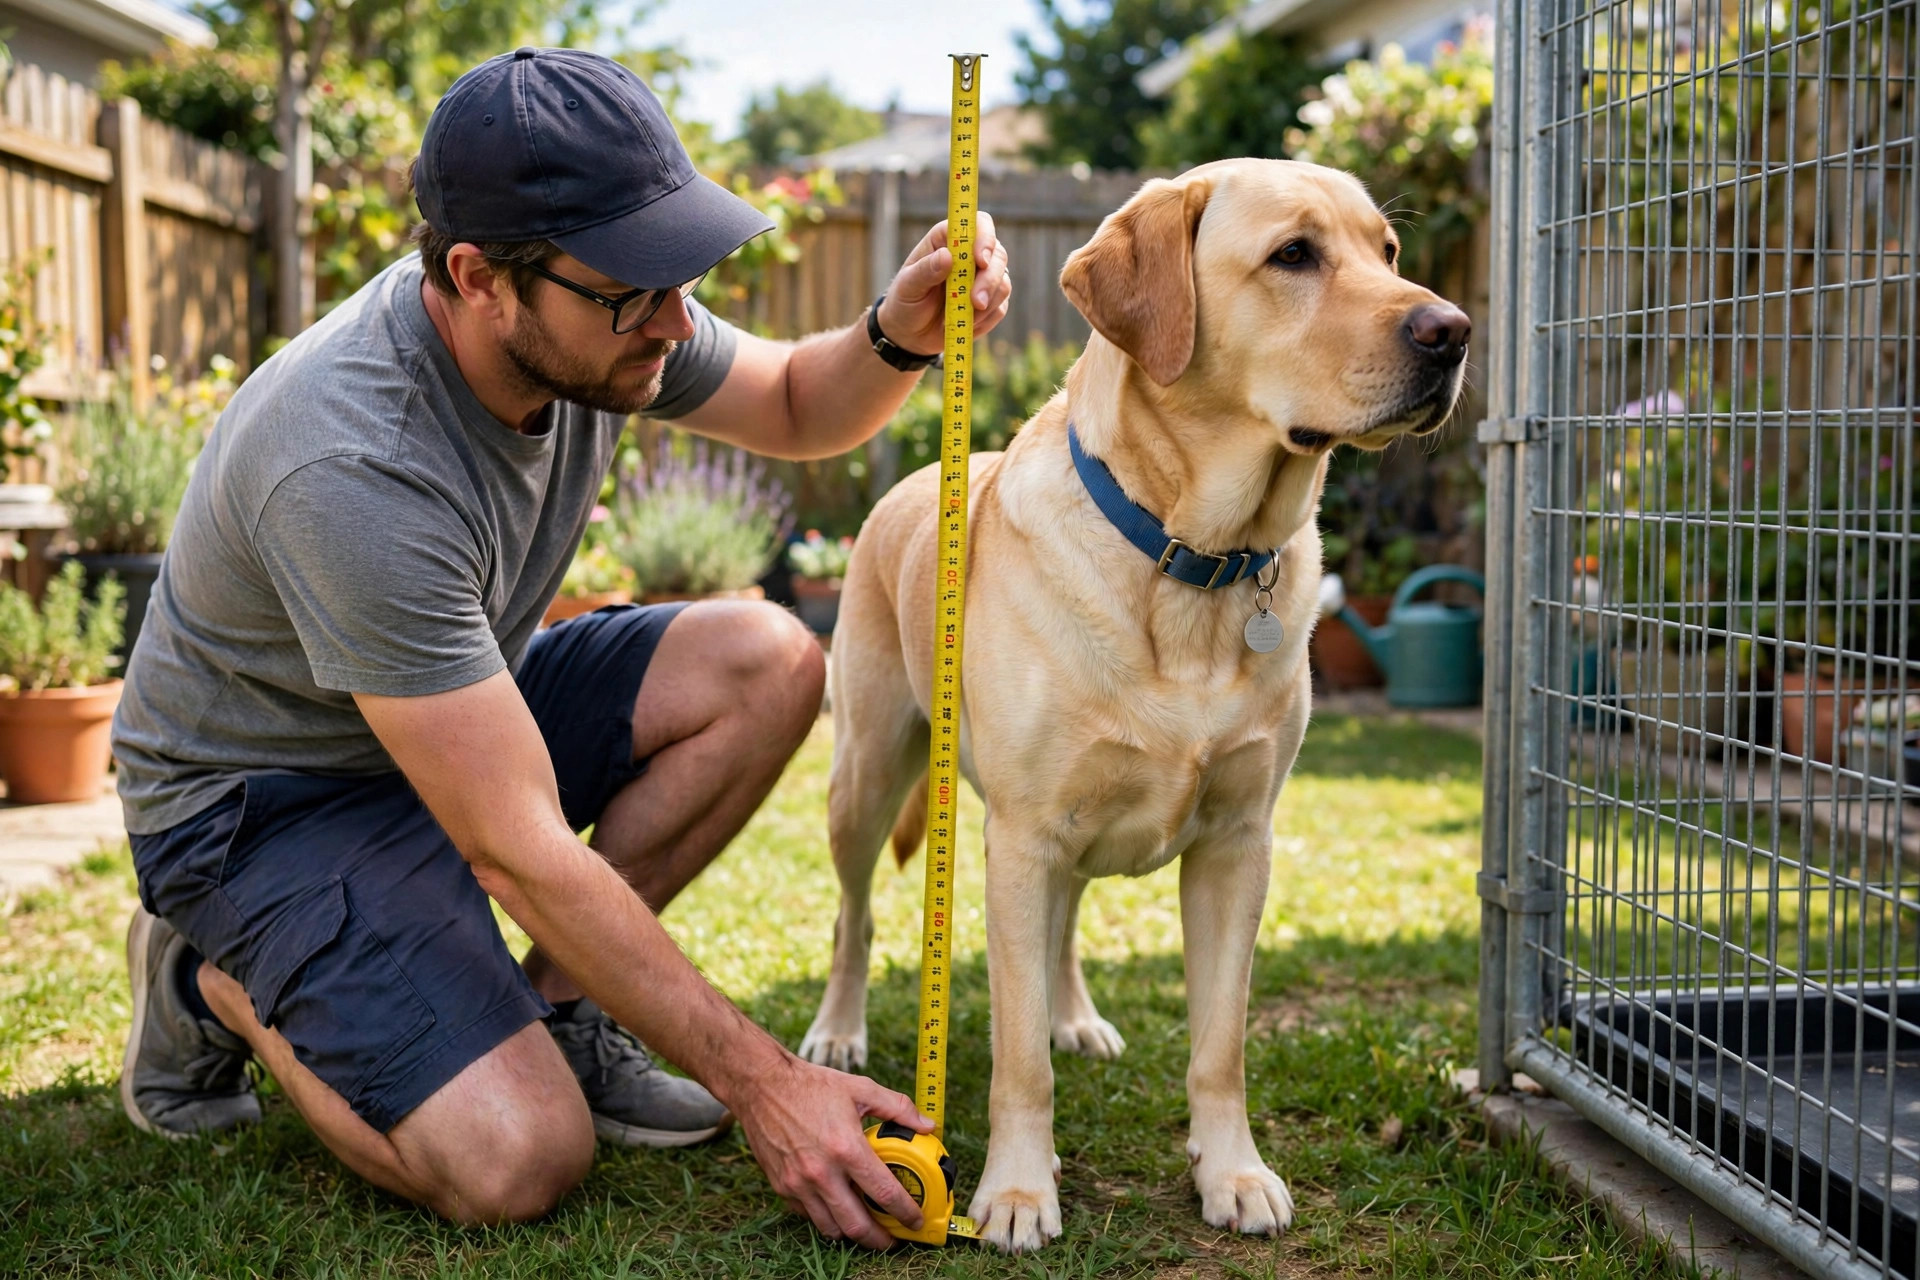
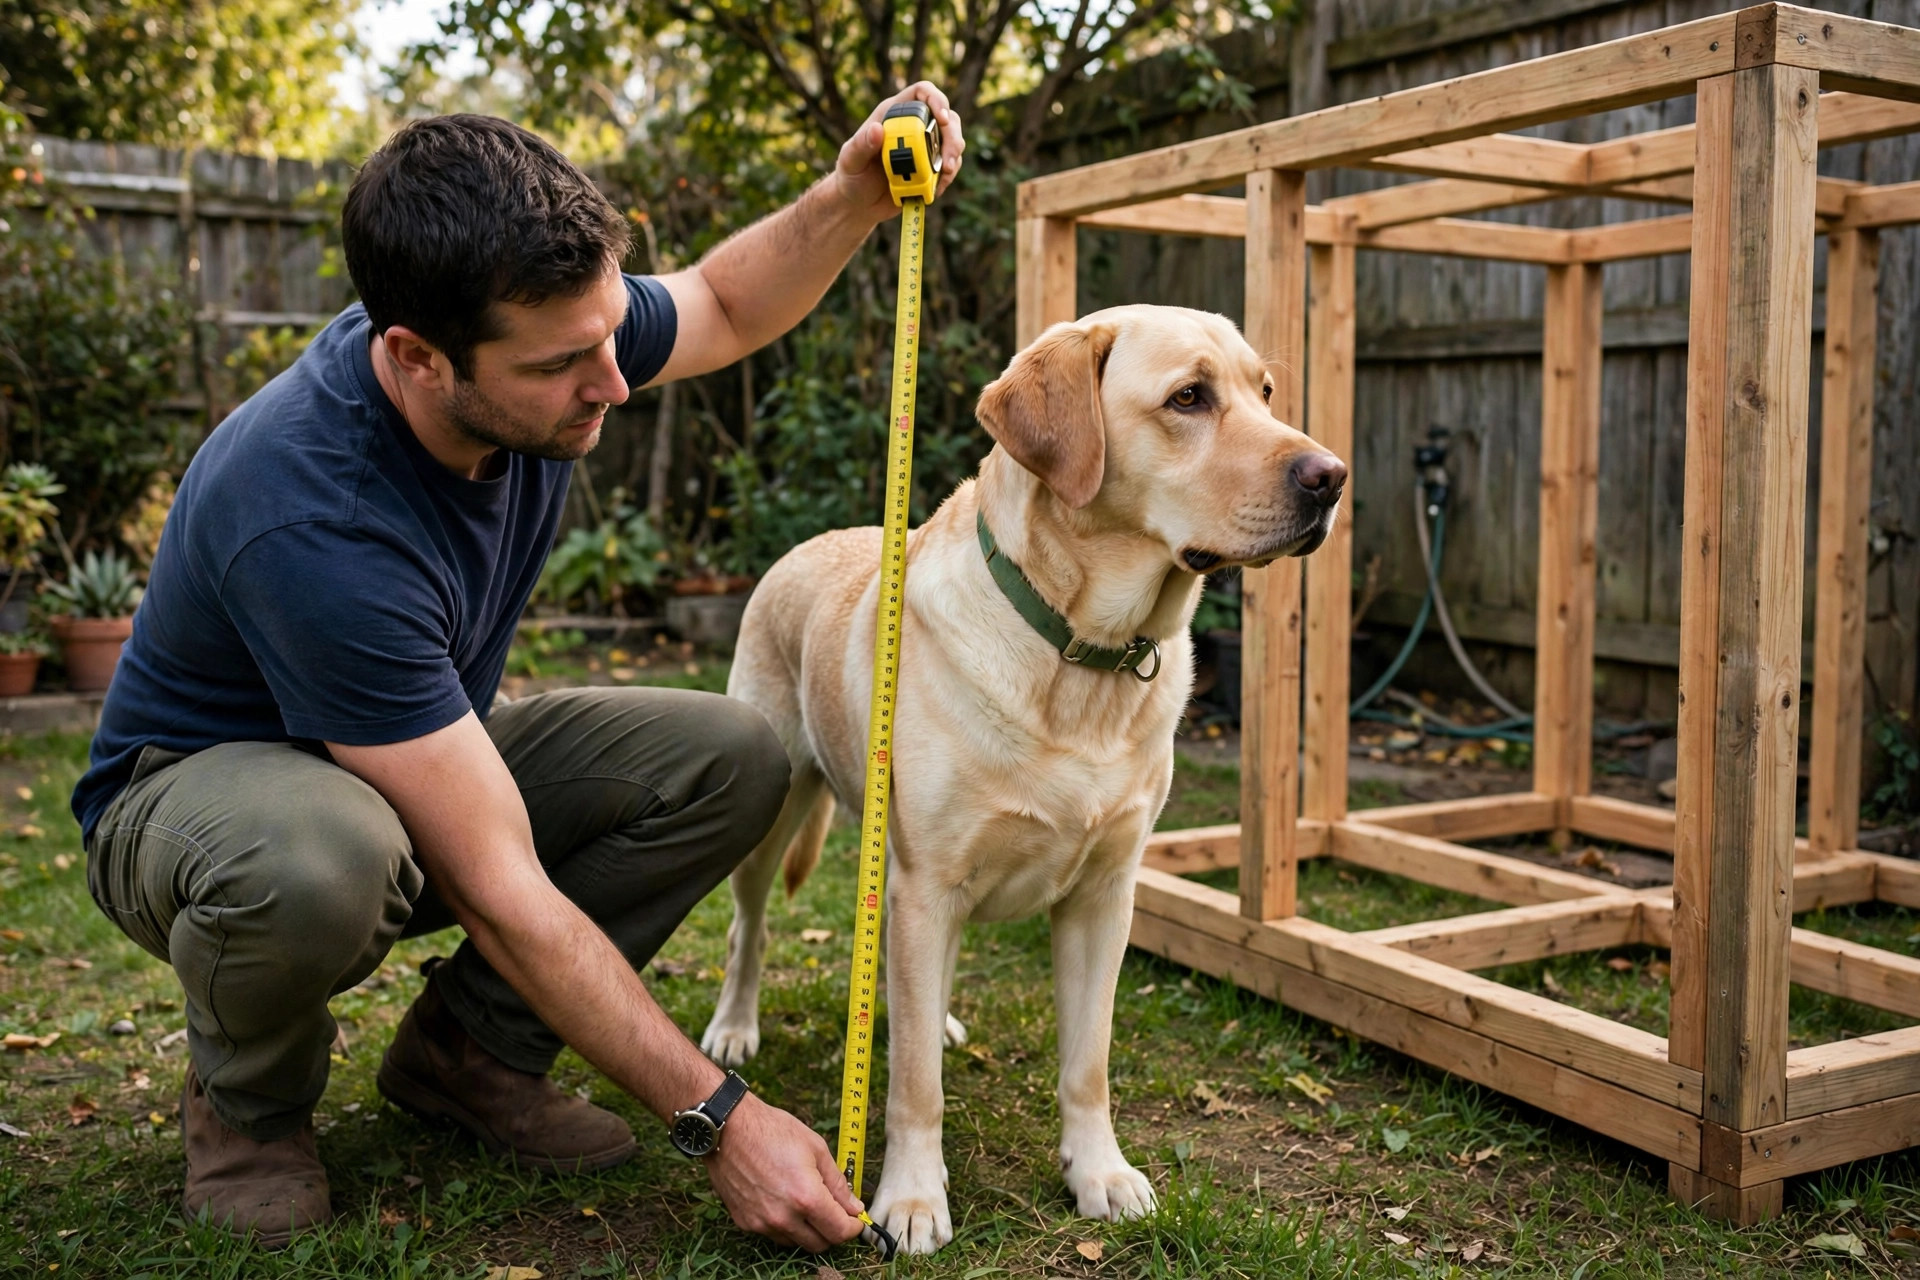
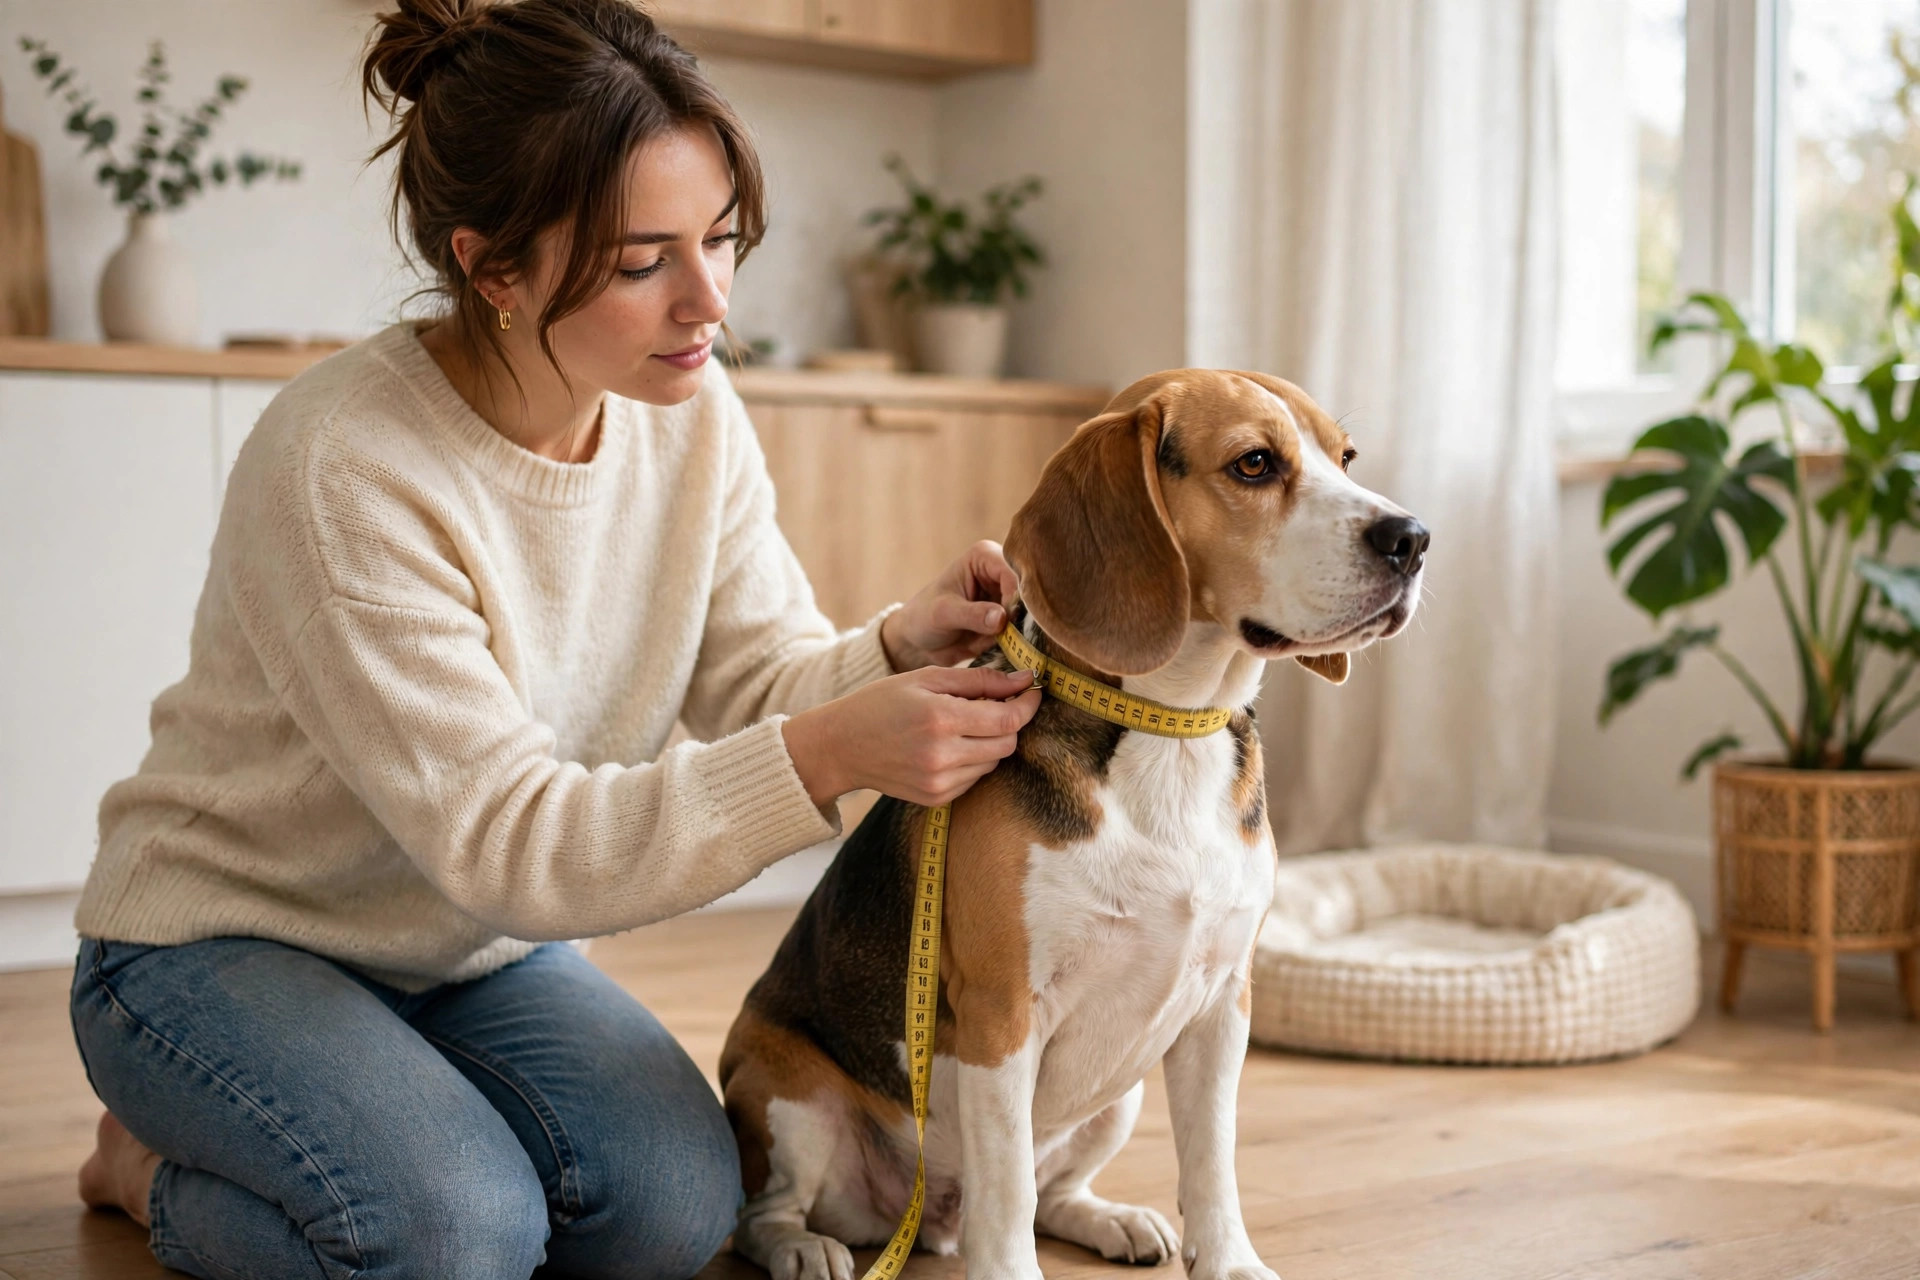
Measure the neck where the collar will sit — high on the neck, just behind the ears and jaw, not down at the base where a harness sits. Wrap the tape measure snugly, then slide two fingers flat underneath it: that is the collar size. A paracord collar does not stretch, so this measurement is the finished length — do not add slack for comfort, because the two-finger gap already provides it.
\n
Then add the buckle. A side-release buckle adds about 4–5 cm to the finished length, so the braided section is the neck measurement minus the buckle length. Mark both ends of your cord with the pen before you start, and write the numbers on a scrap of paper: neck size, buckle length, braid length, cord per colour. It takes thirty seconds and saves you from unpicking a collar that is a perfect braid in exactly the wrong size.
\n
The 4 paracord weaves
\n
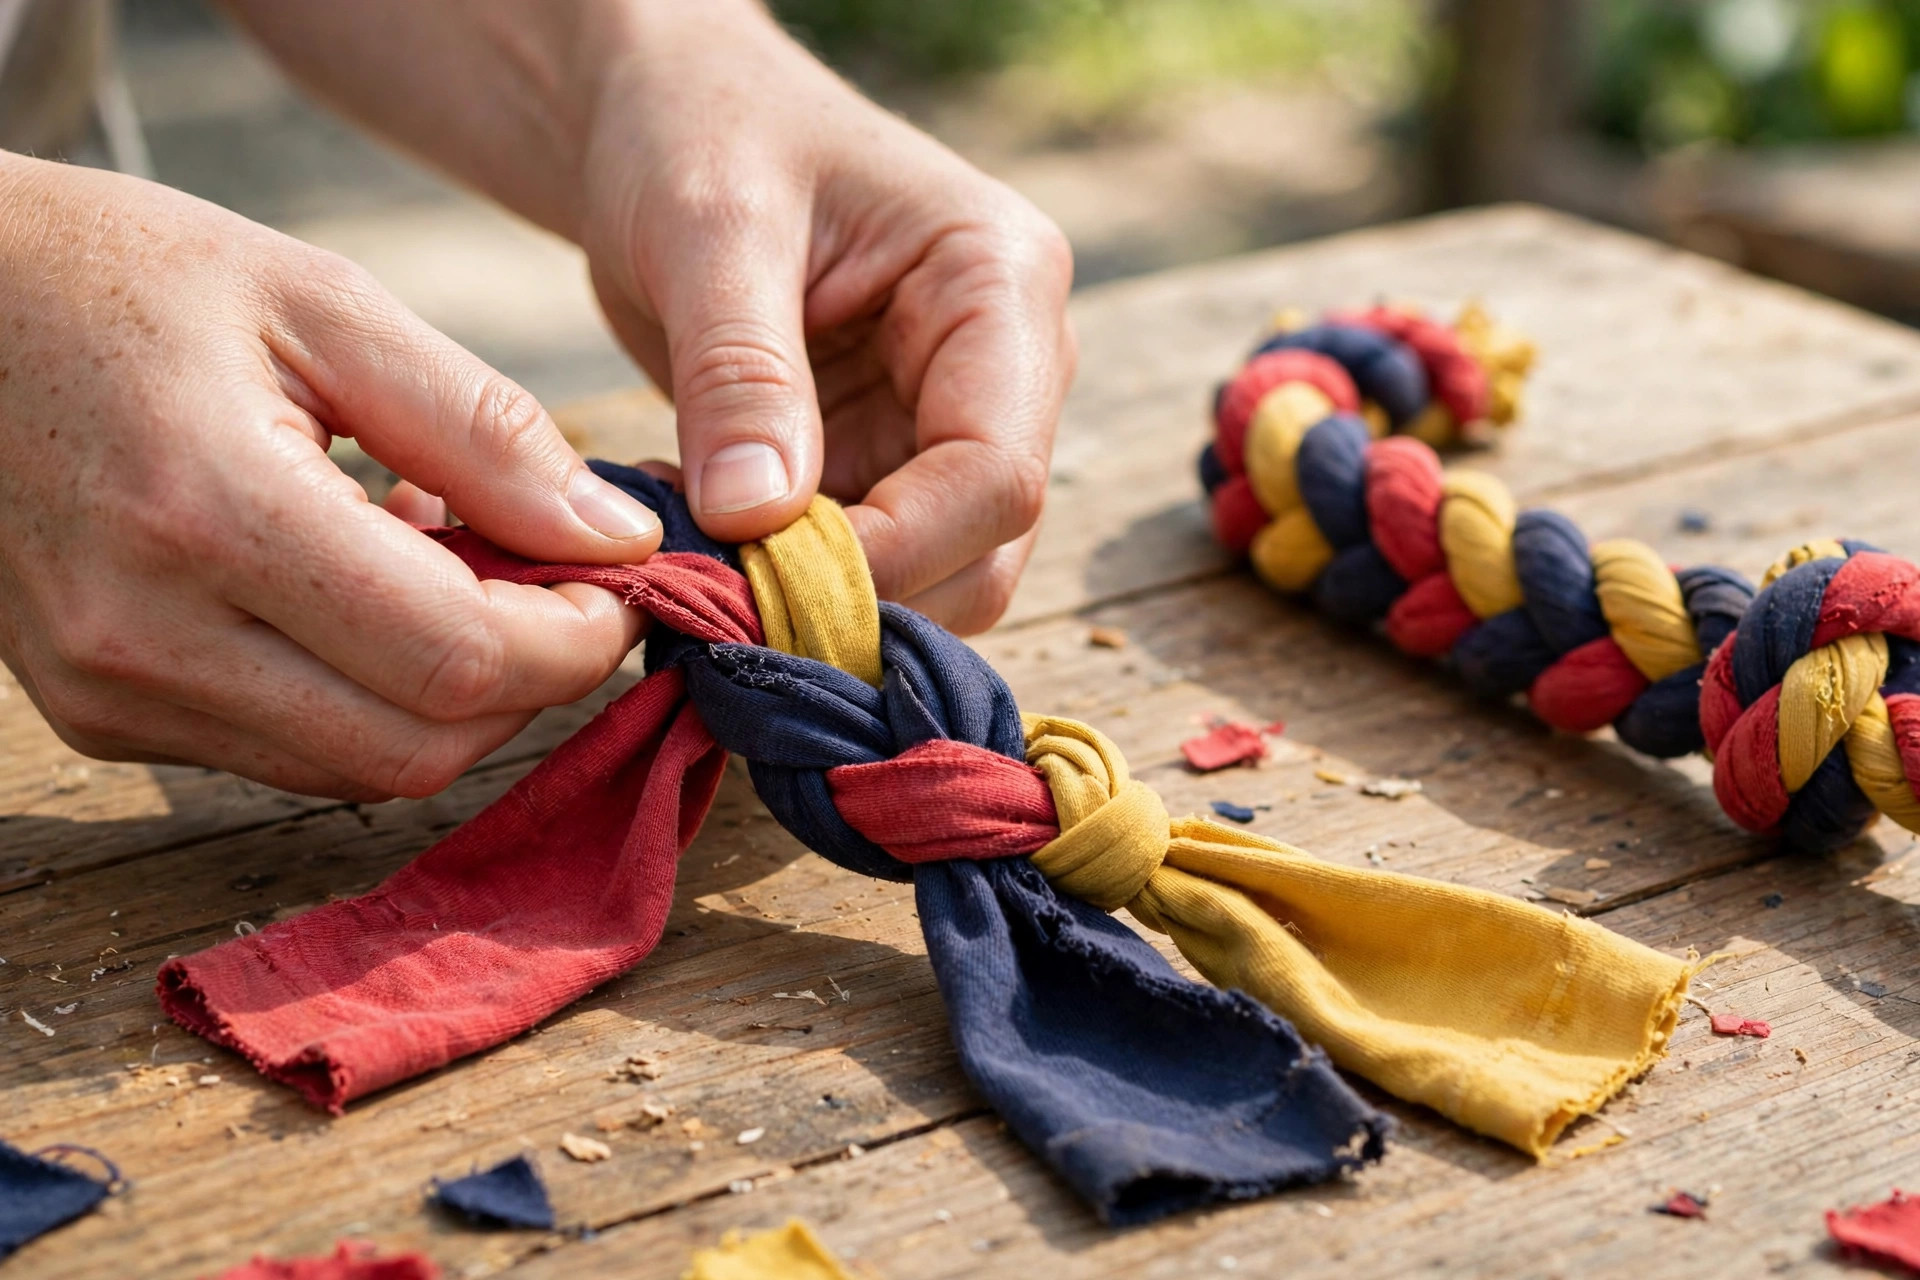
All four weaves start the same way: fold each colour in half, thread the loops through one end of the buckle, pull the loose ends through the loops to lock them on (a cow hitch), then clip the other buckle half on and pull the cord to the finished length. From there, the weaves diverge.
\n
1. The cobra weave (beginner). The classic paracord collar and the one to learn first. It makes a flat, wide, comfortable band with a neat ridged spine down the middle. Work left over right, then right over left, alternating sides, pulling each knot snug and even. The cobra is forgiving: uneven tension shows as a slight wave rather than a disaster, and a mistake is easy to unpick one knot at a time. It is also the strongest weave per gram of cord, which is why survival bracelets use it. If you only learn one weave, learn this one.
\n
2. The king cobra weave (confident beginner). A cobra weave braided on top of a finished cobra collar. You braid the first cobra layer, then start again over the top of it with a second set of cords in a contrasting colour, following the exact same pattern. The result is a wider, thicker, heavier collar with a raised two-tone spine — the look most people picture when they say \”paracord collar\”. It uses half as much cord again and takes twice as long, so make a plain cobra first and treat the king cobra as your second project. It suits large and strong dogs best: on a small dog it can look and feel bulky.
\n
3. The fishtail weave (intermediate). A flat, flexible weave that sits very comfortably against the neck, because it has no raised spine. The strands cross over each other in a herringbone pattern, which makes it the slimmest of the four weaves and the best choice for small dogs, short-coated dogs and dogs that wear a collar all day. It is slightly trickier to keep even than a cobra — the trick is to pull each crossing with the same tension, and to check the back of the collar every few knots, because a fishtail hides unevenness on the front and shows it on the back.
\n
4. The snake knot (intermediate). A round, rope-like weave made from a series of interlocking knots, each one pulled tight against the last. It makes the narrowest and most decorative collar of the four — more like a cord necklace than a band — and it is the best weave for a slim dress collar or a matching collar-and-lead set. It is slower than the other weaves because each knot is formed individually, and it uses the most cord per centimetre. It also hides a D-ring beautifully: the ring sits inside the knots rather than dangling on a loop.
\n
How to braid a paracord dog collar — in 3 steps
\n
Step 1 — Measure and set up. Measure the neck, work out the braid length and the cord per colour from the table, and cut both colours with 30 cm spare each. Seal the cut ends lightly with the lighter so they do not fray while you work. Fold each colour in half, hitch the loops onto one half of the buckle, thread the loose ends through, and pull tight. Clip the second buckle half on, stretch the cords out to the braid length, and fix the buckle to the clipboard or jig so the cords hang straight and taut.
\n
Step 2 — Braid the weave. Work your chosen weave from the buckle towards the far end, one knot at a time, pulling each knot snug with the same tension. For a cobra, that means left over, right over, alternating sides, checking every ten knots that the braid is straight and the edges are even. If the braid starts to curve, you are pulling one side harder than the other — loosen the last few knots and redo them with equal tension. Stop when the braid reaches the marked length, leaving about 2 cm spare before the second buckle.
\n
Step 3 — Finish and seal. Thread the loose ends through the second buckle half, pull them tight, and tuck them back under the last three or four knots on the underside of the collar. Trim the ends close, then melt each cut end with the lighter and press it flat against the braid with the flat of the scissors — this fuses the end into the braid so it can never pull through. Slide the D-ring onto the collar before you finish if you are using one. Finally, clip the buckle shut, hold the collar up, and check it: the braid should be straight, the buckle should sit square, and the collar should measure exactly the neck size plus the two-finger gap.
\n
Finishing touches
\n
A few small choices make the difference between a collar that looks handmade and one that looks homemade. Melt the ends properly — a half-melted end frays within a week, and a scorched end leaves a black blob that never comes off. Keep the weave tension even: a collar with a tight start and a loose finish twists on the dog’s neck. If you want a two-tone effect, choose colours with real contrast — charcoal and orange, navy and gold, forest green and cream — because two similar shades blur into one from more than a metre away. And add the ID tag before the first walk, not after: a beautiful collar with no tag is a lost dog with no phone number.
\n
Matching sets are the natural next project. The same four weaves make a lead — a cobra lead takes about 2 metres of finished length and a bolt snap instead of a buckle — and a matching collar and lead in the same colours looks properly made. Our dog leash length calculator works out the right lead length for your dog, and our best leashes for German Shepherds guide covers the heavy-duty options for strong pullers.
\n
Washing and caring for a paracord collar
\n
Paracord is one of the easiest collar materials to look after. Hand-wash it in warm water with a drop of dog shampoo, work the braid gently to release the mud, rinse well and hang it to dry — never tumble-dry it, because the heat can warp the buckle and shrink the cord slightly. A muddy collar that is left to dry caked in dirt will stiffen and chafe, so a quick rinse after a muddy walk is worth the minute it takes. If the collar starts to smell, a soak in warm water with a spoonful of baking soda, then a rinse and a full air-dry, clears it. And if you are setting up a proper wash area for muddy dogs, our DIY dog wash station guide shows how to build one in a laundry room or garage corner.
\n
7 mistakes to avoid
\n
- \n
- Buying the wrong cord. Micro cord and strand-less \”paracord\” look the same on a screen and fail in real use. Buy Type III 550 cord with seven inner strands, from a supplier that states the spec.
- Skimping on the buckle. The buckle is the weakest point of the collar. A cheap buckle cracks in cold weather or pops open under a lunge; a quality side-release buckle costs a little more and holds.
- Measuring at the base of the neck. A collar measured low sits loose, slides around, and catches on things. Measure high, just behind the ears, where the collar will actually sit.
- Cutting the cord exactly to the table length. First attempts always use more cord than the table says. Add 30 cm per colour, or you will be unpicking a half-finished braid.
- Uneven tension. A braid pulled hard on one side and loose on the other curves, twists and wears unevenly. Pull each knot with the same firm tension and check the back every ten knots.
- Half-melting the ends. A sealed end that is only warmed, not melted, frays within days. Melt it properly, press it flat, and check it is fused into the braid.
- Using the collar as a tie-out. Paracord does not stretch and does not break, so a dog that bolts to the end of a long line can injure its neck. It is a walking collar — clip the lead to a harness for strong pullers, and never leave a dog tied up on it.
\n
\n
\n
\n
\n
\n
\n
\n
When to buy instead of braid
\n
Some collars are better bought. A dog that needs a breakaway collar for safety around fences, a very small puppy that outgrows a collar in weeks, a dog with a skin condition that needs a specific soft material, or an owner who wants a reflective or waterproof collar for night walks — all of these are shop jobs, not craft projects. Braiding is for the everyday collar you want in exactly your colours, at exactly your dog’s size, for a few pounds. It is also a genuinely enjoyable evening project: a first cobra collar takes about an hour, a second takes forty minutes, and by the third you will be making them for friends.
\n
FAQs
\n
How long does it take to braid a paracord dog collar?\nAbout an hour for a first cobra collar, including measuring and setup. A second collar in the same weave takes 30–40 minutes. A king cobra takes roughly twice as long as a plain cobra, and a snake knot takes the longest of the four weaves because each knot is formed individually.
\n
How much paracord do I need for a dog collar?\nFor a cobra weave, about 30 cm of cord per 2.5 cm of finished collar length, per colour — so a 50 cm collar needs about 5 metres of each colour. A king cobra needs about 1.5 times as much. Always add 30 cm per colour for your first attempt.
\n
Is paracord safe for dogs?\nYes, as a walking collar with the right fit — two fingers flat under the collar, inspected weekly for fraying or a cracked buckle. Never use it as a tie-out, never leave a chewer unsupervised in it, and clip the lead to a harness for strong pullers.
\n
Which paracord weave is strongest?\nThe king cobra, because it is two layers of cobra weave on top of each other — but a well-braided plain cobra in genuine 550 cord is already far stronger than the buckle, which is the real weak point. Choose the weave for comfort and looks, and spend the saving on a quality buckle.
\n
Can I wash a paracord dog collar?\nYes. Hand-wash in warm water with dog shampoo, rinse well and hang to dry. Never tumble-dry it. A baking-soda soak clears smells. A collar left caked in mud will stiffen and chafe, so rinse it after muddy walks.
\n
What size buckle do I need for a paracord dog collar?\nMatch the buckle to the collar width: 15 mm for small dogs, 20 mm for medium dogs, 25 mm for large dogs. A curved side-release buckle sits flatter against the neck than a flat one.
\n
Can I make a matching paracord lead?\nYes — the same weaves work for a lead, with a bolt snap instead of a buckle. A cobra lead of about 1.5–2 metres is the usual length. Make the collar first: it teaches you the weave on a short piece before you commit to a long one.
\n
The bottom line
\n
A paracord dog collar is the rare DIY project that is cheaper, stronger and better-looking than the shop version: genuine 550 cord, a quality side-release buckle, a careful neck measurement and one of four weaves — cobra for your first, king cobra for the statement look, fishtail for all-day comfort, snake knot for something decorative. Measure high on the neck, add spare cord, keep the tension even, and melt the ends properly. Check the fit weekly, wash it after muddy walks, and never use it as a tie-out. Done right, it is a collar that survives mud, water and daily wear for years — and the next one you braid will be for a friend’s dog.
\n
Pin this for later 📌 — and if you want more collar projects, our DIY dog collar ideas guide has twelve of them, from fabric to leather.
“,
“source_draft”: “/home/hatch/workspace/goals/pinterest-pin-automation-for-petsmush-com/files/paracord-dog-collar-post-draft.md”,
“status”: “publish”
}