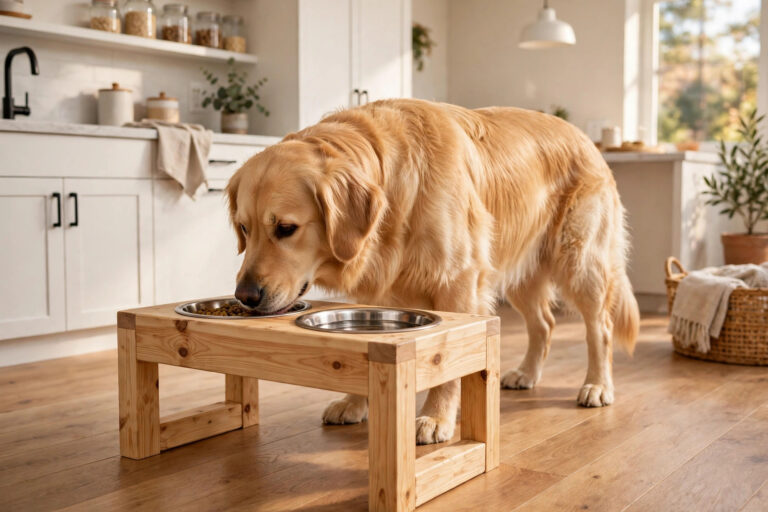
Bowls on the floor work — until the water bowl migrates across the
kitchen, kibble rolls under the fridge, and your tall dog folds
himself in half twice a day just to eat. A raised feeder fixes all
three problems at once: bowls sit at a comfortable height, the whole
station stays put, and it looks like furniture instead of a mess.
And you don’t need a workshop to build one — a couple of pine
2x4s, a piece of plywood, a drill and an afternoon will do it.
This guide walks you through the one measurement that matters,
the simple build, and the food-safe finish that keeps the wood
happy through years of spills.
What a raised feeder actually does — and doesn’t do
The real wins are comfort and tidiness. A bowl at chest height
means less neck and shoulder strain reaching down, which older dogs
and tall breeds genuinely appreciate. The heavy wooden stand stops
the classic “push the bowl across the room” move, and a raised lip
keeps the worst of the splashing inside the station instead of on
your floor.
What it doesn’t do: prevent bloat. This needs saying plainly,
because the myth persists. The best-known large study on the
subject (Glickman et al., Purdue) actually linked elevated feeding
to a higher risk of GDV (bloat) in large, deep-chested breeds —
the opposite of the folk claim. Build a raised feeder for comfort
and convenience, not as a health treatment. If your dog is an
at-risk breed — Great Dane, German Shepherd, standard poodle,
Irish setter and friends — talk to your vet about feeding setup
before you change anything.
The bowl height formula — measure before you cut
The single most important number in this whole project is the
finished rim height. Too high and the dog stretches awkwardly
upward; too low and you lose the point of the exercise.
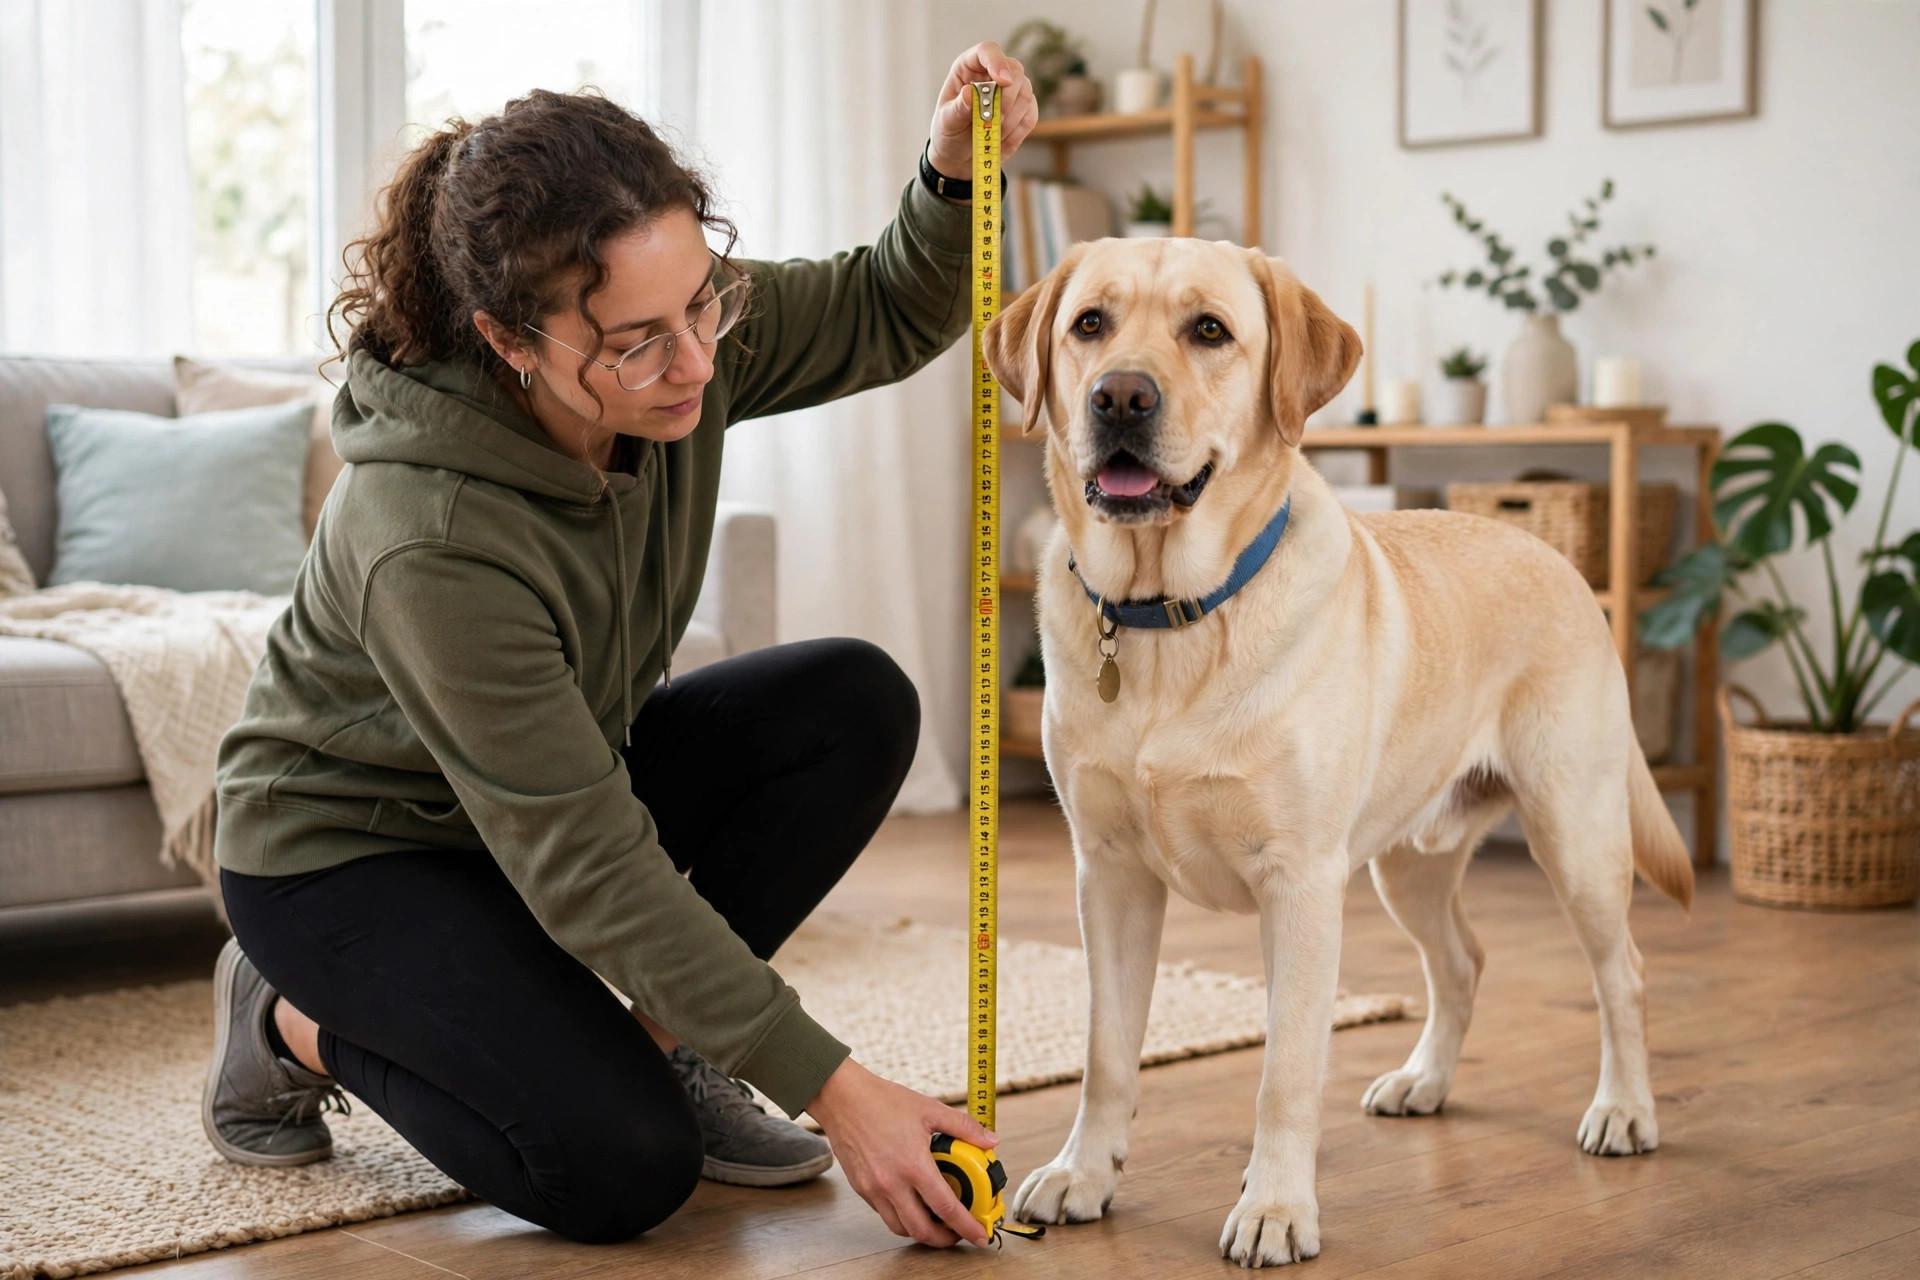
- Stand your dog square on a hard floor.
-
Measure from the floor to the top of their shoulders (the
withers — the bony ridge between the shoulder blades). -
Subtract about 15 cm (6 inches). The result is your target rim
height — the dog should eat with their head lowered only
slightly, not bent down to the floor.
Rough starting points: a 30 cm beagle lands around a 15 cm stand,
a 58 cm labrador around 43 cm, an 80 cm Great Dane around 65 cm.
These are guides, not rules — use your own dog’s measurement.
Then measure your bowls. The cut-out for each bowl should be about
1 cm wider than the bowl’s rim, so the lip rests on the top and the
bowl hangs down into it. Buy the bowls before you cut the top —
stainless steel, two matching sizes, and big enough that a meal
fills them two-thirds at most.
Growing puppy? Build for their current size, or leave the legs
over-long and trim down later — wood is forgiving. Alternatively,
stack two shorter leg sets that screw together so you can remove a
tier as the pup grows.
Materials and tools
Materials (for a two-bowl feeder):
-
1 piece of 2 cm (¾ in) plywood or pine board for the top, about
60 x 30 cm for large bowls (scale down for small breeds) -
4 pine 2×4 legs, cut to rim height minus the top’s thickness
- Wood screws (6 cm), wood glue, 120- and 220-grit sandpaper
-
A food-safe finish: water-based polyurethane (3 thin coats) or
food-grade mineral oil plus beeswax -
2 stainless steel bowls, clear silicone sealant (optional)
Tools: saw (hand saw or circular), drill, a hole saw or jigsaw,
tape measure, pencil, carpenter’s square, clamps, safety glasses,
dust mask.
One more note on materials: skip pressure-treated lumber and any
wood with a strong chemical smell. Plain pine or plywood plus a
cured food-safe finish is all you need — dogs will lick this thing.
The build: six steps to a finished feeder
Step 1 — Cut the top and legs. Cut the top panel to size, then
cut four legs to your measured height minus the top’s thickness.
Sand the cut ends so they sit flat.
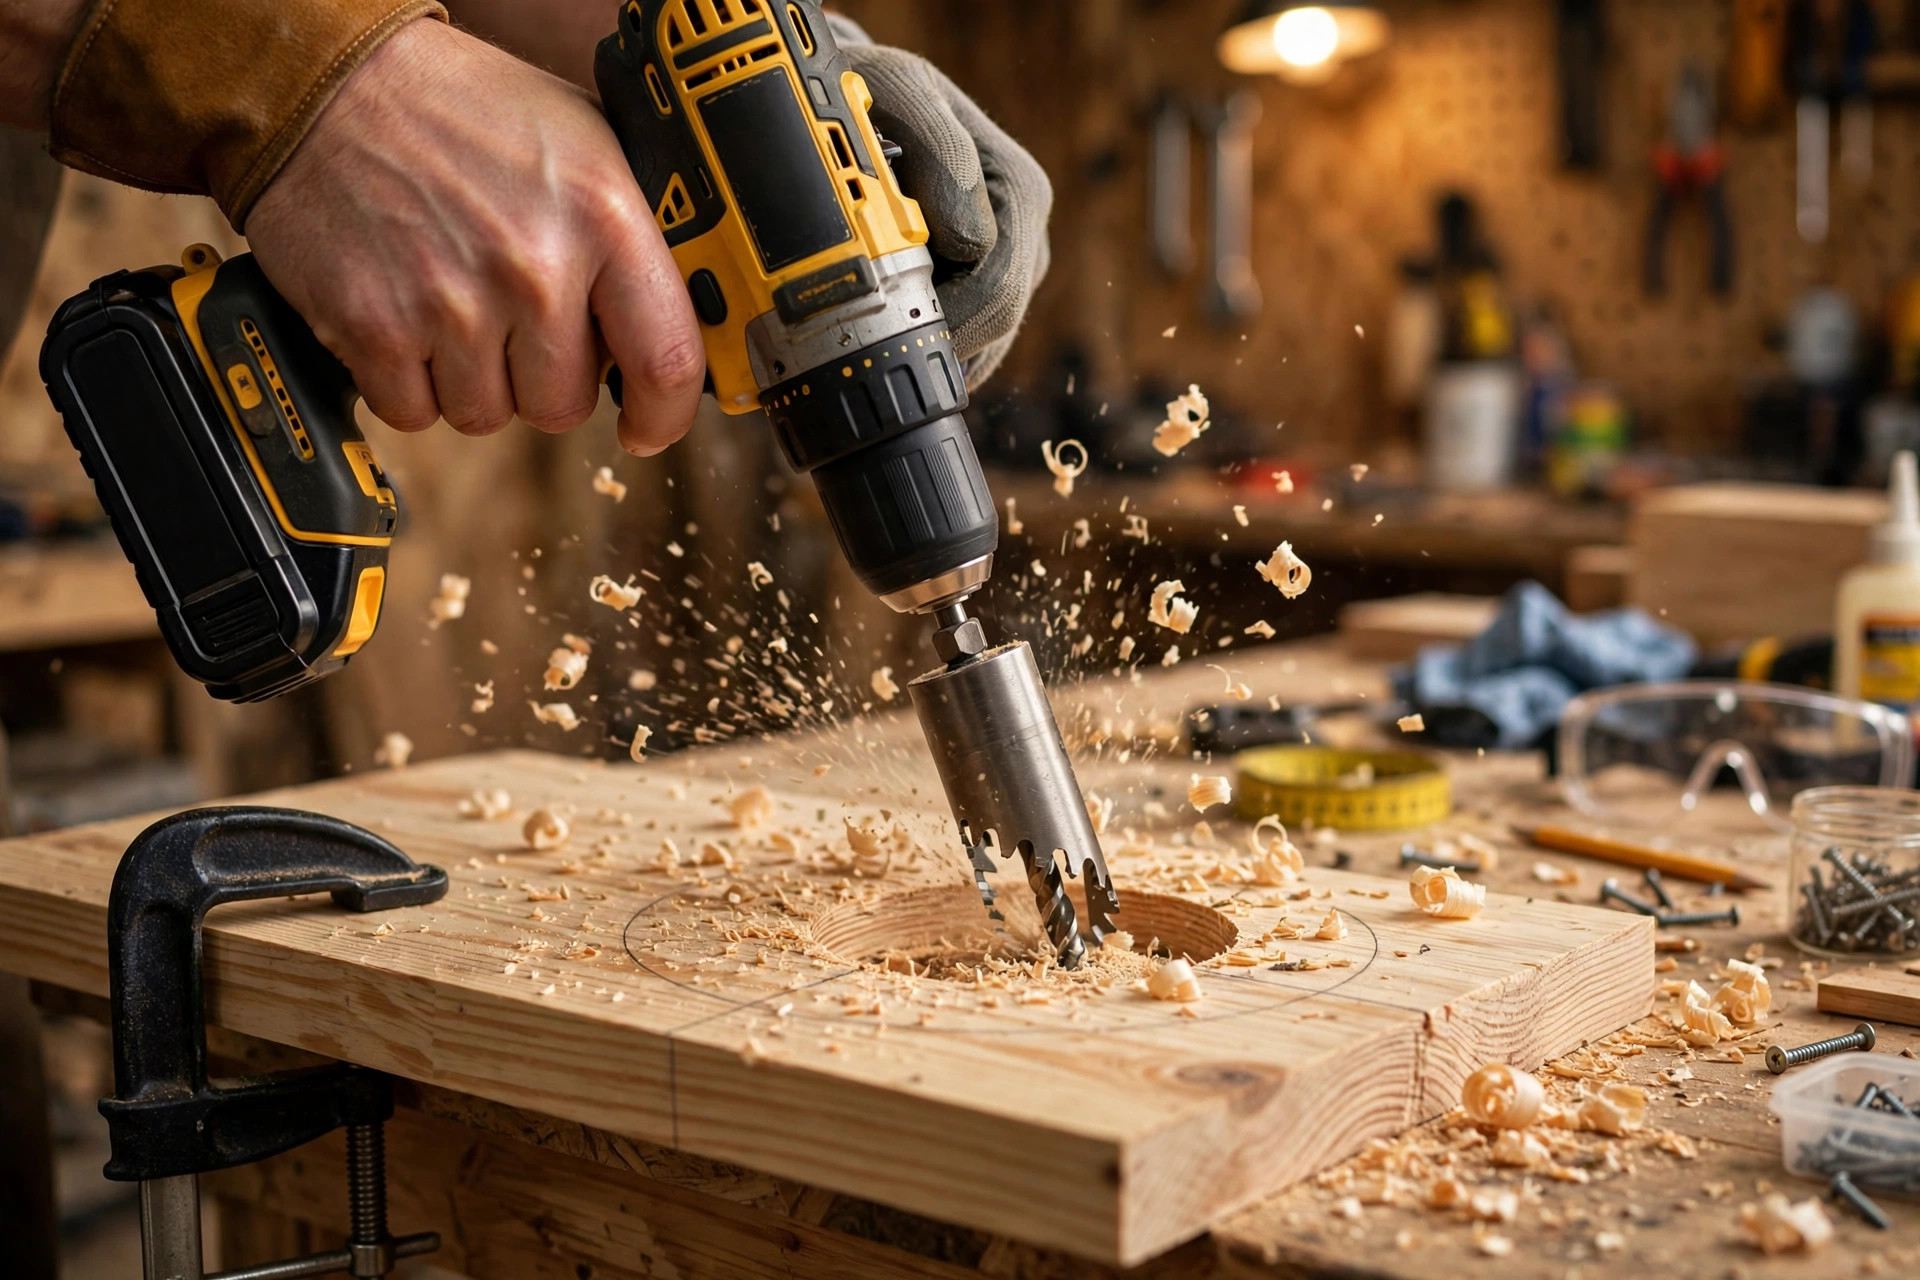
Step 2 — Cut the bowl holes. Mark the bowl centres on the top,
evenly spaced with at least 5 cm of wood between the holes and the
edges. Drill a starter hole and cut with the hole saw or jigsaw.
Test-fit the bowls: the rim lip should rest flat on the top with
the bowl hanging through. If a hole is slightly tight, sand the
edge rather than forcing the bowl.
Step 3 — Assemble the stand. Glue and screw the legs to the
underside corners of the top, checking with the square that they
sit at 90 degrees. Stand it up and check for wobble — sand the
long leg until it sits dead flat. A wobbly feeder gets head-butted
across the kitchen.
Step 4 — Sand everything a dog will touch. Go over the whole
stand with 120 grit, then 220, rounding every edge and corner.
No splinters, no sharp screw heads — countersink the screws and
fill with a dab of wood filler. A dog’s nose and tongue will
investigate every millimetre of this.
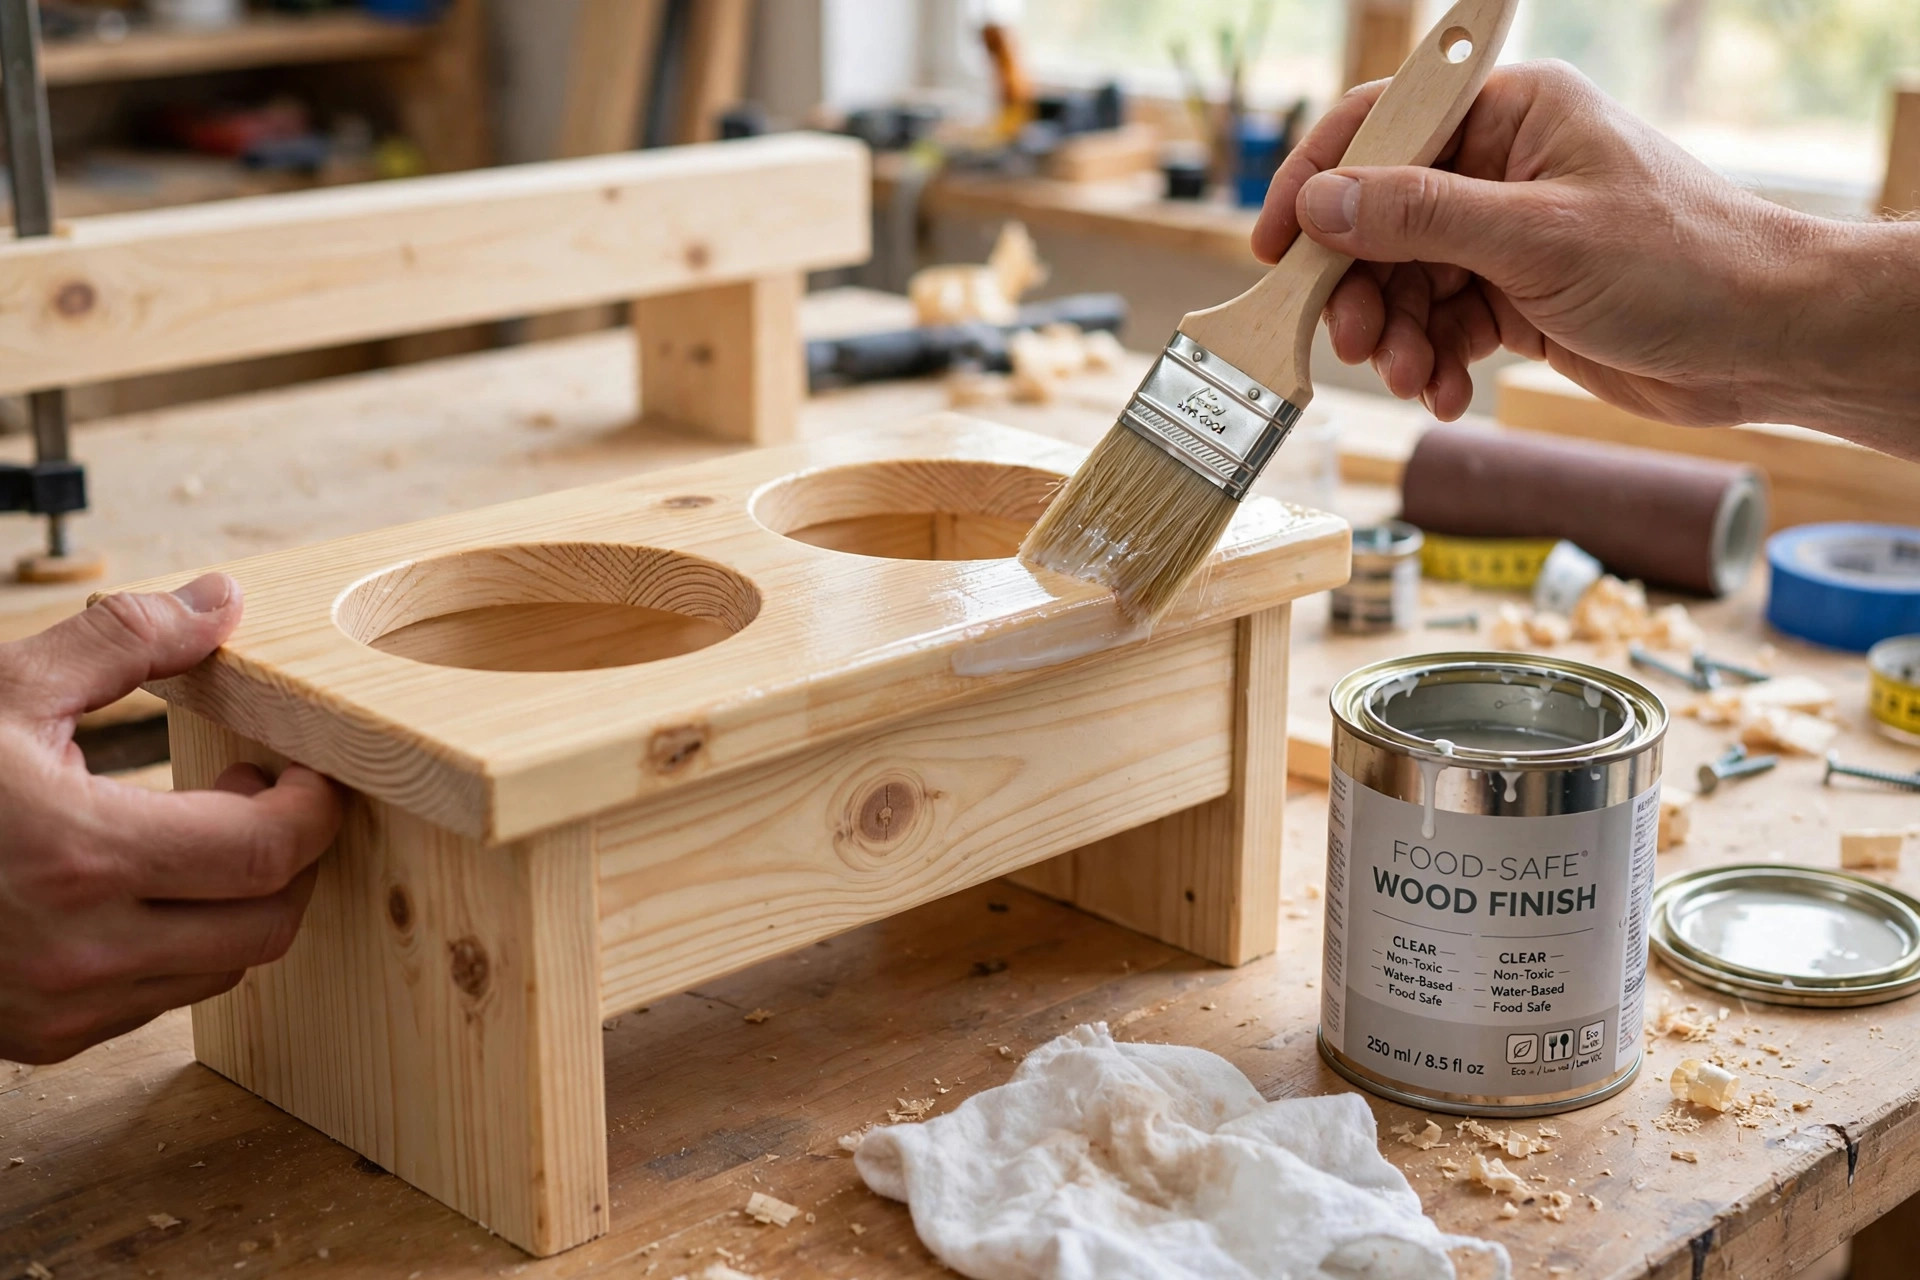
Step 5 — Seal it food-safe. Wipe the dust off and apply three
thin coats of water-based polyurethane, sanding lightly between
coats, or rub in food-grade mineral oil followed by melted
beeswax. Whatever you choose, let it cure fully before the first
meal — 72 hours for polyurethane, overnight for oil/wax. This is
the step that turns “weekend project” into “lasts for years”:
an unsealed top absorbs water, swells, and smells like old soup.
A thin bead of clear silicone around each bowl hole is optional
but excellent spill insurance.
Step 6 — Place it and let the dog adjust. Put the feeder on a
washable mat, drop the bowls in, and serve dinner. Most dogs take
to it immediately; cautious dogs get their first meal half at the
old height, half at the new one. Keep the old bowls out of sight
for a week so there’s no confusion.
Which dogs benefit most
-
Tall and large breeds: greyhounds, danes, setters — the
neck-fold is real for them. -
Seniors with stiff necks or arthritis: less reaching down,
less discomfort at mealtimes. -
Champion bowl-pushers and splashy drinkers: the stand’s
weight plus a mat ends the migration. -
Multi-dog households: one tidy station instead of four
wandering bowls.
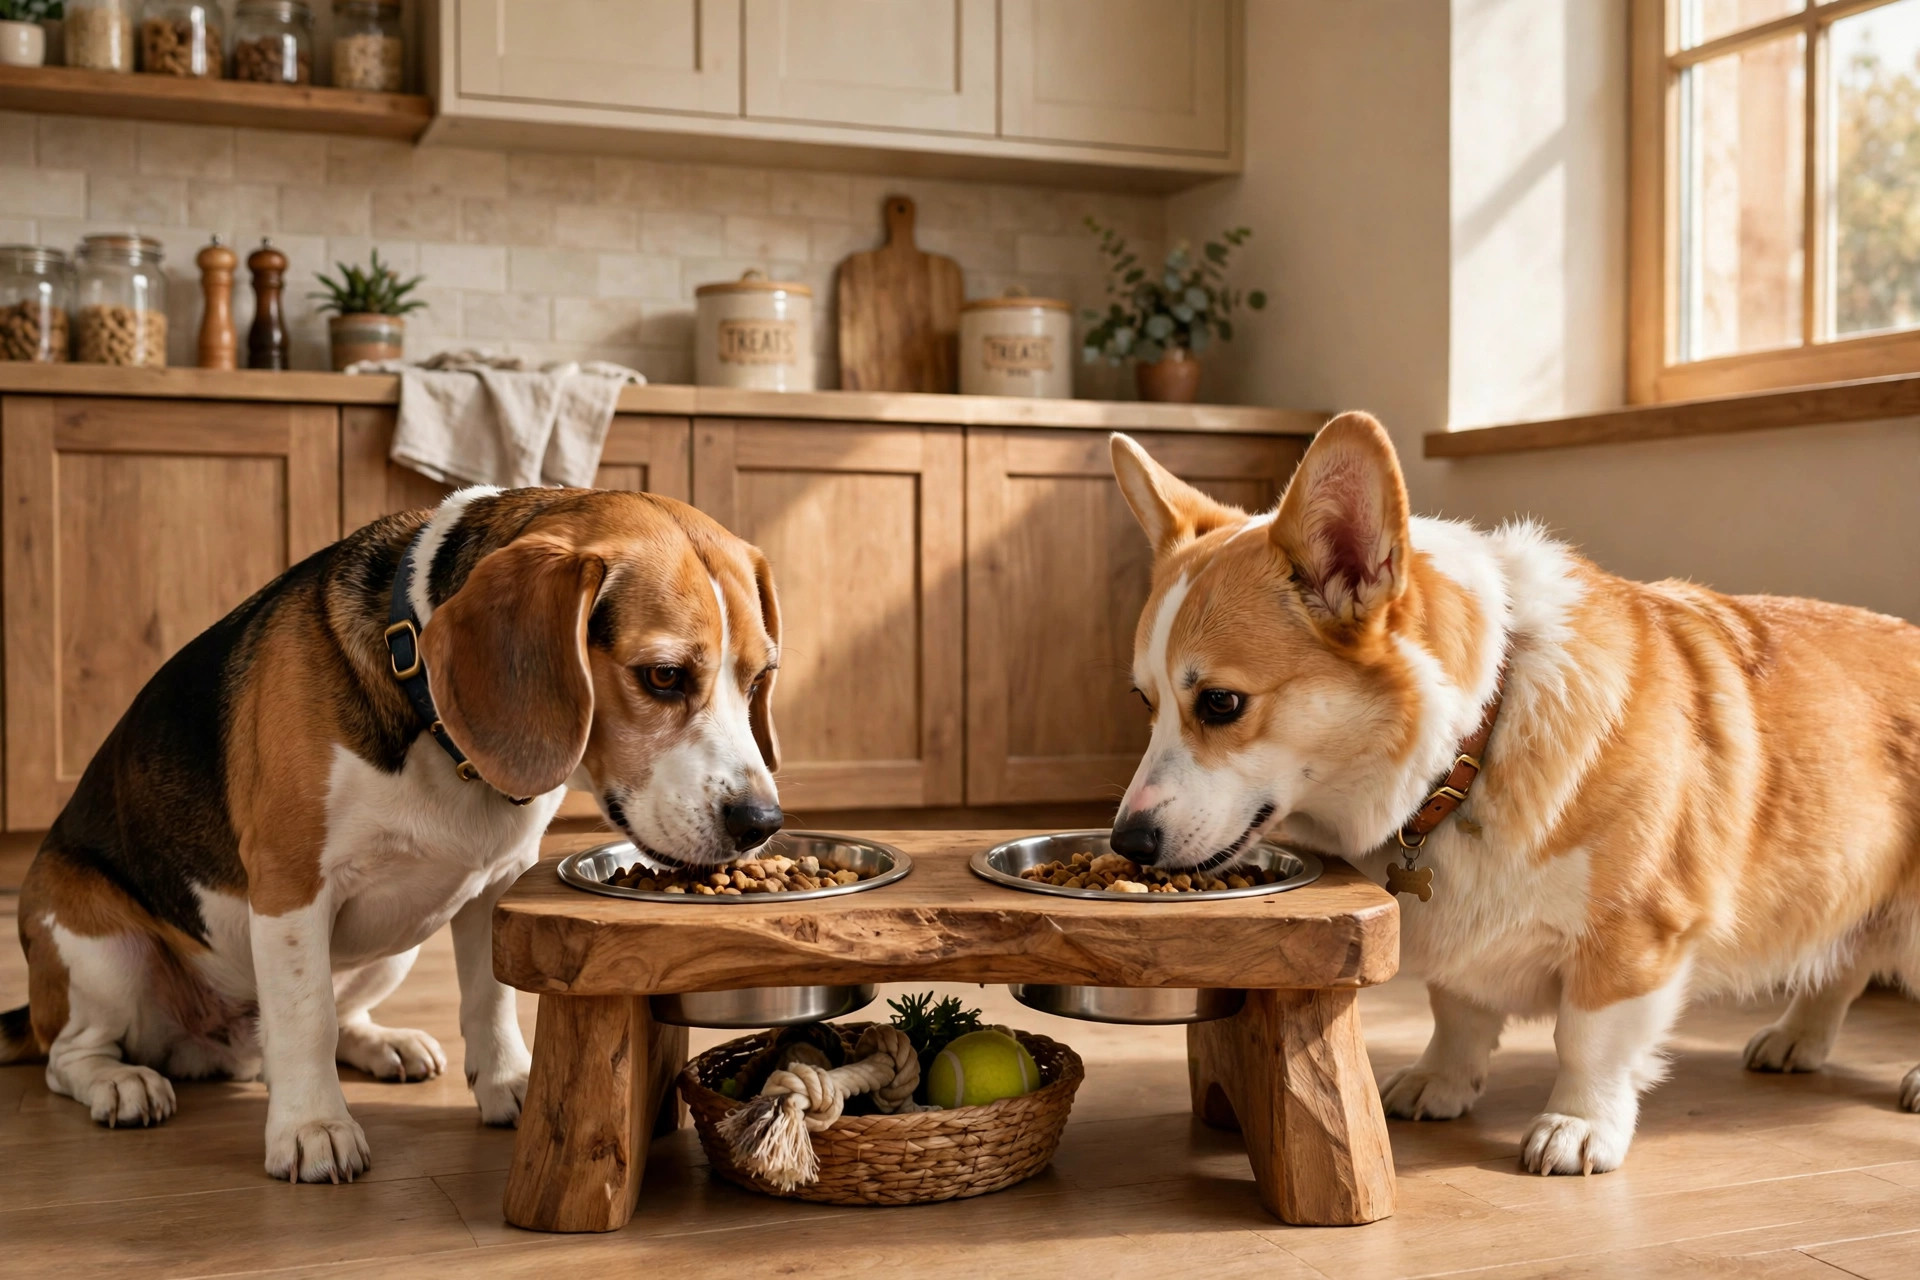
Not ideal for: determined chewers (they’ll gnaw the legs —
a metal stand suits them better) and very fast-growing puppies
unless you build the adjustable version. And if your dog has a
medical condition affecting swallowing or digestion, check with
the vet first — the feeder is furniture, not therapy.
Living with it: care and food safety
The bowls get a hot soapy wash daily, same as any bowl — stainless
is the right call here because it doesn’t scratch the way plastic
does, and scratches harbour bacteria. Wipe the top down after
splashy meals; if the finish starts looking thirsty, rub in
another coat of mineral oil or beeswax. Check the leg screws every
few months and re-tighten — wood moves with the seasons. If you
used polyurethane, there’s nothing to redo for years unless the
surface gets deeply scratched.
Three easy variations
The double-diner is the build above. For a single-bowl
version (one dog, small kitchen), shrink the top to a square
and use three or four shorter legs — same steps, half the wood.
The storage-cubby feeder replaces the open legs with a plywood
box: the top carries the bowls, the cubby below holds the kibble
bag. More cutting, but it clears a whole shelf of clutter.
And the no-power-tools version: buy pre-cut legs and a board
cut to size at the timber yard, assemble with a hand saw’s worth
of trimming and a screwdriver. The hole saw is the only
specialist bit — and most hardware stores will cut the bowl
holes for you if you mark them first.
If mealtimes are a race as well as a mess, drop a
slow feeder
bowl into one of the holes — the raised station and the maze
bowl pair well. For the rest of the feeding routine, see our
guides to homemade dog food
and the weekend dog door build
for more petcore DIY.
The bottom line
A raised dog feeder is one of the highest-satisfaction weekend
builds you can do for your dog: simple materials, one honest
measurement, and a finish that survives real life. Measure the
dog, not the guess; cut the bowl holes after you own the bowls;
sand like your dog’s nose depends on it (it does); and seal
food-safe. Do that, and dinner time gets noticeably calmer —
for the dog’s neck and your kitchen floor alike.
FAQs
How tall should a raised dog feeder be?
Measure your standing dog from the floor to the top of their
shoulders, then subtract about 15 cm (6 inches). That rim height
lets the dog eat with their head only slightly lowered. Typical
results: ~15 cm for a beagle, ~43 cm for a labrador, ~65 cm for
a Great Dane.
Do raised feeders prevent bloat?
No — and the best available evidence points the other way for
large, deep-chested breeds. Treat a raised feeder as a comfort
and tidiness upgrade, and discuss feeding setup with your vet
if your breed is bloat-prone.
What finish is safe for a wooden dog feeder?
Water-based polyurethane (fully cured, 72 hours) or food-grade
mineral oil plus beeswax. Avoid oil-based stains, varnishes and
anything with a strong solvent smell — dogs will lick the stand.
Can I build one without power tools?
Yes. Get the timber yard to cut the top and legs to your
measurements, assemble with screws and a screwdriver, and have
them (or a friend) cut the bowl holes with a hole saw. A hand
saw handles any final trimming.
Stainless steel or ceramic bowls in a raised feeder?
Stainless steel wins: unbreakable, dishwasher-safe, and it won’t
scratch the way plastic does. Ceramic looks great but chips —
and a chipped glaze near a chewer is a bad combination.